Photo: Africa Studio / Shutterstock
This post may contain affiliate links. If you make a purchase, My Modern Met may earn an affiliate commission. Please read our disclosure for more info.
Love body art but not ready to commit to a permanent piece? If so, you've probably experimented with temporary tattoos, washable works of art that last for days once applied to the skin. While impermanent tattoos have their obvious perks, like low costs, versatility, and, of course, zero commitment, their designs don't come with the creative freedom or customization characteristic of real tattoos—unless, of course, you make them yourself!
With just a few materials—including special decal paper, a pair of scissors, your computer, and an inkjet printer—you can design, create, and apply any design to your skin. Here, we share temporary tattoo tips and tricks so that you can create the DIY decals of your dreams.
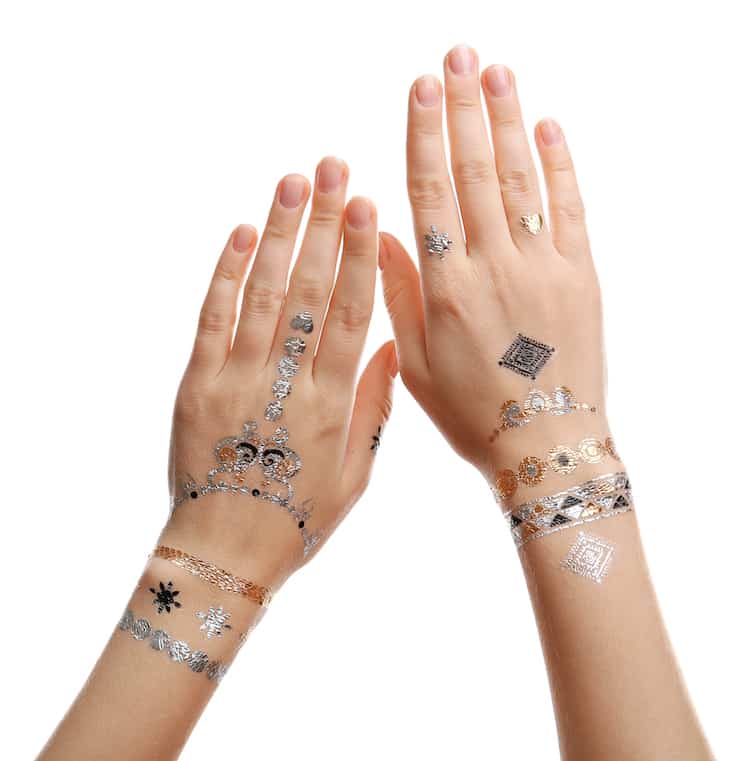
Photo: Africa Studio/Shutterstock
What You'll Need:
- A Computer
- An Inkjet printer
- Decal Paper (available on Amazon)
- An object with a hard, straight edge, like a ruler or credit card
- Water
- Paper towels
Step 1: Design your tattoo.
You can either hand-draw an image and upload it to your computer, or digitally create a graphic using a program like Adobe Illustrator. Once your design is on your computer, reverse its orientation. This way, your tattoo will appear as you designed it once applied to your skin. (If you're feeling stuck, go to the next page for a list of tattoo design inspiration.)

Step 2: Print your tattoo.
Using an inkjet printer, print the design onto a sheet of special decal paper. To ensure your tattoo is as clear, crisp, and clean as possible, put your printer on a “high quality” setting and select “glossy photo” as your paper choice. Stick the adhesive sheet onto the printed image, smoothing out any air bubbles with a hard-edged object.
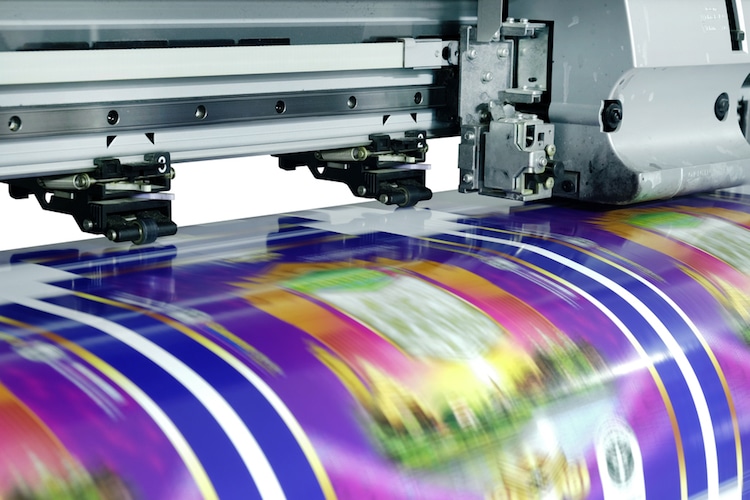
Photo: KOKTARO/Shutterstock
Step 3: Apply it to your skin.
Remove the plastic layer and place the paper face-down on your skin. Apply a damp paper towel to the back of the tattoo. Gently peel off the paper.

Photo: Microgen/Shutterstock