Photo: Stock Photos from YAKOBCHUK VIACHESLAV/Shutterstock
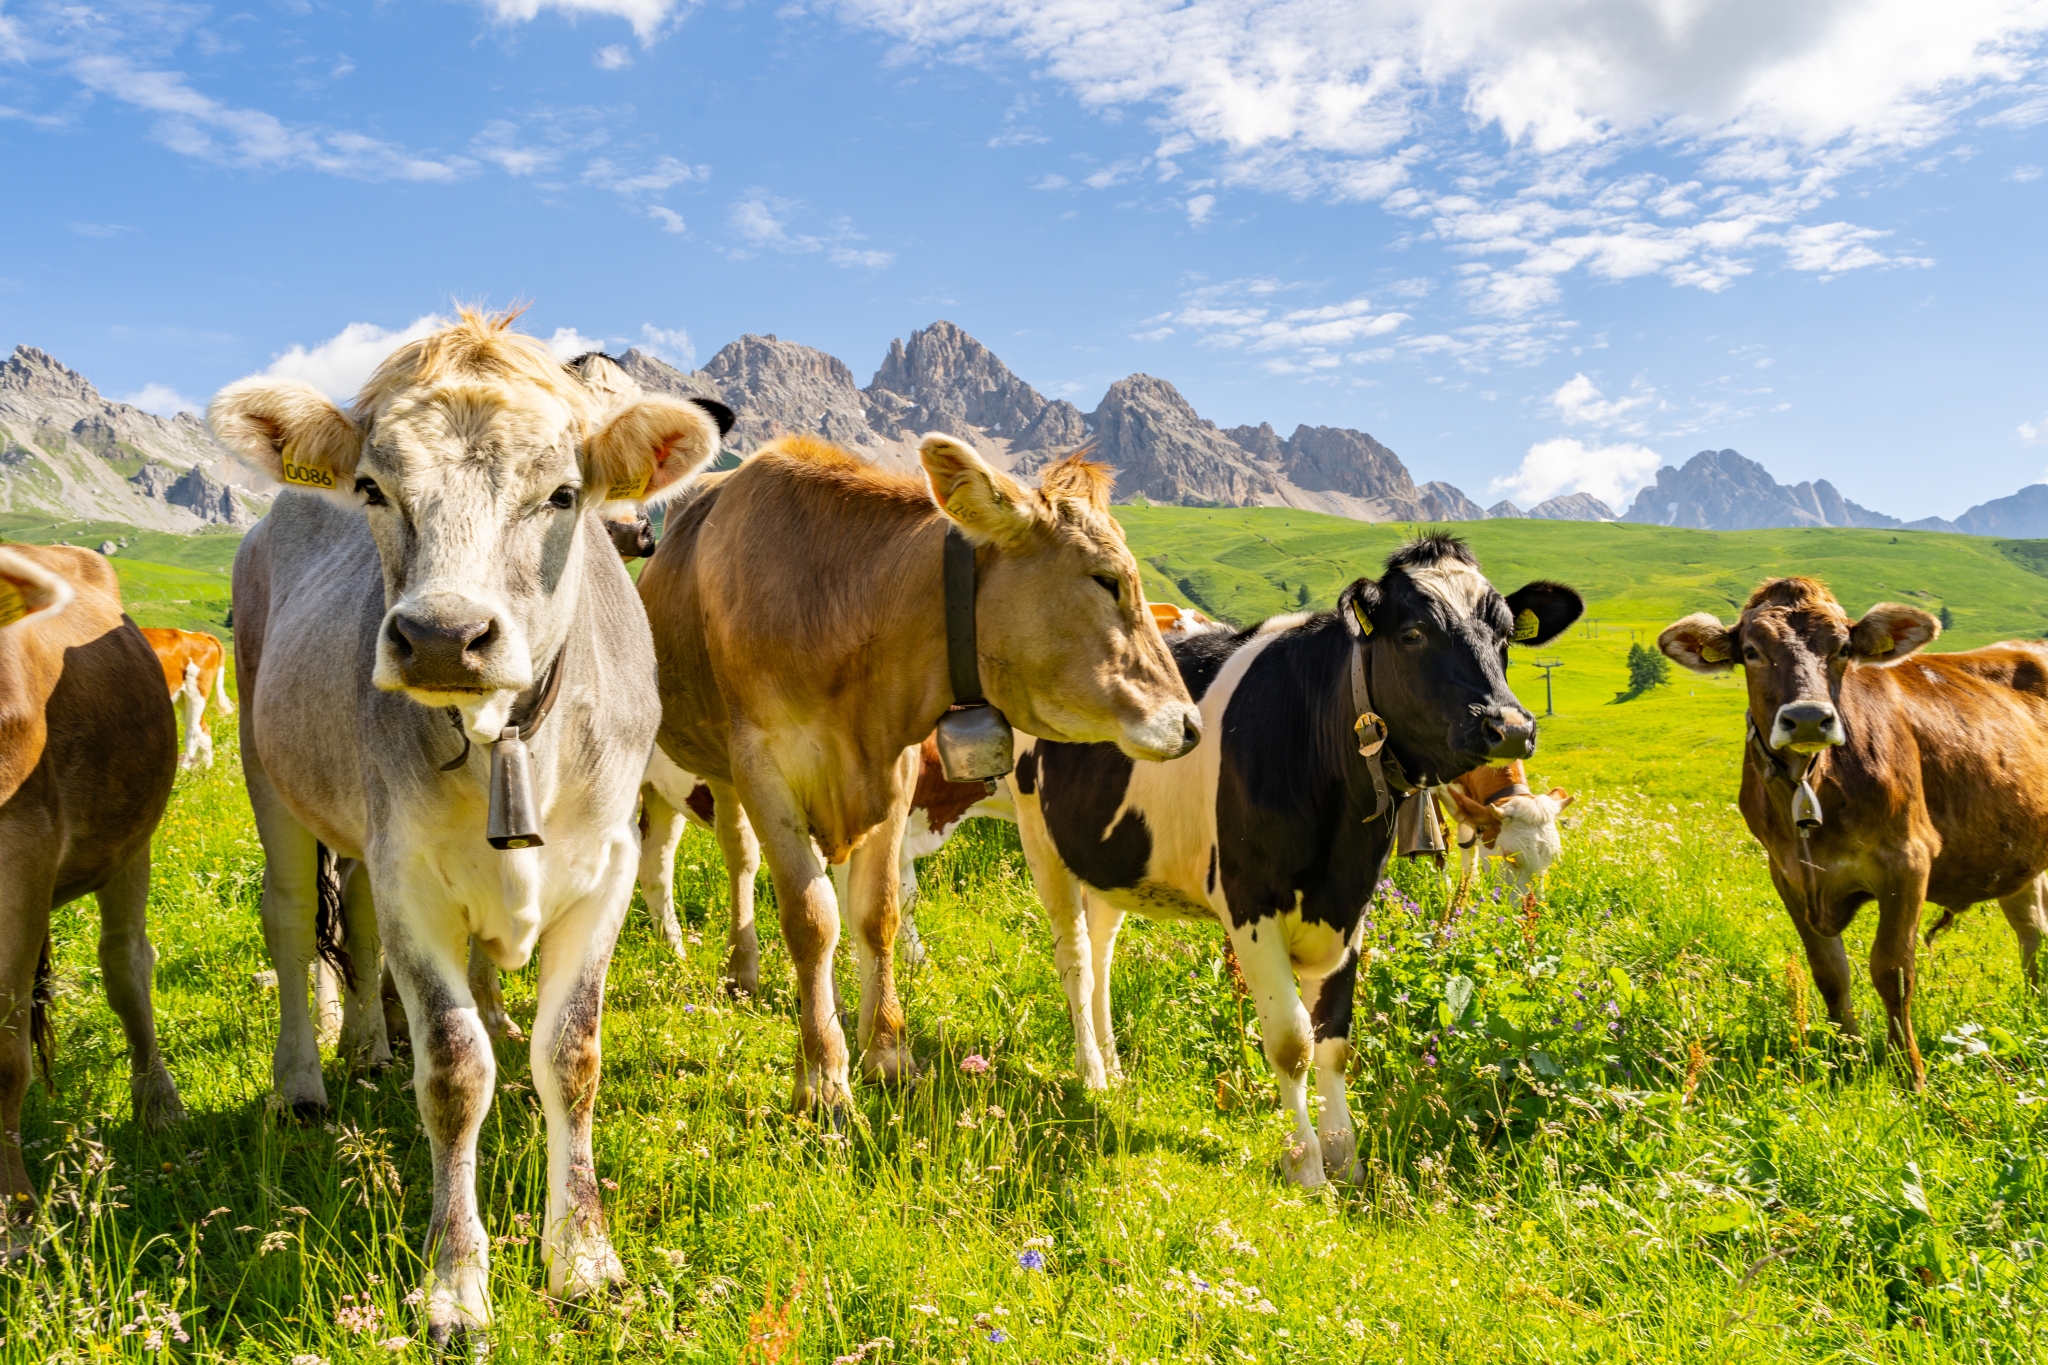
No depiction of a bucolic landscape is complete without a content cow, grazing away on some grass. With their dark, gentle eyes and tranquil demeanor, it's easy to understand why too. A happy cow dressed with a bell collar goes hand in hand with the picturesque scenery of the countryside.
If you've never sketched a bovine, however, it may seem difficult to render its anatomy correctly. Not to worry. As with any new subject, you'll find that with some patience and clear step-by-step instructions, you too can master this animal. This tutorial will teach you how to draw a cow lying down in a field. All you'll need to get started is a few reference photos of a cow, some drawing supplies, and paper. Ready to get started? Then, let's draw a cow!
Learn how to draw a cow with these step by step instructions.
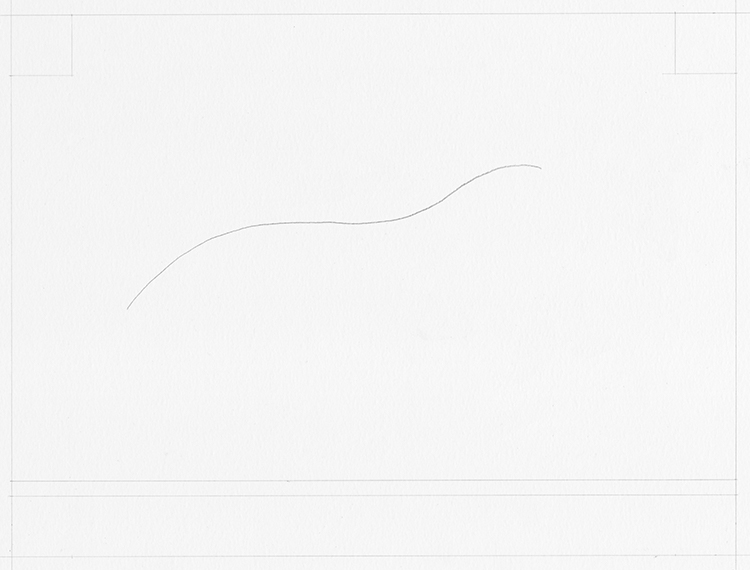
Step 1: Draw a wavy line
Art & Photo: Margherita Cole | My Modern Met
Begin by drawing a loose wavy line on the paper. This will be the slope of the cow's back.
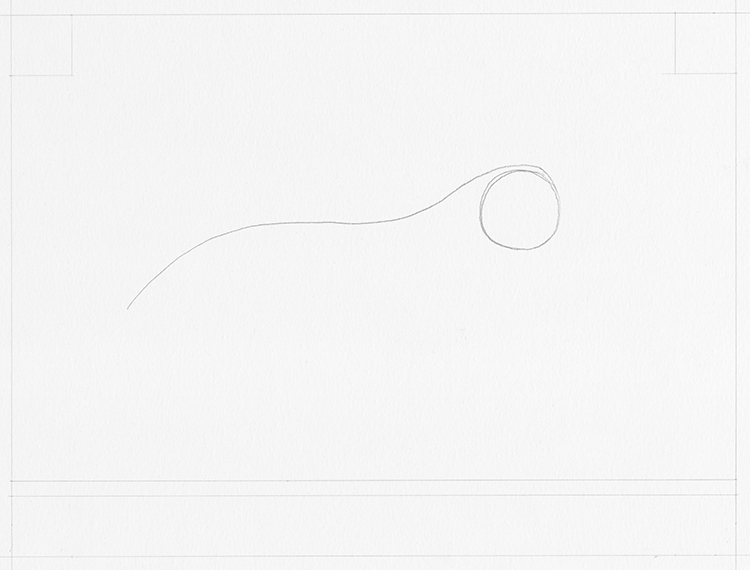
Step 2: Lightly sketch a circle
Art & Photo: Margherita Cole | My Modern Met
Next, we will start building the cow's head and body with shapes. So, take your pencil underneath the end of the wavy line and lightly sketch a circle.
Step 3: Add the ears and nose
Art & Photo: Margherita Cole | My Modern Met
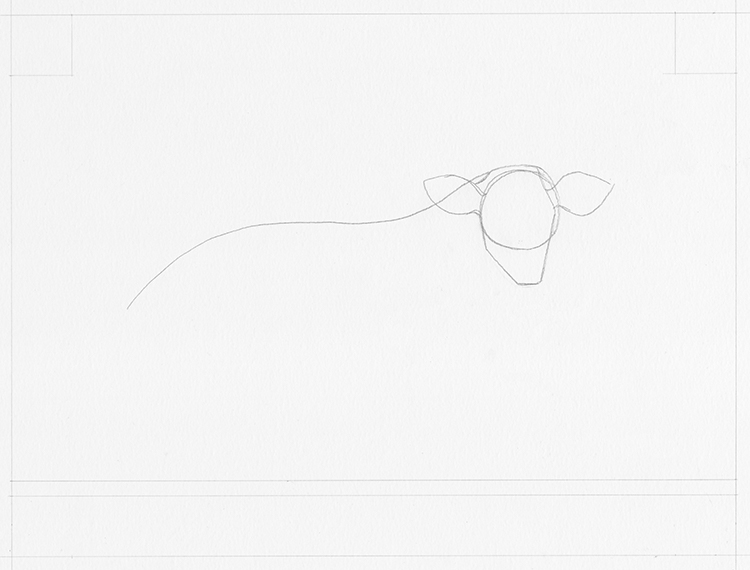
Take a look at your reference photo, and, when you're ready, draw a pair of large leaf-shaped ears on either side of the cow's head. Then, add a trapezoidal shape to the end of the circle to start creating the long nose of the cow.
Step 4: Add the muzzle
Art & Photo: Margherita Cole | My Modern Met
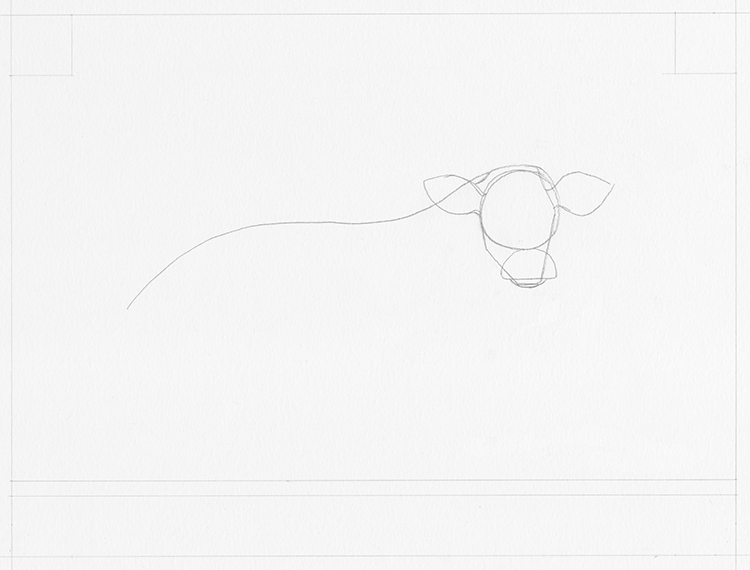
Afterward, it is time to add the cow's distinctive muzzle. So, at the end of the snout sketch a half-circle. Add a smaller half-circle underneath to create the lower lip.
Step 5: Draw the front legs
Art & Photo: Margherita Cole | My Modern Met
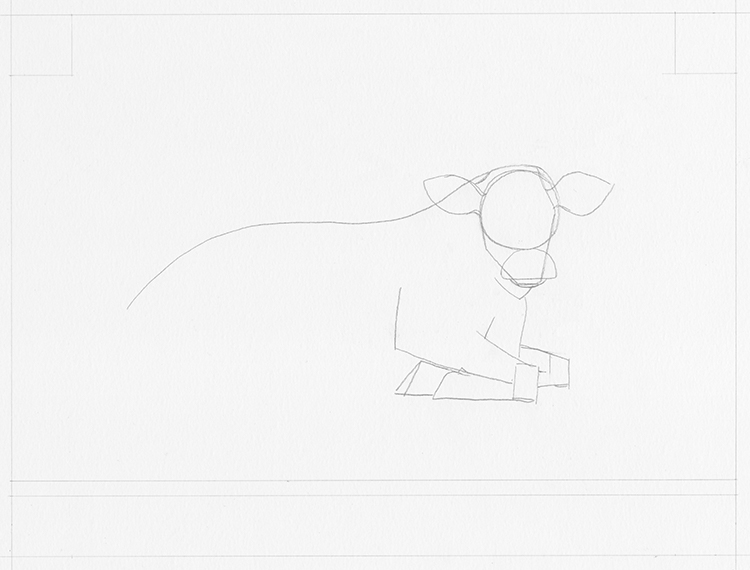
Draw a slightly wavy line underneath the cow's chin to create the cow's chest. Then, sketch a pair of front legs using rectangular shapes. Add a pointed hoof to the end of the front leg nearest to you
Step 6: Draw the hind legs
Art & Photo: Margherita Cole | My Modern Met
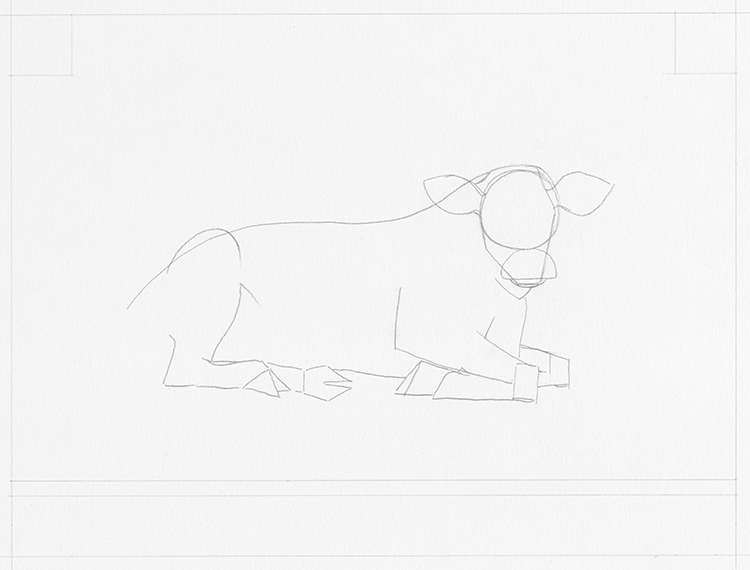
Go to the end of the wavy line we drew at the beginning, and sketch a bent hind leg that folds into the stomach. Add another leg behind it and attach two-toed hooves to the end of each leg. Remember to draw the line for the belly between the two pairs of legs.
Step 7: Add the tail
Art & Photo: Margherita Cole | My Modern Met
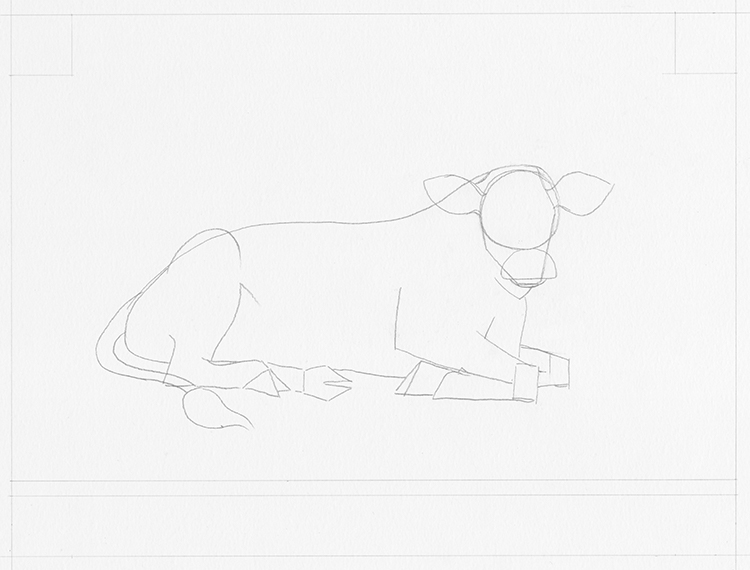
Next, round out the end of the cow's body and tack on a long tail with a tuft of hair at the end.
Step 8: Draw the eyes and nose
Art & Photo: Margherita Cole | My Modern Met
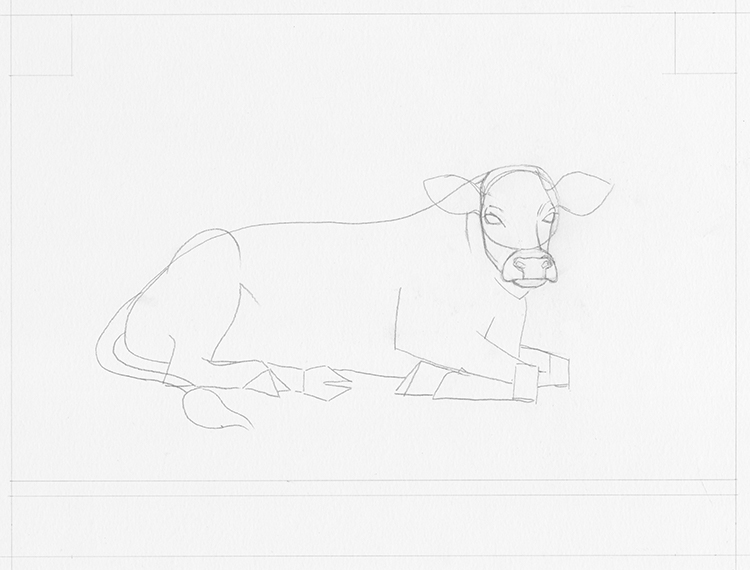
With the body sketched, it's time to go back to the head and fill it in with more detail. First, draw a wide almond eye on either side of the cow's head, underneath the ears. Then, moving down to the muzzle, add a pair of nostrils near the top of the half-circle shape. Erase any preliminary guidelines that you don't need.
Step 9: Add more detail to the face
Art & Photo: Margherita Cole | My Modern Met
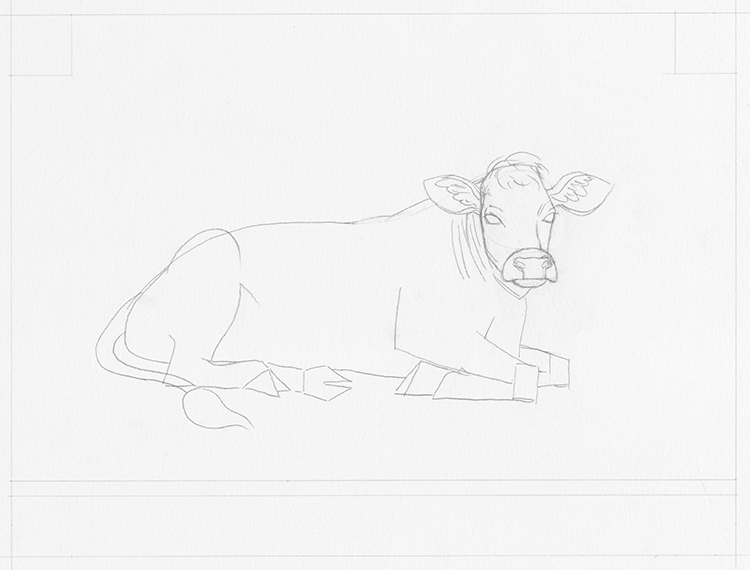
Continue fleshing out the cow's face by adding some tufts of hair inside the ears and on top of the cow's head. Then, draw some folds of extra skin underneath the bovine's face.
Step 10: Refine the body of the cow
Art & Photo: Margherita Cole | My Modern Met
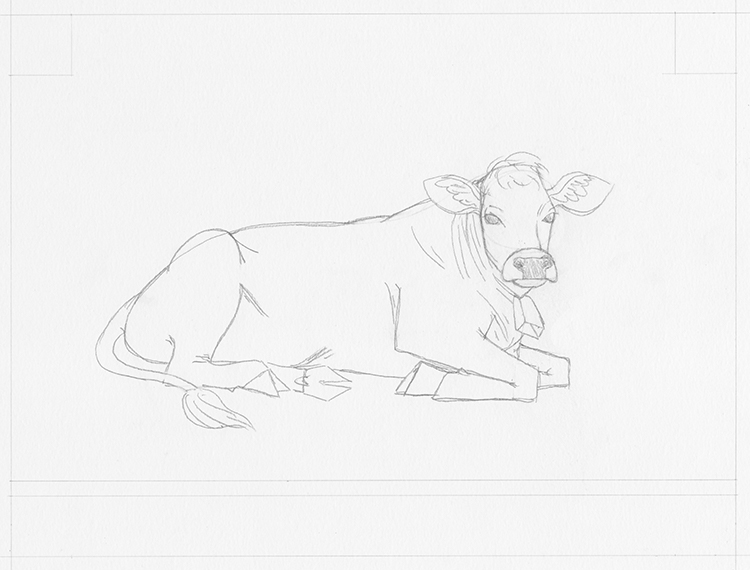
At this point, we've drawn all of the elements of the cow's body, so it's time to give it more definition. Starting at the head, add some more wrinkles and folds around the cow's neck and chest. As you work your way down, continue adding folds where the cow has extra skin—the joints and belly—while also refining the shape of the hooves and legs. I recommend looking at some reference photos as you work on this step.
Step 11: Add a background
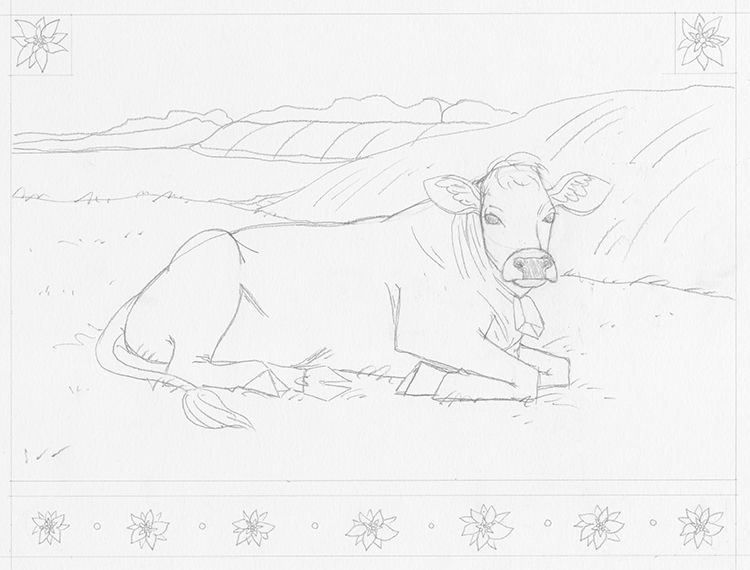
Art & Photo: Margherita Cole | My Modern Met
After you've drawn your relaxed cow, it's time to give it a fitting background for it to bask in. This can be as simple or as detailed as you want it to be. In my case, I've sketched a few rolling hills with a soft grassy texture and added a lake on one side. I highly recommend using hills when you want to draw a quick and easy background.
Optional: If you want to add a whimsical touch to your cow illustration, consider adding some border elements. Here, I've used a ruler to draw two squares to the top two corners of the composition and filled it with an edelweiss flower. Then, at the bottom, I measured two long rectangular borders of different widths and added an edelweiss flower pattern to the wider one. These simple additions can give your drawing a special touch.
Step 12: Go over the drawing in ink
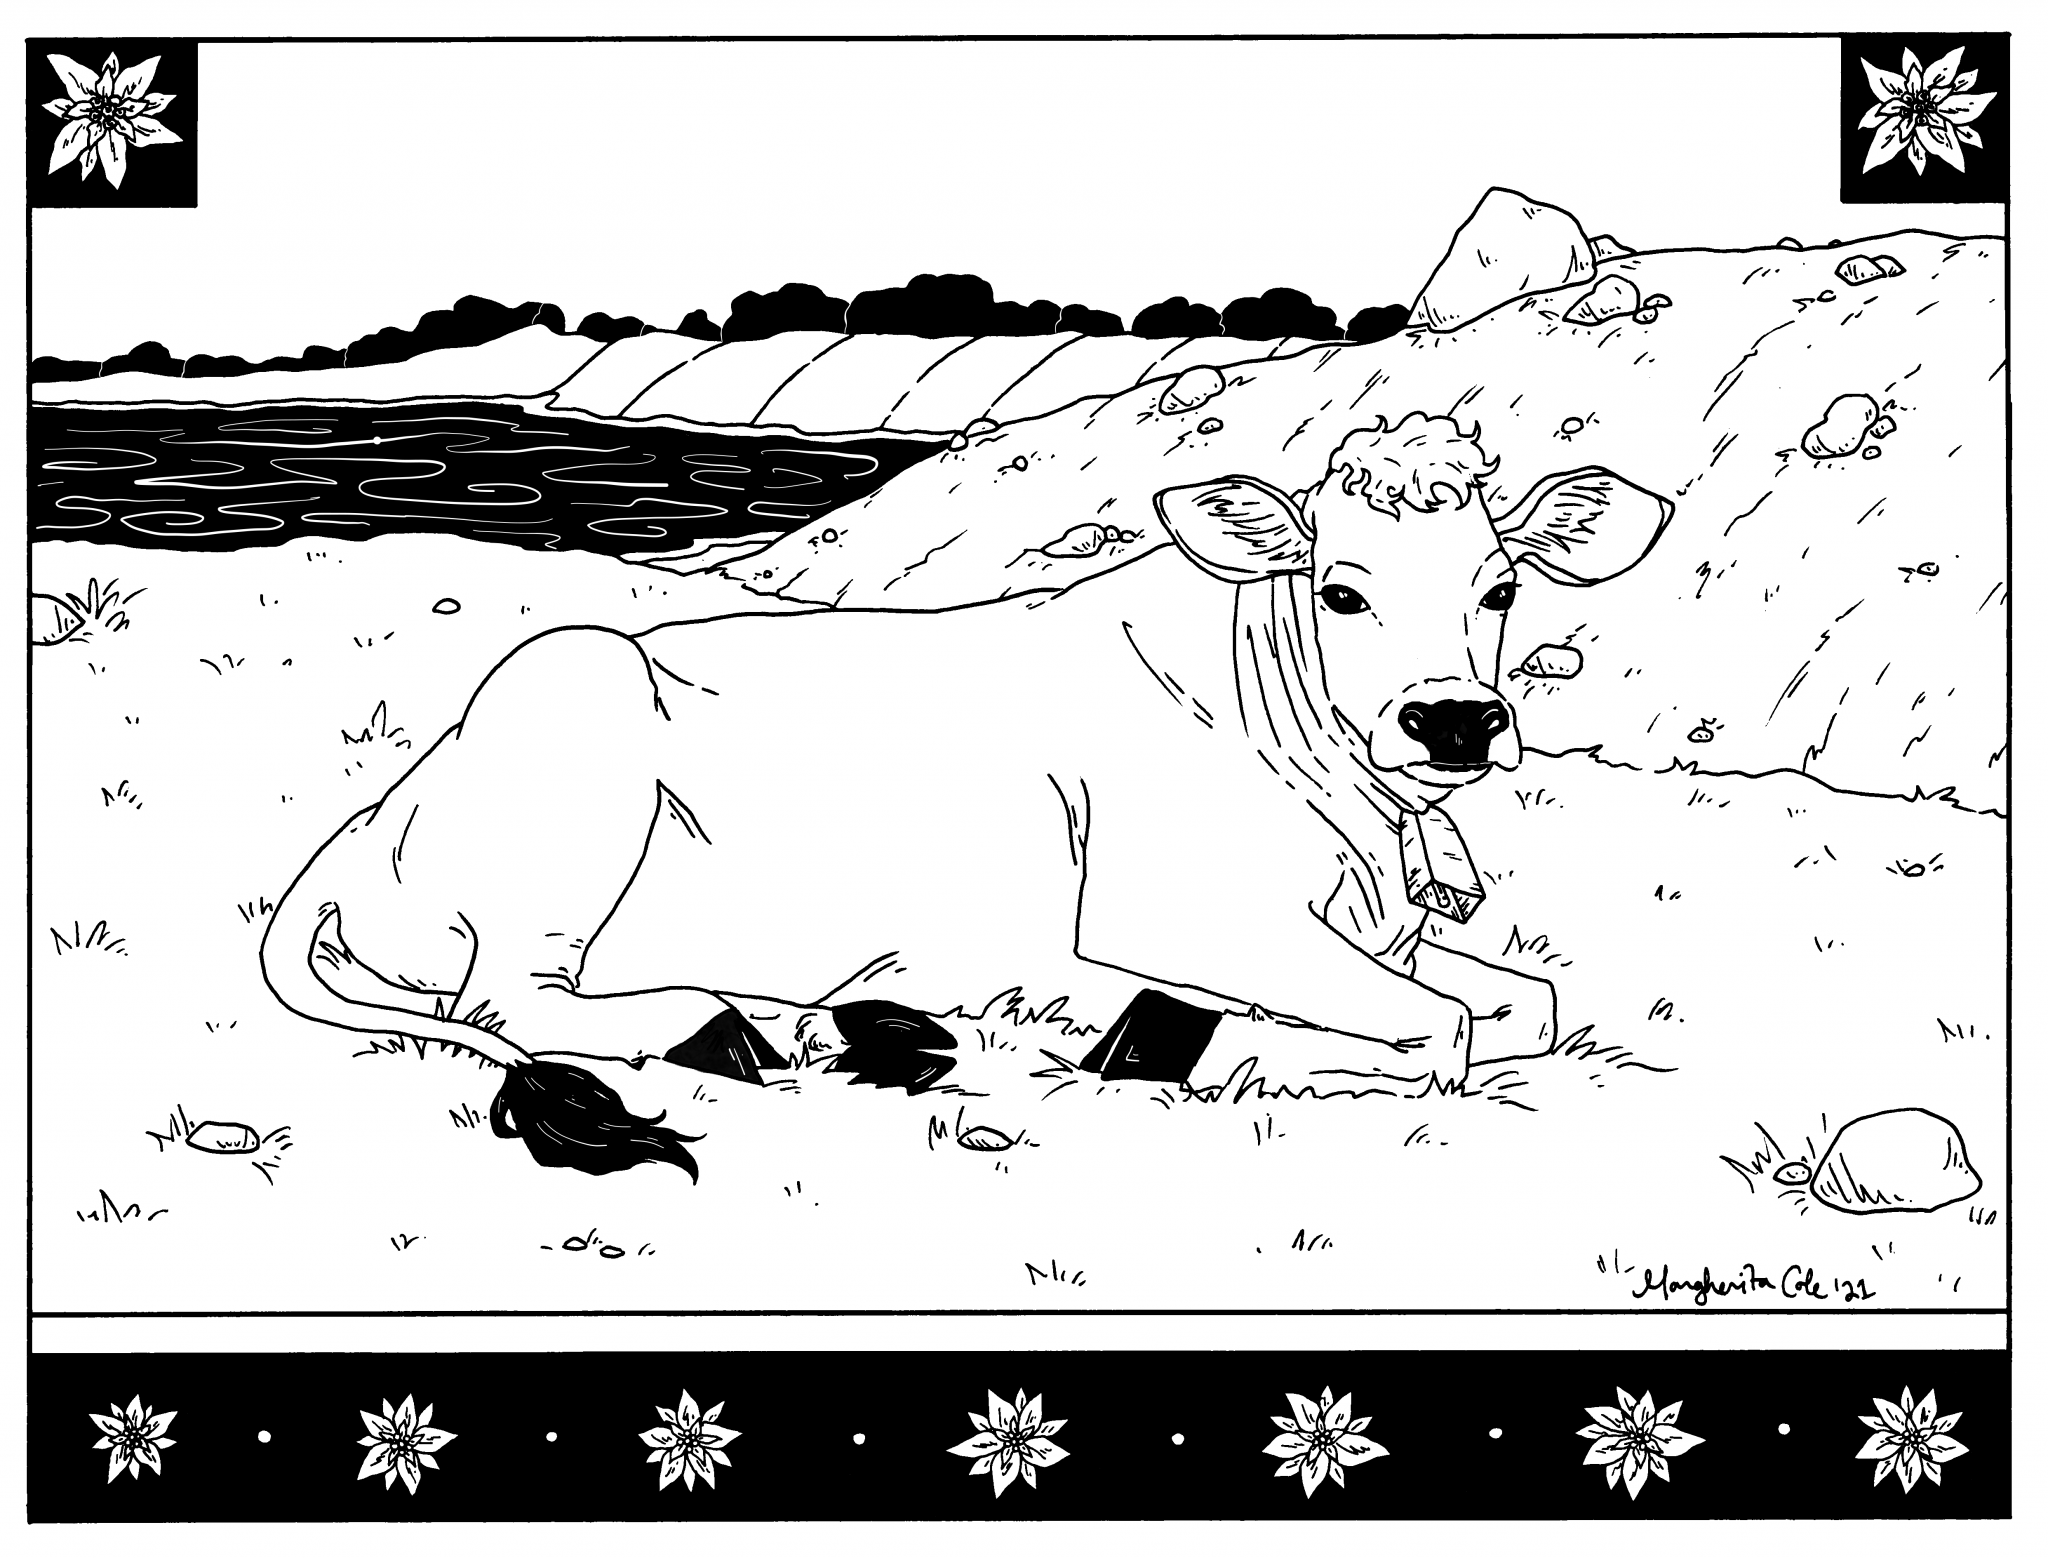
Art & Photo: Margherita Cole | My Modern Met
Finally, it's time to go over our drawing in ink. Place a scrap of paper under your drawing hand and slowly go over the sketch with a pen. Once you've gone over all of the marks, you can begin filling in the hooves, nose, and other select areas with black. It's important to leave this step until last, otherwise, you risk smearing the ink. Afterward, if you feel as though your drawing is still in need of more contrast, you can add more black areas—like the lake or trees.
When you're satisfied with how your composition turned out, you can make it official by signing and dating your art. Good job!
Looking for others who love drawing? Join our Art, Design, Photography, and Drawing Club on Facebook!
Related Articles:
Learn How to Draw a Wolf Howling at the Moon Step by Step
Learn How to Draw a Tiger in This Step-by-Step Tutorial
10 “How to Draw” Books That Will Help You Sketch the Animal Kingdom

