Photo: Stock Photos from Irina No/Shutterstock
With their high intelligence and charming personalities, it's no wonder that dolphins are some of the most beloved animals. In fact, these marine mammals have among the largest brains compared to their body size—even larger than chimpanzees—and consistently score high on a variety of intelligence-based tests. That is why they're often considered to be the smartest animal after humans.
Want to celebrate this amazing animal? This tutorial will teach you how to render a bottlenose dolphin (the most common type of dolphin) in pencil, before completing it in ink. All you will need to get started is a reference photo of a bottlenose dolphin, some paper, and drawing supplies. Ready to give it a go? Then, let's draw a dolphin!
Learn how to draw a dolphin step by step
Step 1: Sketch a circle

Photo & Art: Margherita Cole | My Modern Met
Begin by lightly sketching a circle for the head.
Step 2: Add the snout
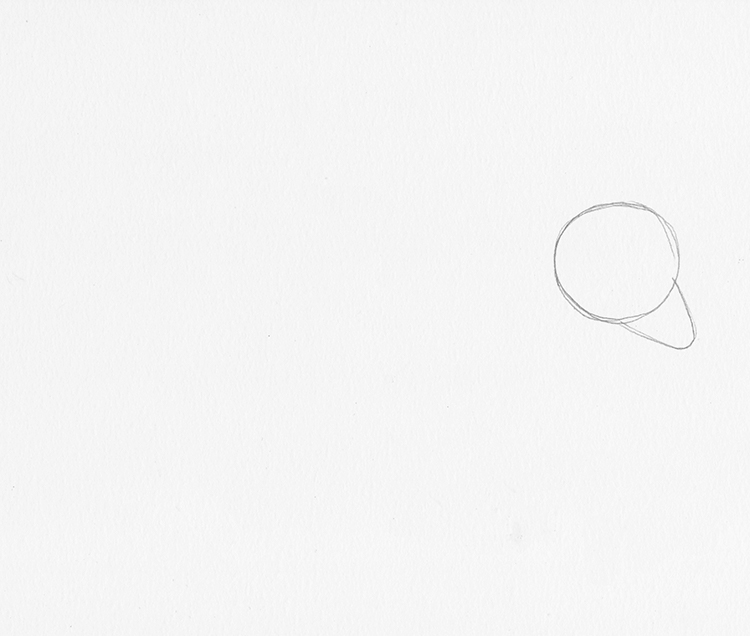
Photo & Art: Margherita Cole | My Modern Met
Then, add a rounded triangle shape to the circle—this will be the snout.
Step 3: Draw the body
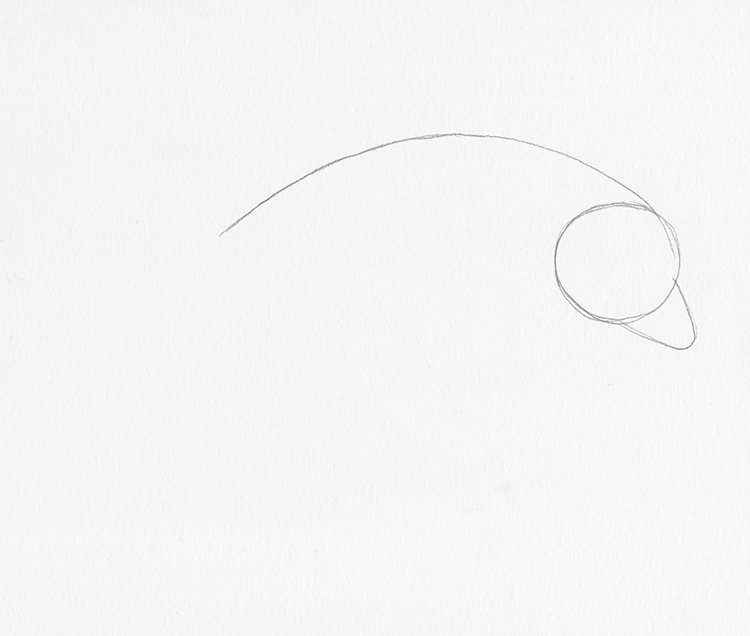
Photo & Art: Margherita Cole | My Modern Met
Using the top of the circle as a starting point, draw a long arch shape. After you've done that, draw another curve starting from the bottom of the circle so that it is parallel with the top line.
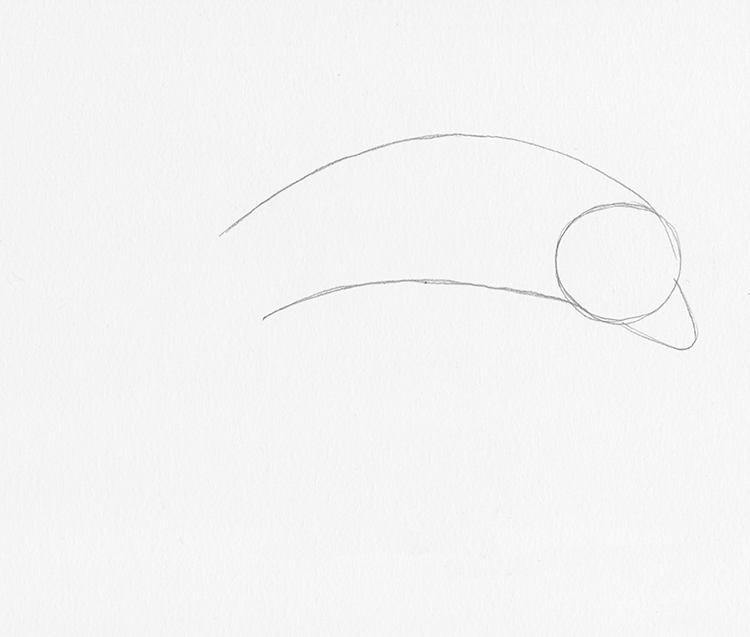
Photo & Art: Margherita Cole | My Modern Met
Step 4: Finish the body
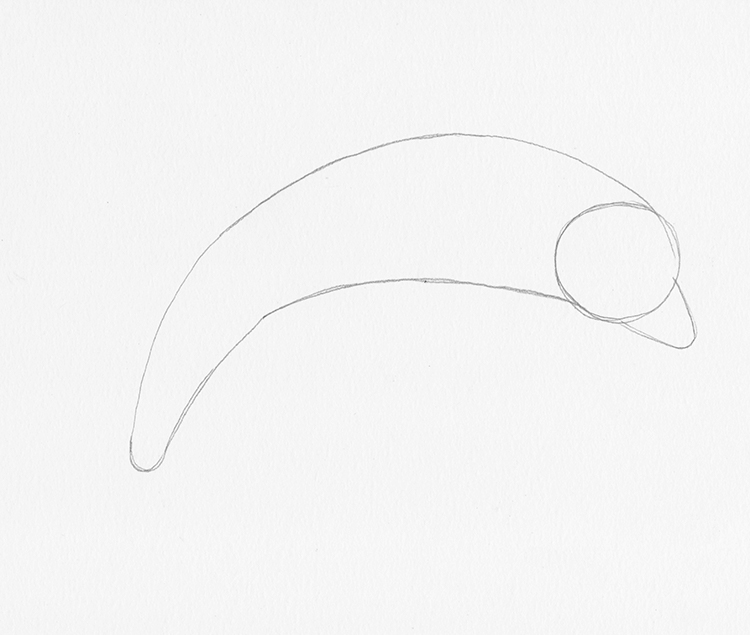
Photo & Art: Margherita Cole | My Modern Met
Then, continue the arched lines a little further down, narrowing the distance between them as you go. Close the end of the tail with a rounded half-circle.
Step 5: Add fins to the dolphin
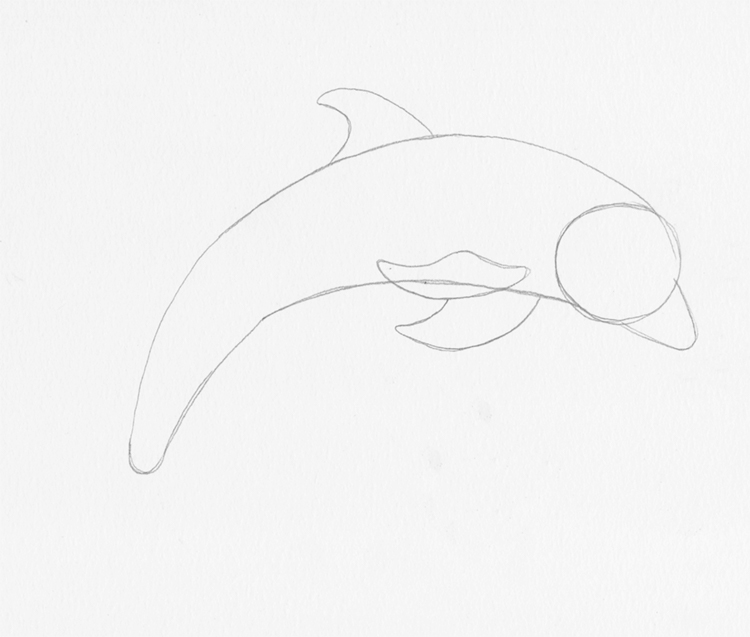
Photo & Art: Margherita Cole | My Modern Met
Now, it is time to add fins to the dolphin's body. So, halfway down the back, sketch a rounded triangle to create the dorsal fin. Then, draw two similar shapes near the belly of the dolphin to create the pair of pectoral fins.
Step 6: Add the tailfin
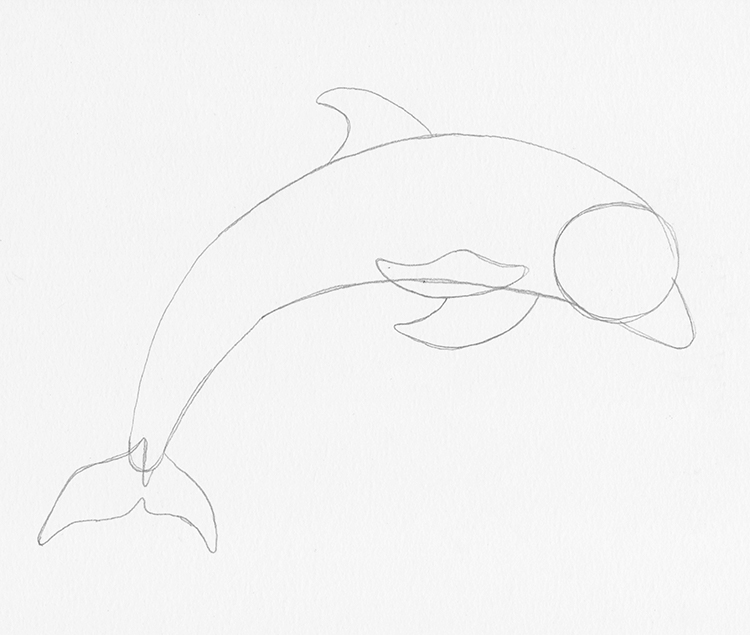
Photo & Art: Margherita Cole | My Modern Met
Next, draw two connecting triangles with rounded points at the end of the tail to create the tail fluke.
Step 7: Draw the snout
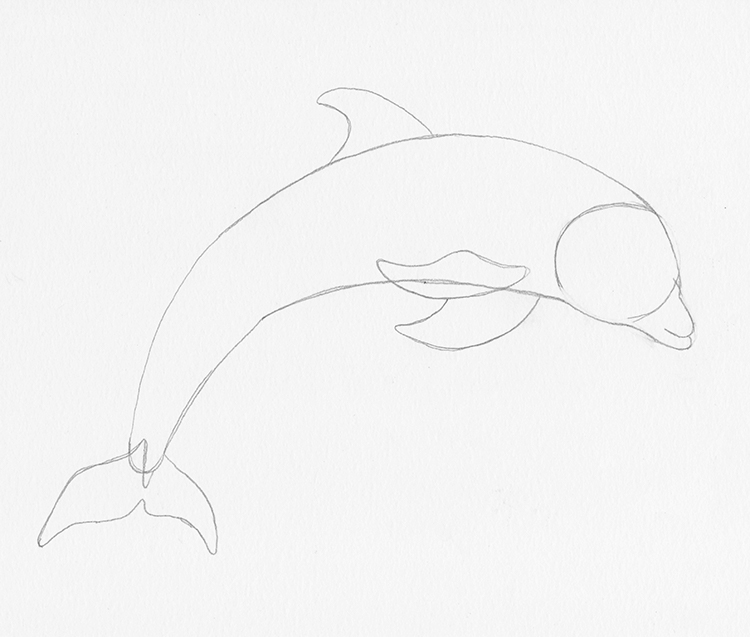
Photo & Art: Margherita Cole | My Modern Met
With all of the basic elements in place, we can return our attention to the dolphin's head. Using the basic shapes as guidelines, carefully carve out a thinner snout (also called the rostrum), making sure that the bottom lip protrudes further than the top.
Step 8: Add facial features to the dolphin
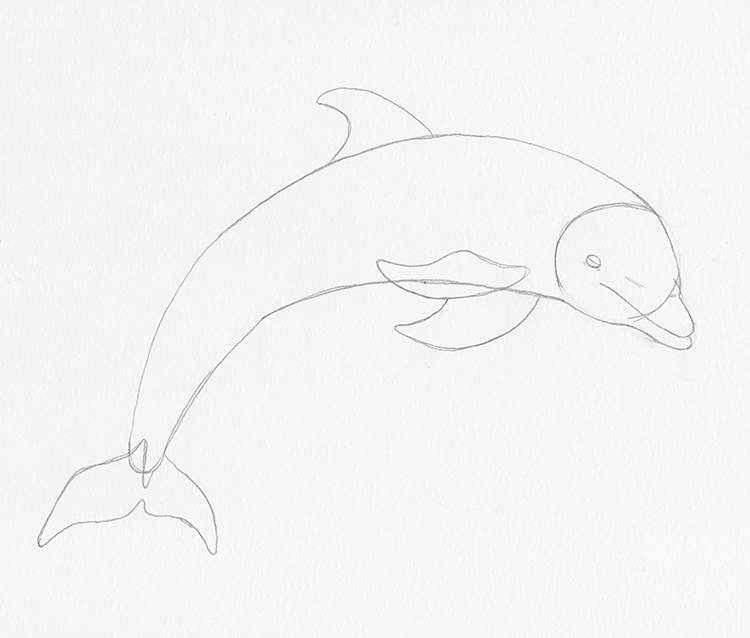
Photo & Art: Margherita Cole | My Modern Met
Extend the mouth line until it is halfway through the circle. Then, draw a small circular eye a little above where the mouth ends.
Step 9: Erase any remaining guidelines

Photo & Art: Margherita Cole | My Modern Met
Finally, you can erase any unnecessary guidelines and pencil marks. This is a good time to look over your sketch and make sure you're satisfied with the proportions of the dolphin before we move on to the finishing touches.
Step 10: Add decorative elements
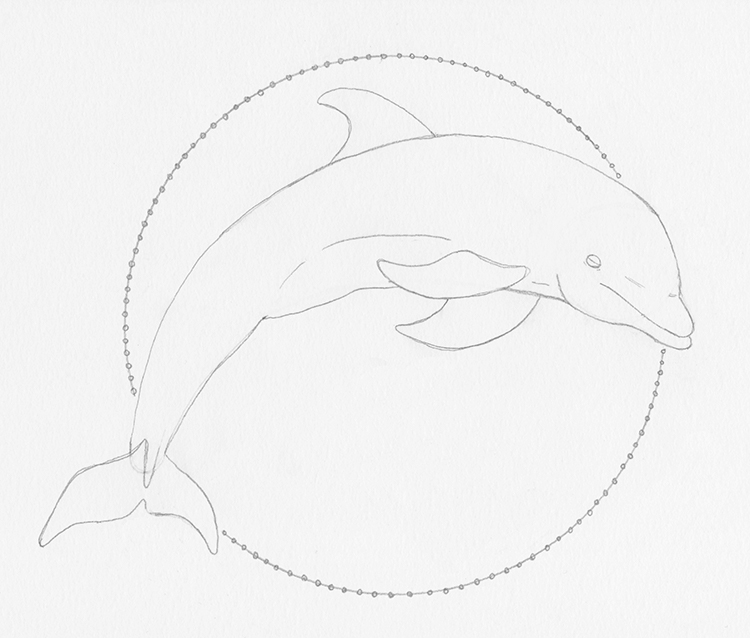
Photo & Art: Margherita Cole | My Modern Met
Even if you don't want to draw an ocean to go along with your leaping dolphin, there are other simple ways to complete your illustration. One easy idea is to frame the dolphin within a circular border. All you'll need is a compass or protractor to draw the circle. Then, you can draw small dots along the curved line.
Step 11: Go over the drawing in ink
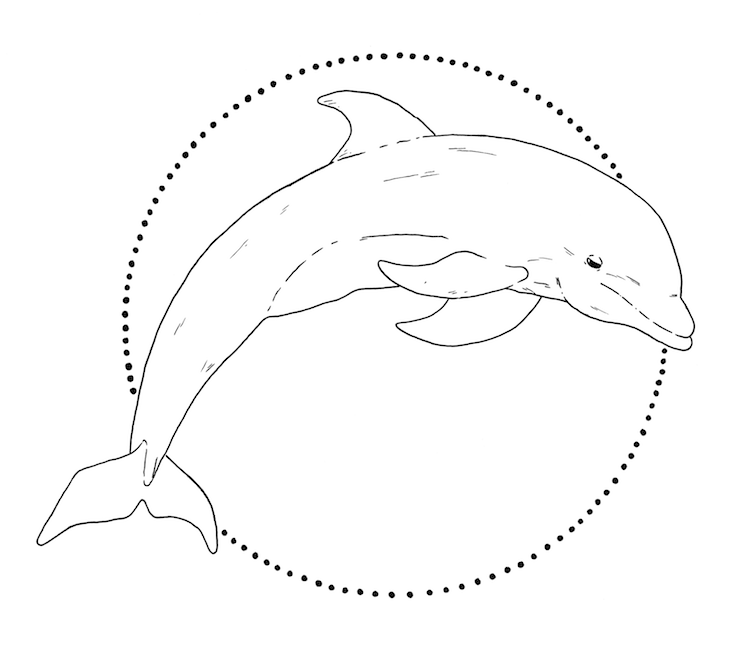
Photo & Art: Margherita Cole | My Modern Met
Finally, it is time to go over your final drawing in ink. Using your favorite pen, slowly trace over the lines, taking care not to smear any ink. Once you've gone over the entire drawing, and given the ink ample time to dry, carefully erase any remaining pencil marks.
Afterward, you can either add color to your illustration or leave it as is for a striking black and white drawing of a bottlenose dolphin!
Looking for others who love drawing? Join our Art, Design, Photography, and Drawing Club on Facebook!
Related Articles:
Learn How to Draw a Great White Shark in 7 Simple Steps
Learn How to Draw an African Elephant in 7 Simple Steps
Learn How to Draw Koi Fish With This Easy Step-By-Step Guide


