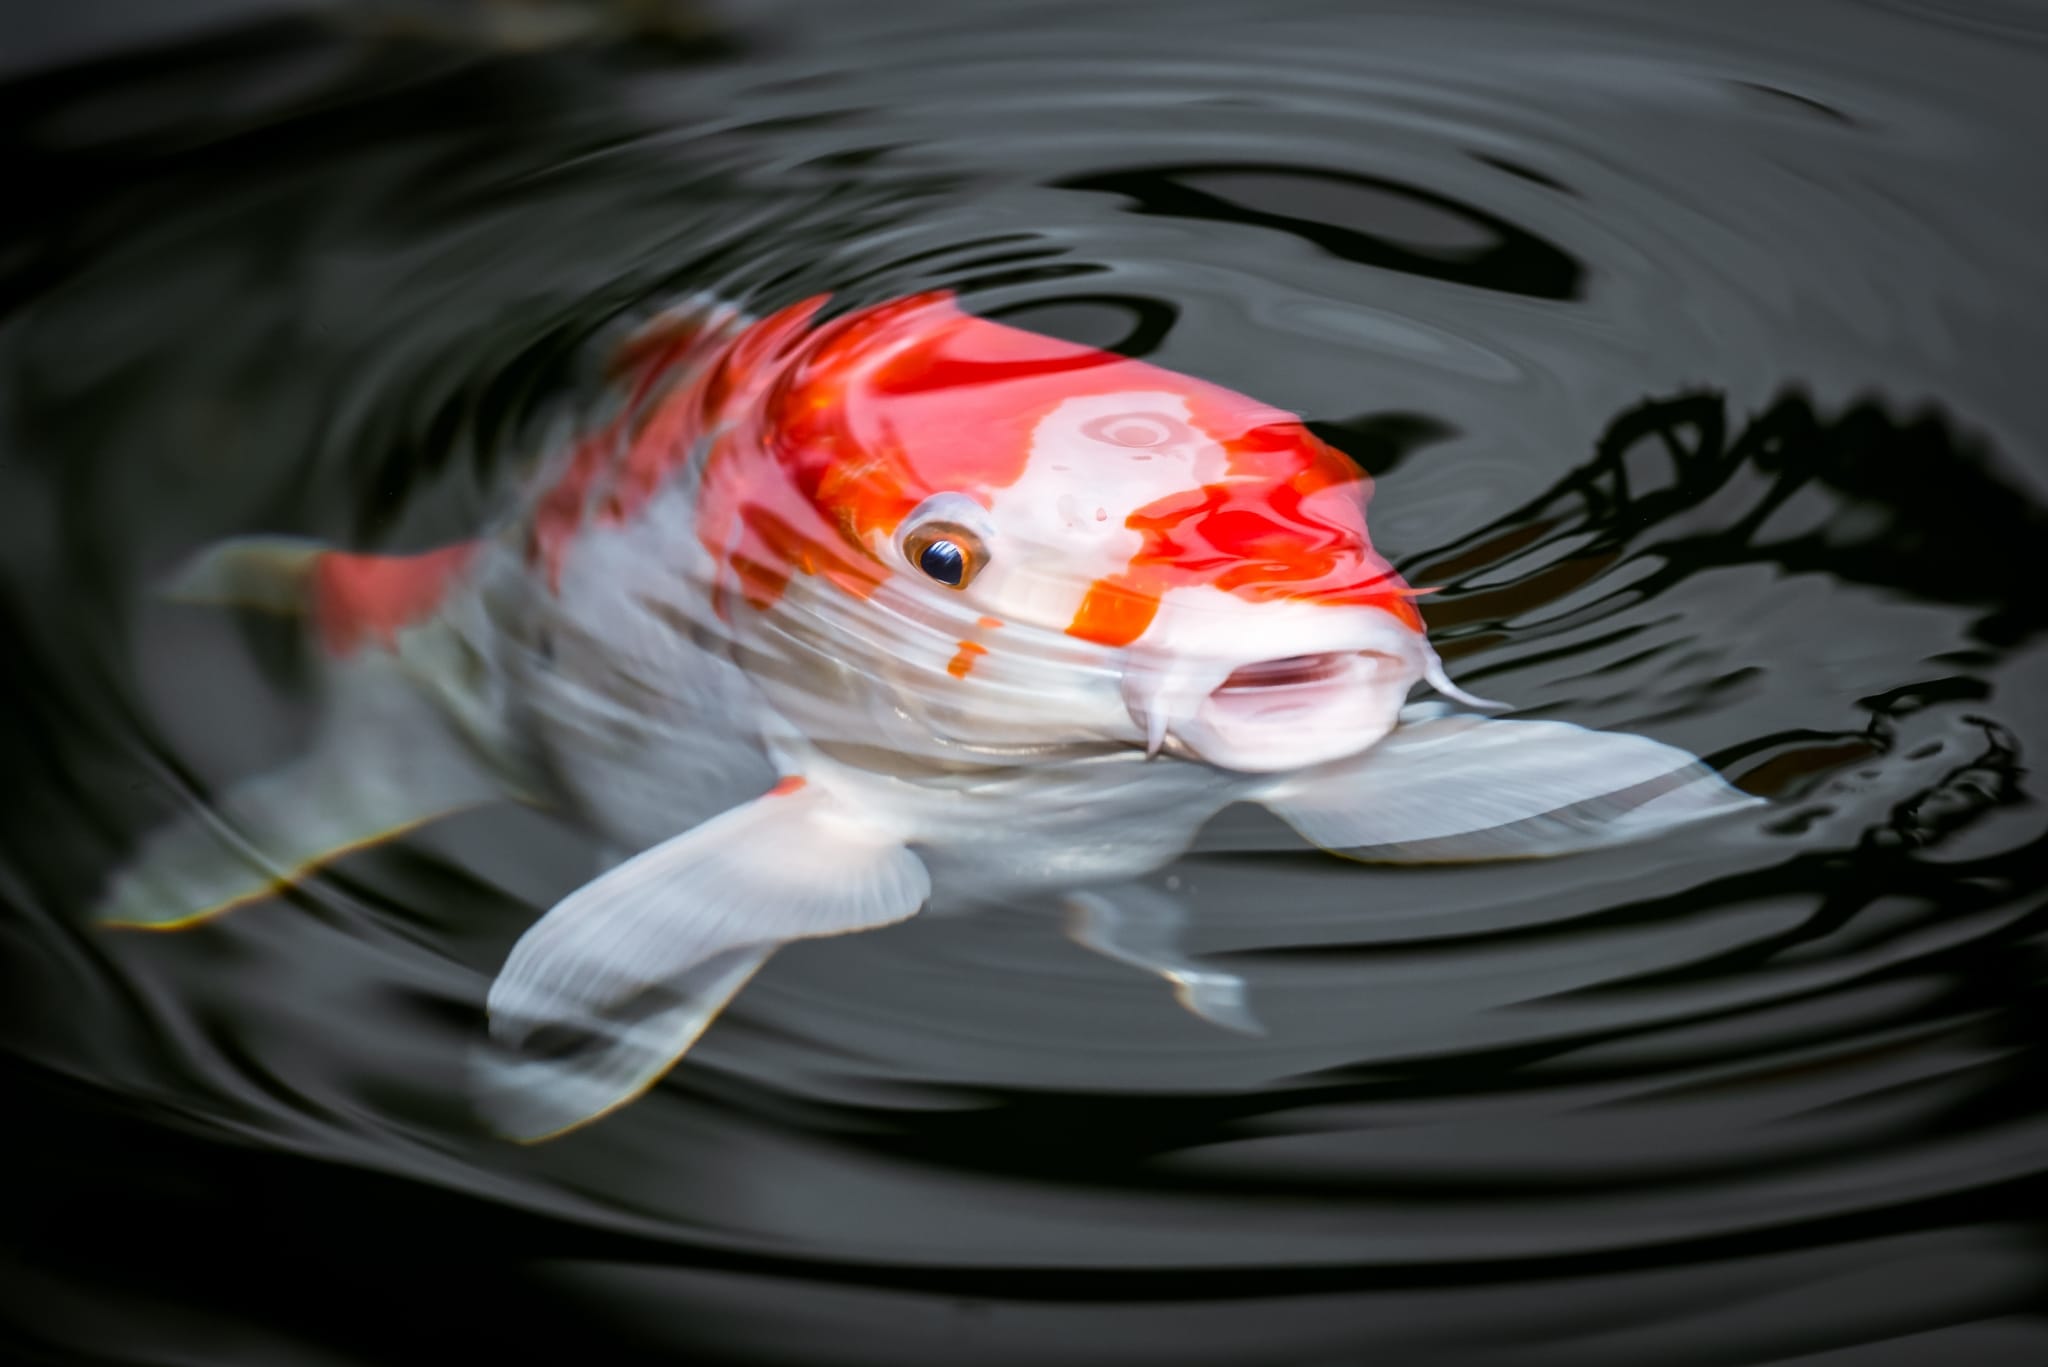
Photo: Stock Photos from Mirko Graul/Shutterstock
This post may contain affiliate links. If you make a purchase, My Modern Met may earn an affiliate commission. Please read our disclosure for more info.
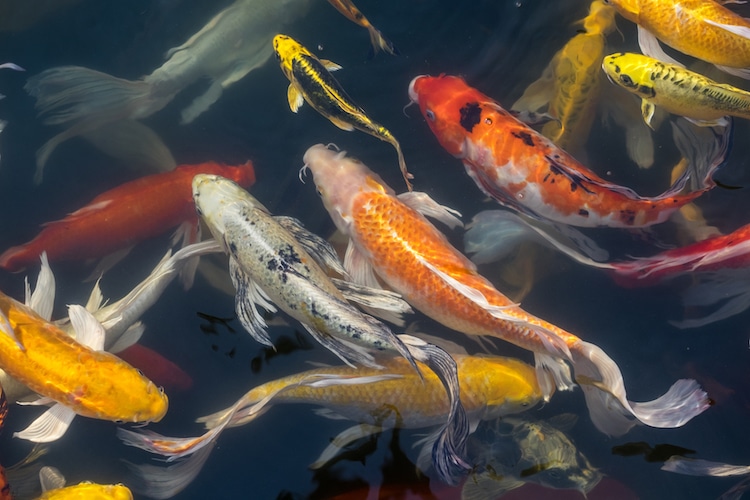
Visiting a koi pond and watching the colorful, beautiful fish swim in the water is one of the most serene recreational activities. These aquatic beauties are called nishikigoi, or “brocaded carp” in Japanese, and come in a variety of colors and patterns. The architecture of their elaborate water gardens is designed to improve the health and growth of the fish, as well as provide decorative pleasure. Even if you can't keep your own koi pond, why not put your dreams to paper by drawing your own elegant fish?
This tutorial will guide you through the basic steps to drawing a single koi fish, as well as how to make your own koi pond. Ready to give it a shot? Then pick up your drawing tools and get ready to draw some beautiful fish!
How to Draw Koi Fish
Step 1: First, find your reference photos
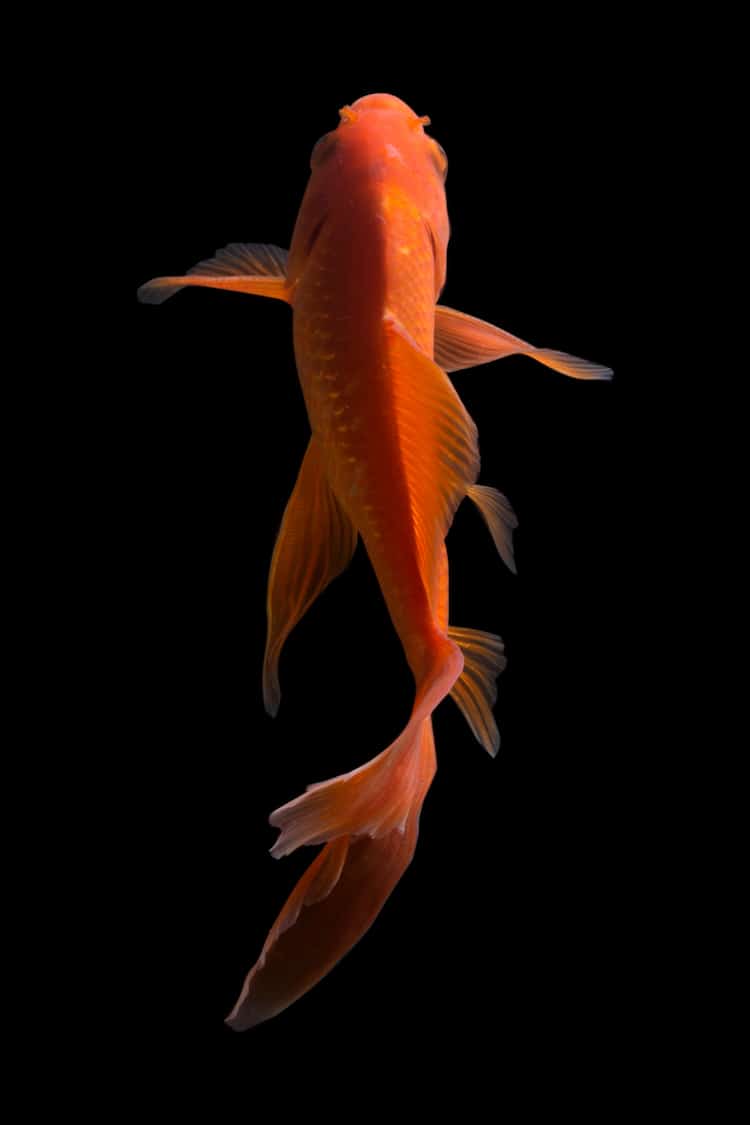
Before we begin drawing, it's important to set aside some time to research koi fish and decide what type you would like to illustrate. There are several types of koi, so it's useful to have a model that you can cite if you get stuck. This is mostly to help with anatomy, so you'll still have opportunities to personalize your koi fish illustration in the pattern.
This tutorial will be focusing on how to draw a butterfly koi fish—which are recognizable for their slimmer bodies, and long flowing tails and fins.
Step 2: Draw the body

Photo & Art: Margherita Cole | My Modern Met
Fish are fluid animals, so it helps to start your koi fish drawing with a curvy line. Think about how they move in the water and sketch a gesture line based on that. Next, draw a long oval body around the initial line, making sure that it tapers significantly as you reach the end.

Photo & Art: Margherita Cole | My Modern Met
With the body in place, you can turn your attention to the head, which should be the most bulbous part of the koi fish. Demarcate this section with a line that dips into a slight V-shape at the center. Then, sketch a pair of round eyes that protrude slightly from the koi's head. Take some time to check with your reference photo, and if necessary, extend the nose of the fish as I did below. Lastly, you can give the koi fish two wavy whiskers.
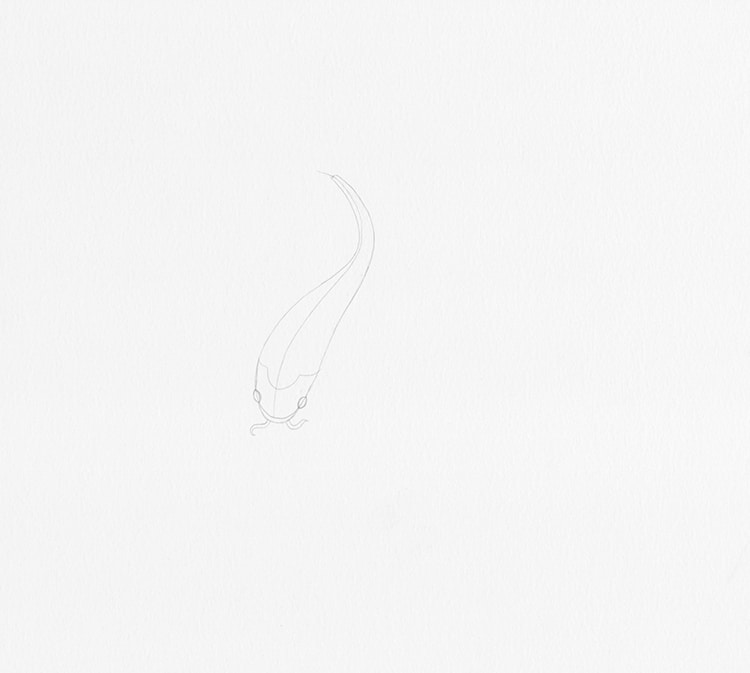
Photo & Art: Margherita Cole | My Modern Met
Step 3: Add the tail and fins
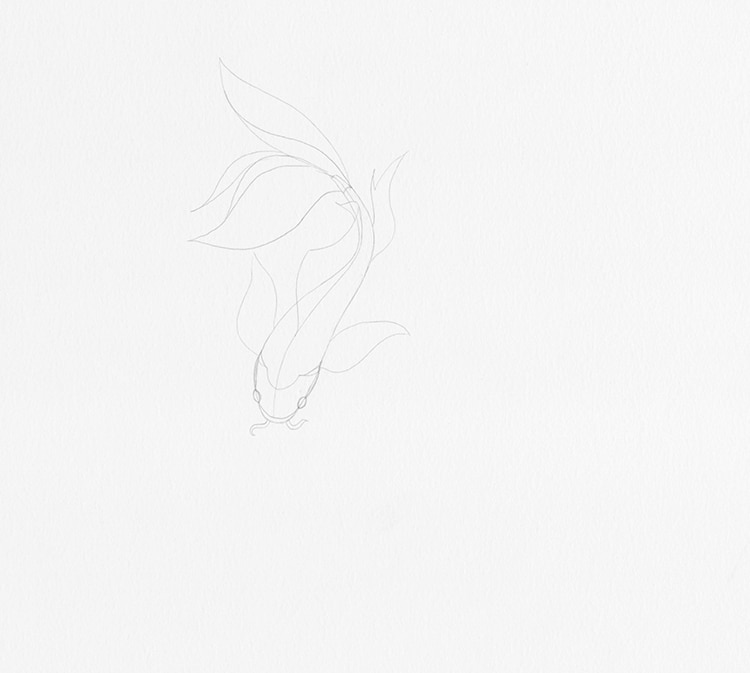
Photo & Art: Margherita Cole | My Modern Met
Next, it is time to add the tail and fins to your koi fish. If you're drawing butterfly koi, these appendages will be long and flowing. Start drawing the fins where you drew the line of the head. Let them stretch out beside the body into a point before ending the line in a tapered “V.” Then, start the dorsal fin in the center of the body and create a thin, wavy, rectangular shape that ends near the tail. Depending on the angle of your koi fish, you can also add the anal fin to the side of where the dorsal fin ends. Check in with your reference photo if you have trouble distinguishing the appendages.
Finally, add the tail where the body of your koi fish ends in a taper—creating a large, luscious shape that drifts in the water.
Step 4: Fill in the details

Photo & Art: Margherita Cole | My Modern Met
Since this tutorial will be going over how to draw a koi fish in black and white, it's important to make up for the lack of color with texture. This is much easier than it sounds, and only requires a bit of patience. For example, you can complete the tail and fins of your koi fish by drawing long, wavy lines that are more or less parallel to each other. It's okay if they're uneven—the pattern will still provide the desired effect once it's completely filled in.
You can complete the body in several different ways, but here I've chosen to layer it with scales. This is similar to the process I used to draw a dragon, where you carefully draw rows of half-circles atop each other until you eventually reach the tail. I kept the scales fairly large here, but feel free to experiment with yours. Many koi have patterned skin too, which you can fill in now with black, or later with colored pencils or markers.
Step 5: Go over the drawing in ink

Photo & Art: Margherita Cole | My Modern Met
Once you are satisfied with your sketch, it's time to find your favorite pen and go over the drawing in ink. Different types of pens will produce different effects, so keep that in mind when making your selection. A brush pen, for instance, will give the koi fish a more expressive effect, whereas a fine line pen will produce a more even look. If you have a collection of fine line pens in different nib sizes, however, you can switch to a smaller one for more precise textures.
After you've gone over all of the lines in pen, set the drawing aside to give the ink ample time to dry. Then, use an eraser to gently remove any remaining pencil marks. Congratulations! You've drawn your very own koi fish.
Want to make a koi pond?
Step 6: Draw more fish
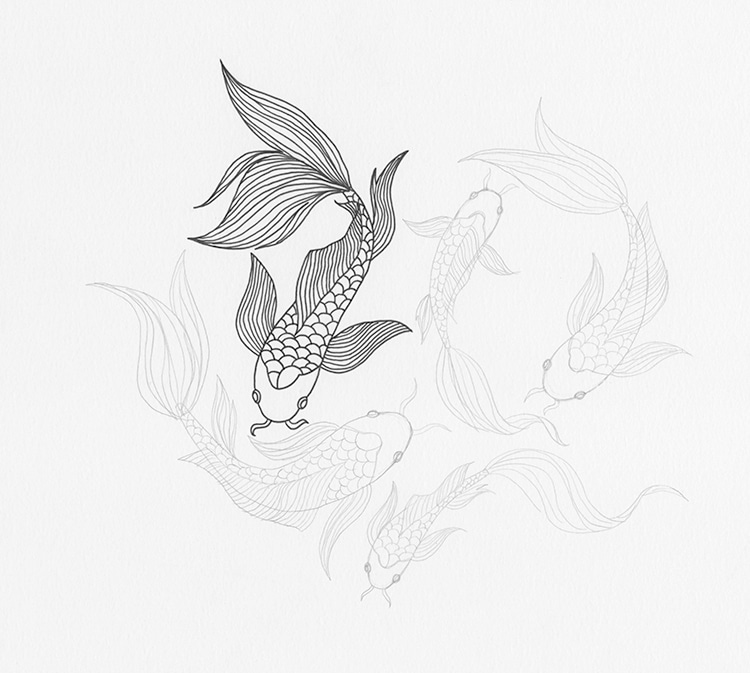
Photo & Art: Margherita Cole | My Modern Met
Now that you know how to draw a koi fish, making a pond is easy! Consider how koi fish move together in the water and demarcate places for them to swim with more loose S-shaped lines. Then, follow Steps 1-5 to complete them. This is also a good opportunity to include other kinds of koi fish in your illustration.
Don't worry too much about making your koi fish “perfect.” Fish come in all types of colors and variations, so feel free to express yourself by deviating from what you see. Even if you're dissatisfied with how one of your koi fish turns out, drawing them in a group will divert the attention to the composition and not the details.
Step 7: Add water lilies and lily pads

Photo & Art: Margherita Cole | My Modern Met
Once you've drawn your fish there are several ways to complete the illustration. Adding water lilies and floating lily pads will give the pond a bucolic atmosphere. To draw a water lily, you sketch a round circle and attach pointed petals, which should extend outward in various layers. You can make “perfectly” round lily pads by using a protractor or draw them freehand for a looser feel.
Step 8: Add water
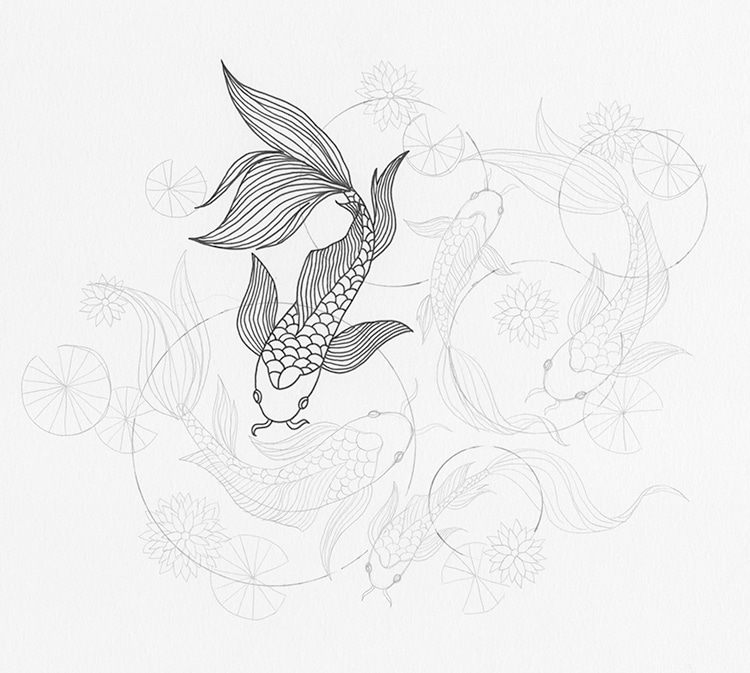
Photo & Art: Margherita Cole | My Modern Met
Since this tutorial focuses on drawing a koi pond in black and white, the water will act as the complementary black space to our predominantly white fish and flora. Ponds come in all shapes and sizes, so you can use a ruler to draw a rectangular or square border and fill it in with ink. Or, you can use a protractor and place abstract circles of water for a more artistic illustration.
Step 9: Ink the rest of the drawing
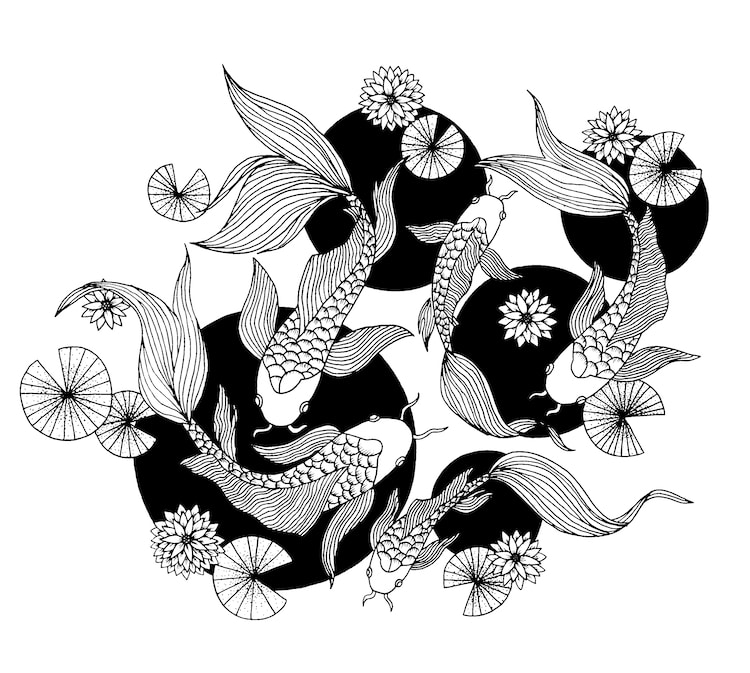
Photo & Art: Margherita Cole | My Modern Met
It's good practice to complete your inking process in stages and allow yourself time to go over the illustration and see what is or is not needed. Once you have gone over the remaining pencil lines with pen and filled in your water patches with black ink, consider whether you need to add any finishing touches.
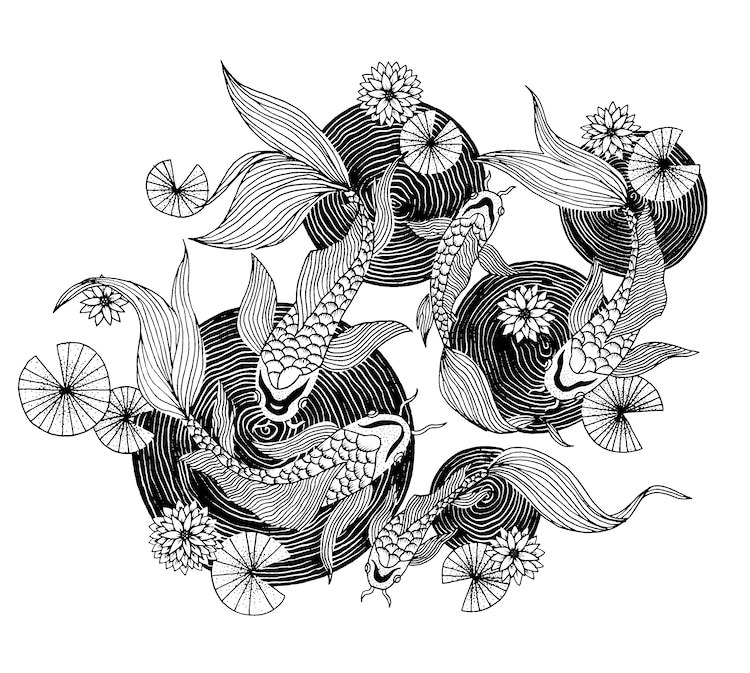
Photo & Art: Margherita Cole | My Modern Met
To add white detailing to the water, you can use opaque white India ink and a nib pen. Ensuring that the black ink is already dry, carefully draw concentric white lines in the circle to imitate the rippling of water. This will alleviate the heavy patches for a more whimsical effect.
After you've finished, you can either add color to the composition or leave it as is for a dashing black and white illustration!
Looking for others who love drawing? Join our Art, Design, Photography, and Drawing Club on Facebook!
Related Articles:
Learn How to Draw a Monarch Butterfly in Five Easy Steps
Learn How to Draw a Wolf Howling at the Moon Step by Step
Learn How to Draw a Magical Unicorn in 6 Simple Steps
Artist Reveals How to Draw Perfect Flowers in 3 Simple Steps