Stock Photos from Marben/Shutterstock
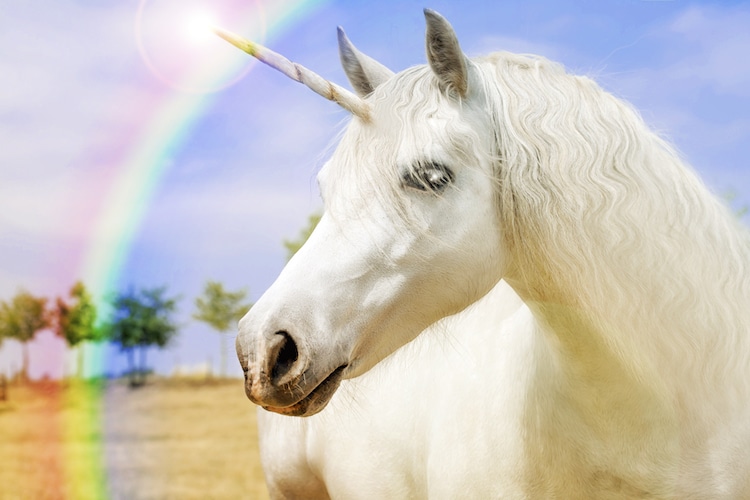
Unicorns are among the most romantic mythical creatures. Even today, children fawn over their beauty and magical presence in books, television, and movies. However, it's never too late to indulge in a fairytale drawing. Regardless of your age or drawing level, practicing the basics will have you on your way to a magical unicorn illustration.
Traditionally, unicorns are portrayed as a horse with one horn. This tutorial will guide you through the basic steps in drawing a horse before turning it into a unicorn. Ready to give it a shot? Then pick up your drawing tools and get ready to draw a unicorn!
Learn how to draw a unicorn, step by step

Stock Photos from Africa Studio/Shutterstock
Step 1: Find a reference photo of a horse
Stock Photos from Viktoriia Bondarenko/Shutterstock
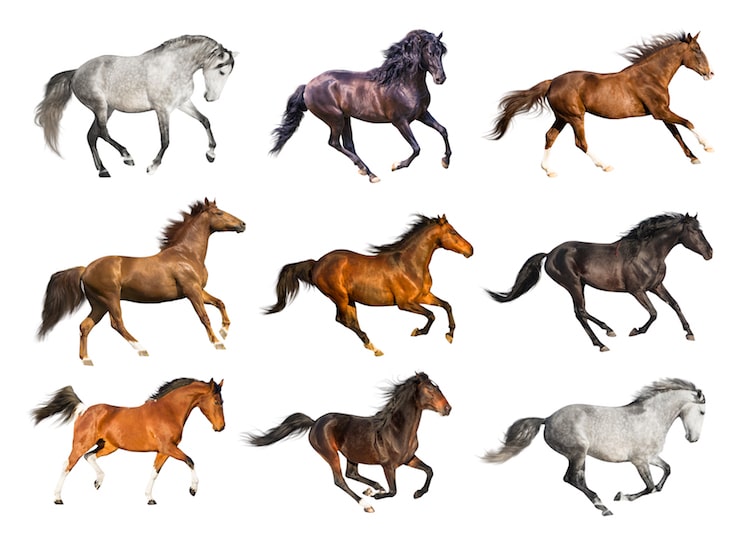
Before we begin drawing, it's important to find a good reference photo of a horse. Think about what position you want to draw your unicorn in—standing, galloping, jumping—and search the internet for an appropriate model. Later we'll take liberties with details like a horn and luxurious mane, so just focus on finding the body position you want.
Tip: Make sure you can see the horse's hooves in the photo as those can be tricky without a good reference.
Step 2: Lightly sketch the basic shapes
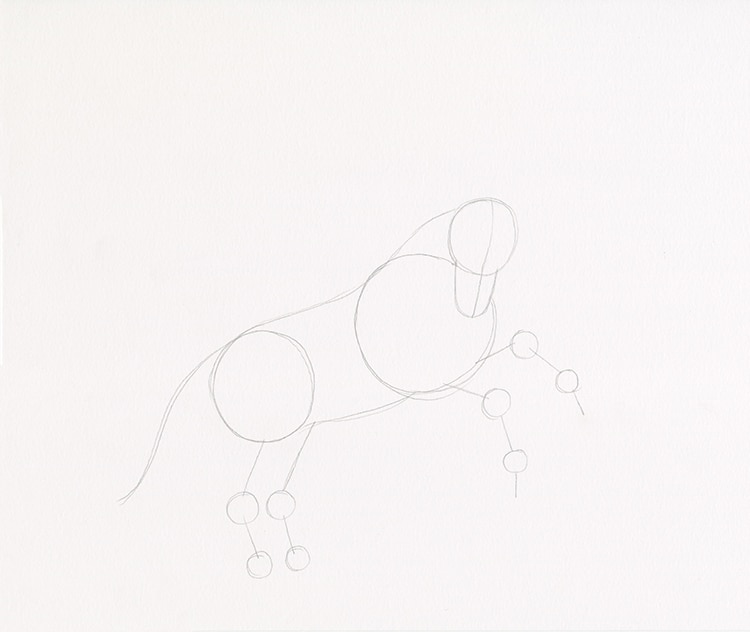
Photo & Art: Margherita Cole / My Modern Met
Once you have chosen your reference photo it's time to grab your favorite pencil and eraser and start drawing. If you're at a loss of where to start, it's generally a good idea to begin by lightly sketching the basic shapes that make up the horse's body. At this stage, we really just want to get a general idea of the size and proportions of the figure, so don't move ahead until you're satisfied with the basic form.
Step 3: Connect your preliminary shapes
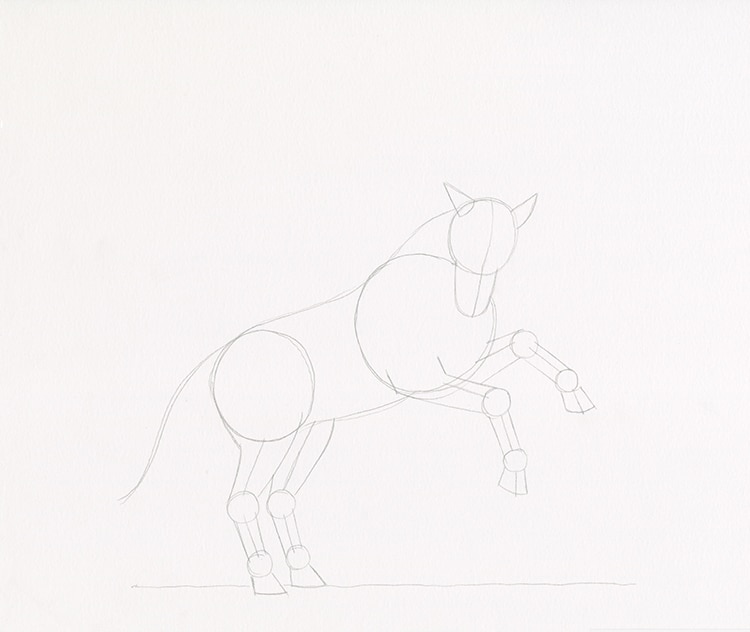
Photo & Art: Margherita Cole / My Modern Met
Next, we're going to connect the shapes and lines we laid out for the horse's legs. Don't worry about making them perfect yet—just focus on laying down the right foundation. At this time you can also sketch two triangle-like shapes at the top of the horse's head, which will be its ears.
Step 4: Slowly add details to the unicorn
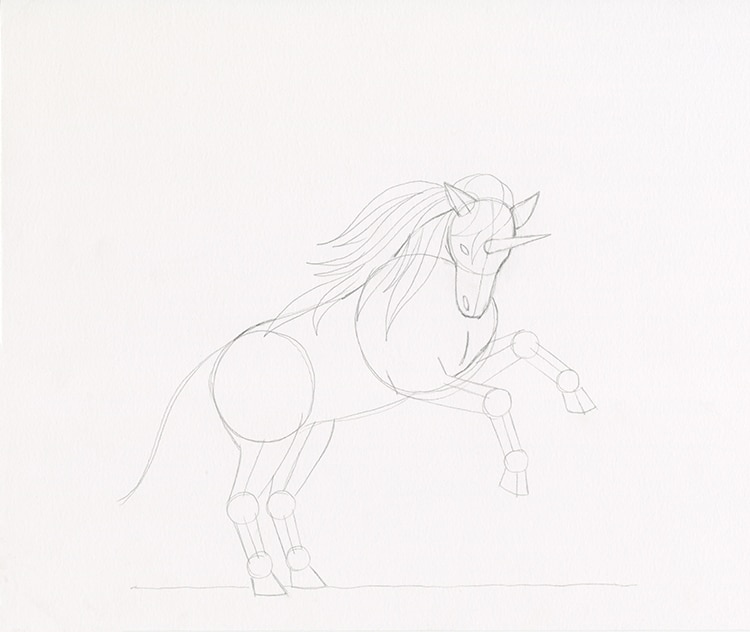
Photo & Art: Margherita Cole / My Modern Met
Horses have very complex bodies. Unless you spend a lot of time around horses, they can seem really confounding to draw. Even though unicorns are mythical creatures, they're often based on horses, so it's absolutely vital to have some sort of reference as you proceed with adding details to your drawing.
Since there are a lot of moving elements in a horse, we'll build our drawing part-by-part. First, we'll focus on the head. Lightly sketch an almond eye about halfway in the circle and an oval nostril towards the end of the snout. There's no hard rule about where the unicorn's horn goes, but, generally speaking, it's somewhere in the center of the forehead. At this time, you can loosely sketch a mane that billows from your unicorn's neck. If your unicorn is moving, think about it flowing in the wind.
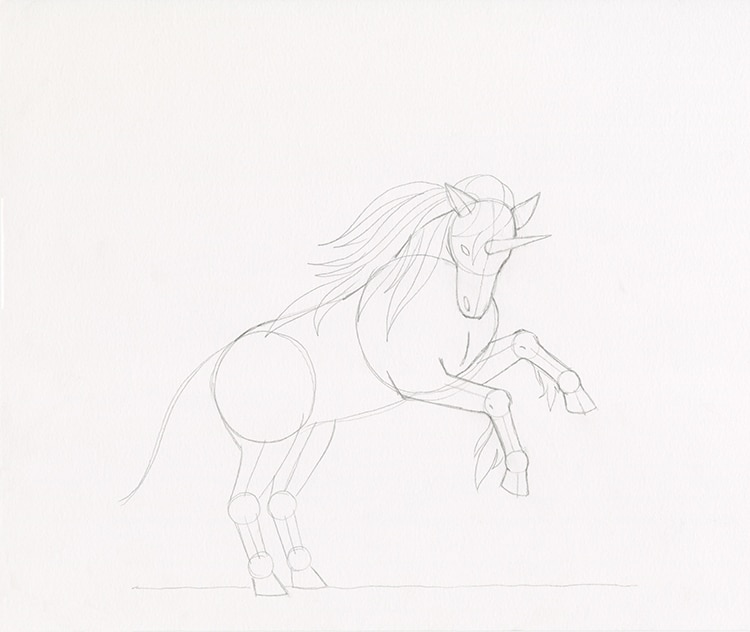
Photo & Art: Margherita Cole / My Modern Met
After you've spent time on the unicorn's head, it's time to turn your attention to the legs. Depending on your reference photo, your unicorn may be in a different pose than the one above. Even so, take special care drawing the legs and hooves, as they make all the difference to the final product.
Then, to complement your unicorn's mane, sketch a matching luxurious tail and fluffy hooves.
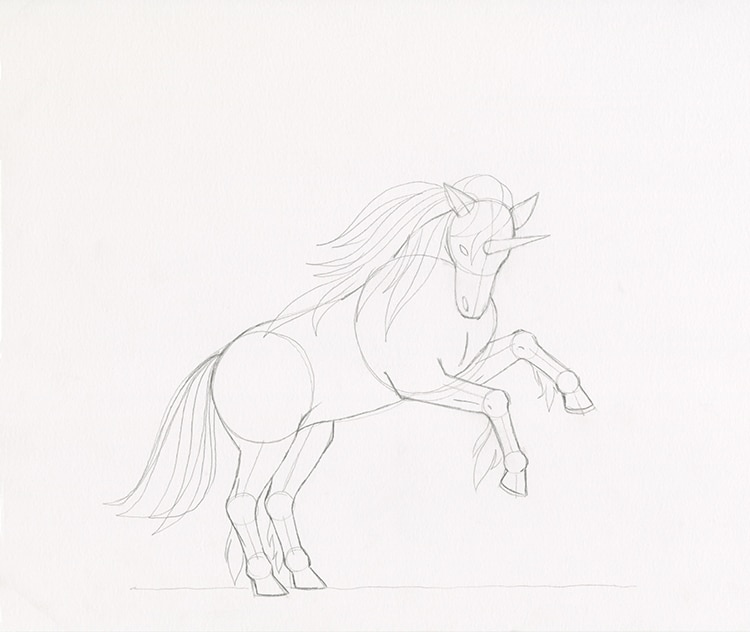
Photo & Art: Margherita Cole / My Modern Met
Step 5: Refine the outline
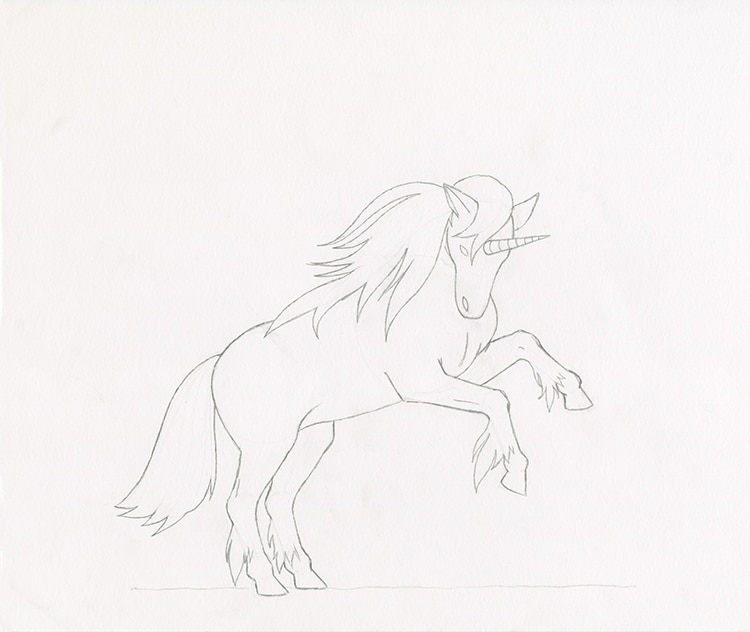
Photo & Art: Margherita Cole / My Modern Met
Adding details you're satisfied with can take quite some time, so don't rush it. Once you're satisfied, however, you can slowly erase any unnecessary lines from your unicorn's form until you have a clean outline. If some area is still giving you trouble, try setting the drawing aside for a bit before you come back to it.
Optional: Give your unicorn a magical setting.
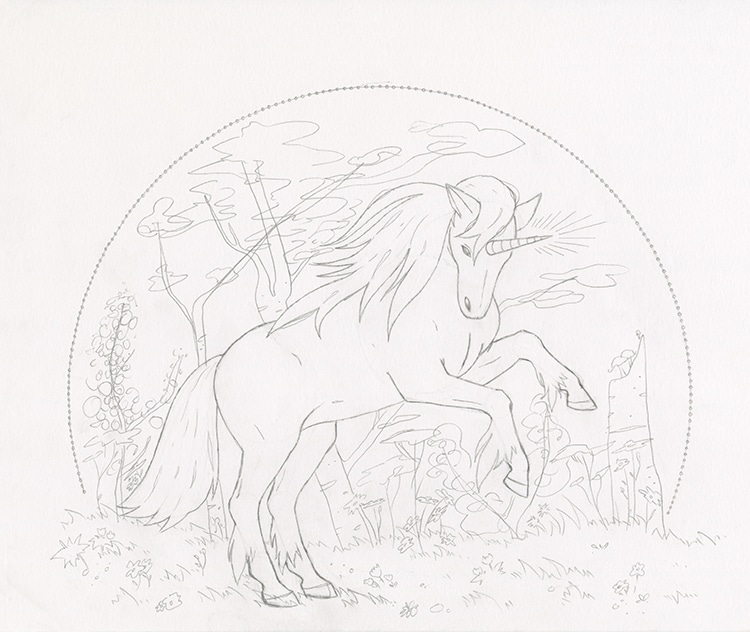
Photo & Art: Margherita Cole / My Modern Met
While you're contemplating how to finish your unicorn, think about adding extra elements to the composition. A meadow, a rainbow, or a princess are all romantic ideas to complement the mythical creature.
If you want to add a decorative border around your drawing, you can first use a protractor to measure a half-circle around the unicorn. Then, sketch small dots that are evenly spaced along the rounded line.
Step 6: Go over the drawing in ink and/or add color
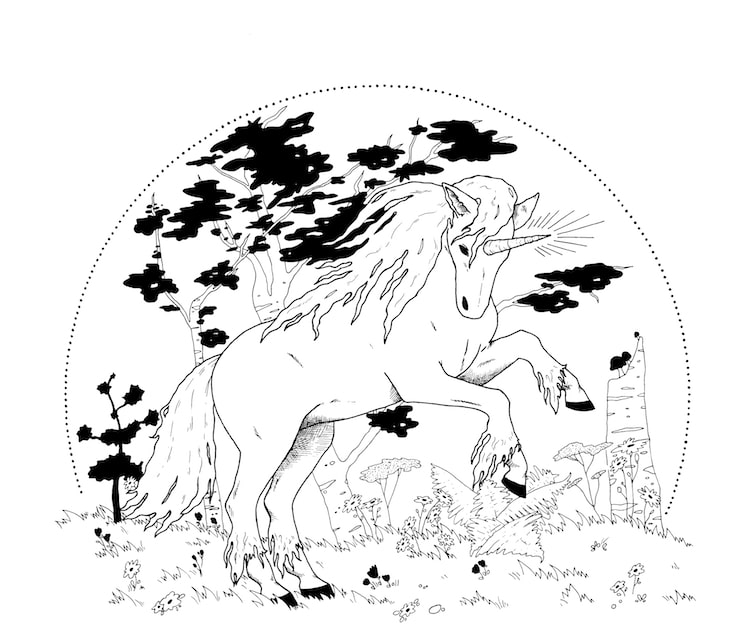
Photo & Art: Margherita Cole / My Modern Met
Once you've perfected your unicorn sketch, it's time to finish it in ink. So pick your favorite pen and carefully trace over the pencil lines. To avoid smudging the ink as you go, consider placing a scrap piece of paper under your drawing hand. It's also a good idea to wait a few minutes after inking to erase the pencil lines, as drying times vary per pen and amount of ink used.
After you've finished, you can either add color to the composition or leave it as is for a dashing black and white illustration!
Looking for others who love drawing? Join our Art, Design, Photography, and Drawing Club on Facebook!
Related Articles:
How to Draw a Dragon With These Easy Step by Step Instructions
Artist Reveals How to Draw Perfect Flowers in 3 Simple Steps


