Photo: Stock Photos from Jacqui Martin/Shutterstock
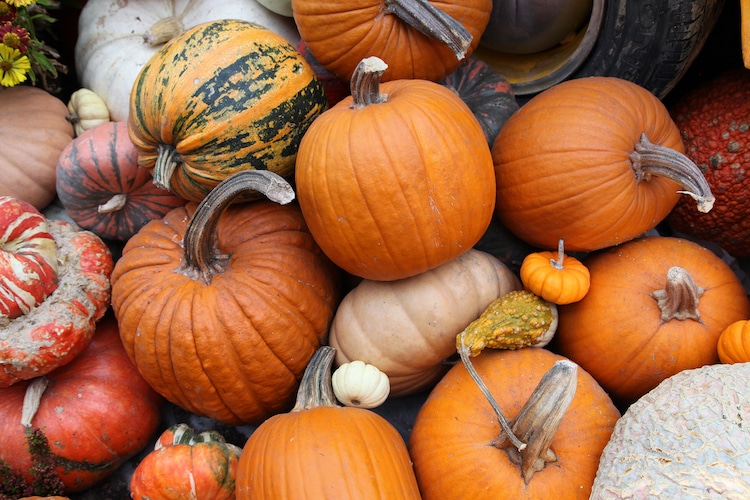
Whether they're orange, green, smooth, or bumpy—pumpkins are synonymous with autumn. These charming gourds inspire some of the most anticipated events of fall, like spooky jack-o'-lanterns and pumpkin spice beverages. And even if you're not a fan of carving wacky faces into these winter squashes, their funky shapes and colors add an autumnal aesthetic to any room in the home. So, what better way is there to celebrate the beloved pumpkin than by learning how to draw it?
If capturing the characteristic textures of pumpkins seems a little daunting, don't worry. These gourds come in all shapes and sizes, meaning you have plenty of liberty to render them as you want. What's important is to learn how to sketch the basic shapes before you flesh out the details. That's why we've put together this step by step drawing tutorial that will help you draw a pumpkin in just a few steps. All you need to get started is a photo or model of your ideal gourd, a pencil, a pen, and some paper. Ready to start? Then let's draw a pumpkin!
Learn how to draw a pumpkin step by step
Step 1: Draw an oval
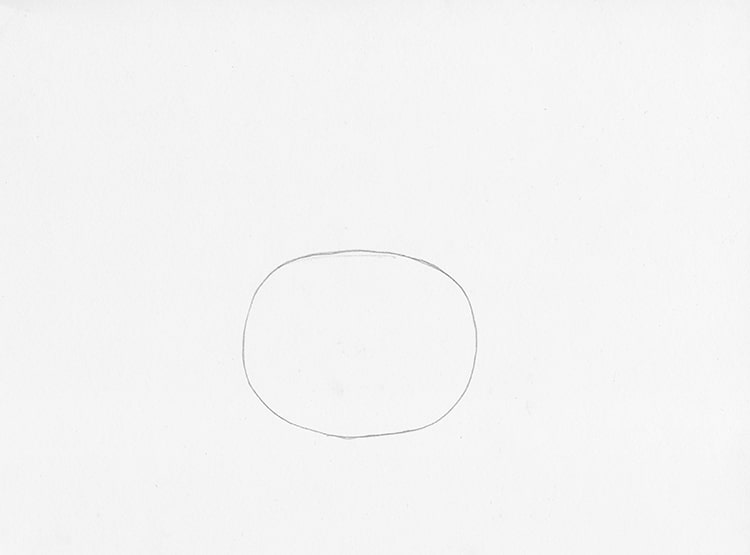
Photo & Art: Margherita Cole | My Modern Met
Start by lightly sketching a wide oval at the center of your page.
Step 2: Add a smaller oval
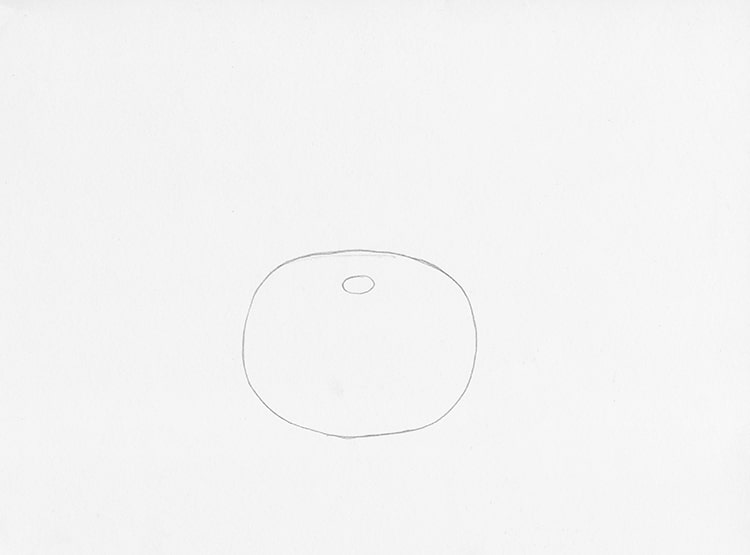
Photo & Art: Margherita Cole | My Modern Met
Then, add a small oval to the top of the shape you just drew. This will be the base of the stem.
Step 3: Sketch the stem
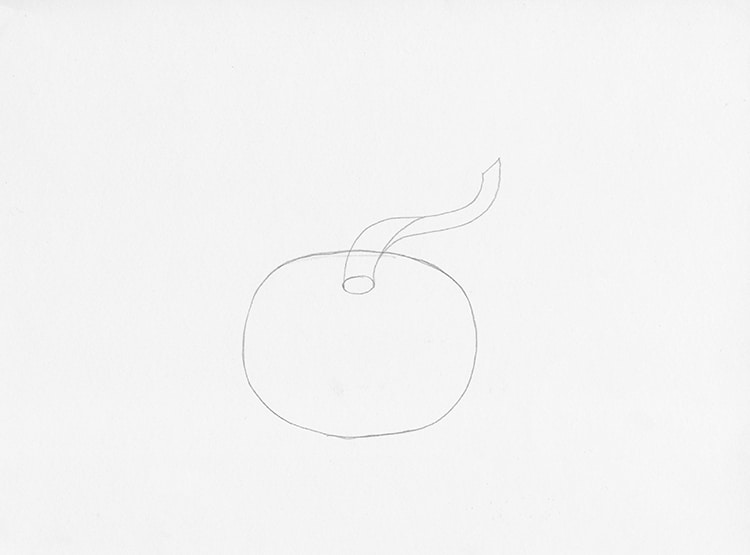
Photo & Art: Margherita Cole | My Modern Met
Next, it's time to draw the stem. This can be as long or as short as you want. In this example, the stem will be on the longer side and twisting slightly up. It should have a ribbon-like appearance.
Step 4: Give the pumpkin ridges
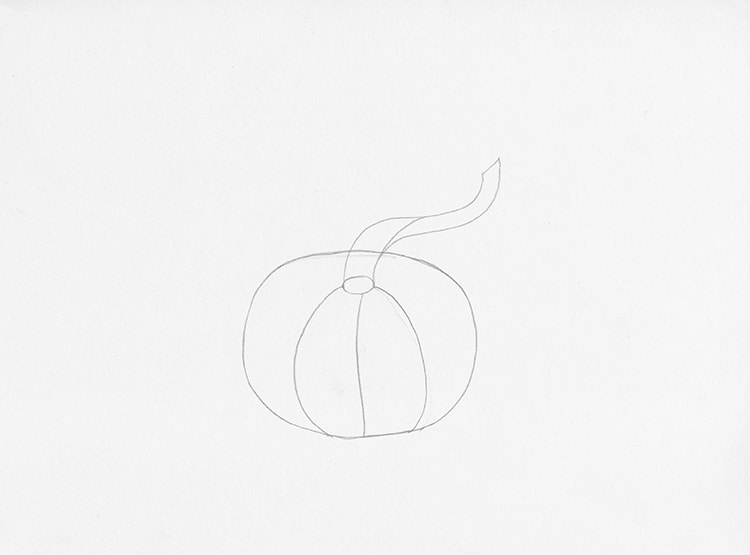
Photo & Art: Margherita Cole | My Modern Met
Turning our attention back to the pumpkin, it's time to divide it into sections. Start at the stem of the gourd and sketch a slightly rounded shape connecting to the larger circle we first drew. Continue adding these curved lines at relatively equal distance around the pumpkin. The final result should look a little like a peeled orange.
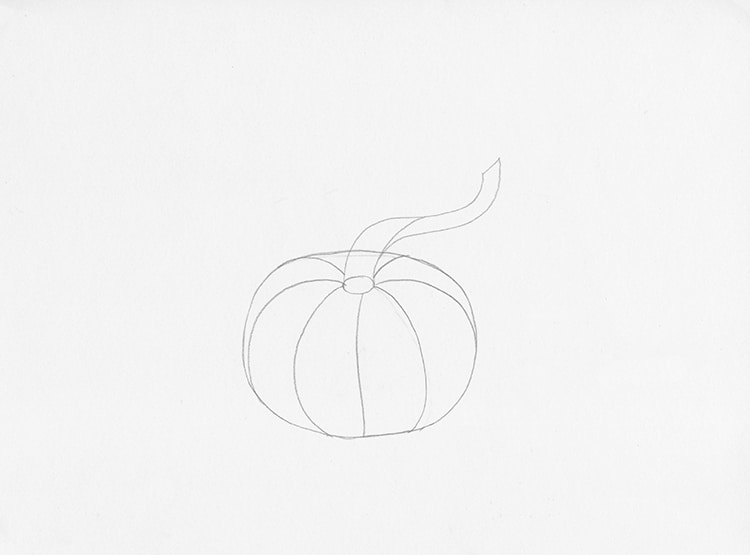
Photo & Art: Margherita Cole | My Modern Met
Step 5: Add detail to the stem
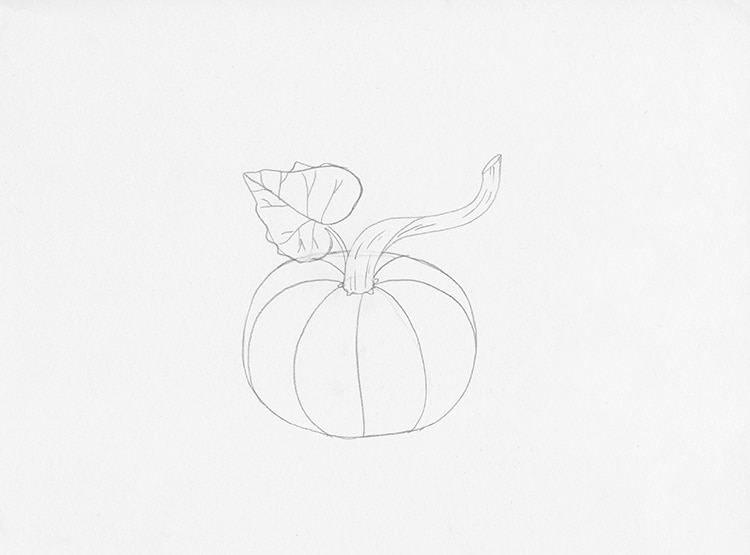
Photo & Art: Margherita Cole | My Modern Met
Leaving the pumpkin for a little bit, return your attention back to the stem and add some texture. If you want, you can also tack on a large leaf.
Step 6: Add detail to the pumpkin
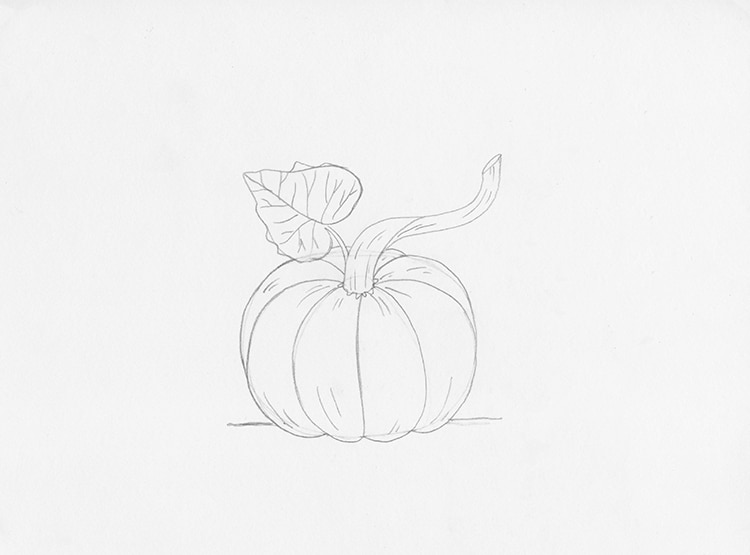
Photo & Art: Margherita Cole | My Modern Met
Now that we're almost done with our pumpkin, it's time to give it a little more volume. Use the section lines we drew in Step Four and expand on them so that they protrude, particularly at the base of the gourd. Then, add a few hatch marks to each section for texture.
Step 7: Go over the drawing in ink (and/or color)
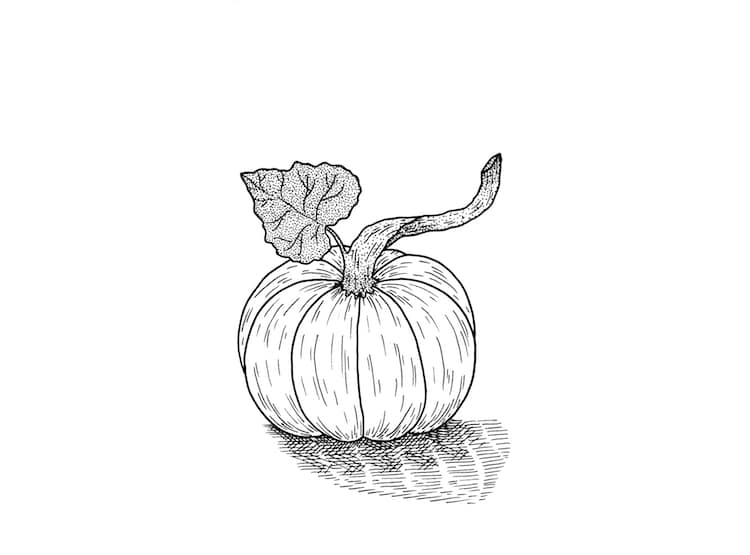
Photo & Art: Margherita Cole | My Modern Met
Lastly, it is time to complete your pumpkin illustration by going over it in ink. So, grab your favorite technical pen and carefully trace your pencil lines. To avoid unintentional smudging, be sure to keep a scrap of paper under your drawing hand.
After you've gone over the basic linework of the pumpkin, consider adding texture to key areas, like the leaf and stem. An easy way to do this is to use stippling and hatching. Then, add a shadow beneath the gourd to give it three-dimensionality. Use cross-hatching for the part of the shadow that is closest to the pumpkin.
Once you're done, you can either leave your drawing as is for a striking black and white illustration or fill it in with color. Happy fall!
Looking for others who love drawing? Join our Art, Design, Photography, and Drawing Club on Facebook!
Related Articles:
Artist Reveals How to Draw Perfect Flowers in 3 Simple Steps
Learn How to Draw Koi Fish With This Easy Step-By-Step Guide


