Photo: Stock Photos from Anna_Andre/Shutterstock
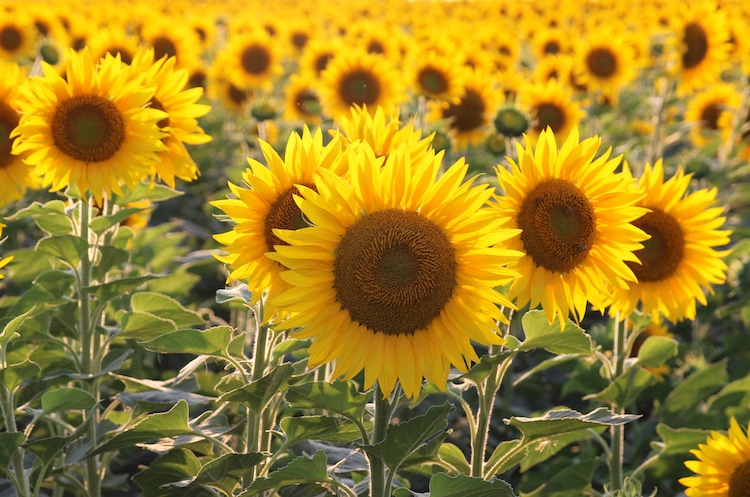
Who doesn't love to draw flowers? Famous artists like Claude Monet, Henri Matisse, and Georgia O'Keeffe are known for their creative depictions of colorful plants. And of course, no painter is as well known for their sunflower art as Vincent van Gogh. His iconic series of sunflower paintings have captured the eyes and hearts of art-lovers from around the world, and inspired many artists to create their own interpretations of this quirky plant.
If capturing the unique beauty of this large flower seems tricky, don't worry. Like any subject, the key is to take it step by step and at your own pace. We've put together a tutorial to help you follow in the Dutch master's footsteps and draw your own illustration of a sunflower. Ready to give it a go? All you'll need to get started is a pencil, eraser, pen, and some paper. Now then—let's draw a sunflower!
Learn How to Draw a Sunflower Step by Step
Step 1: Draw a circle

Photo & Art: Margherita Cole | My Modern Met
Start by drawing a large circle near the top of your paper—this will be the center of the sunflower.
Step 2: Sketch the petals
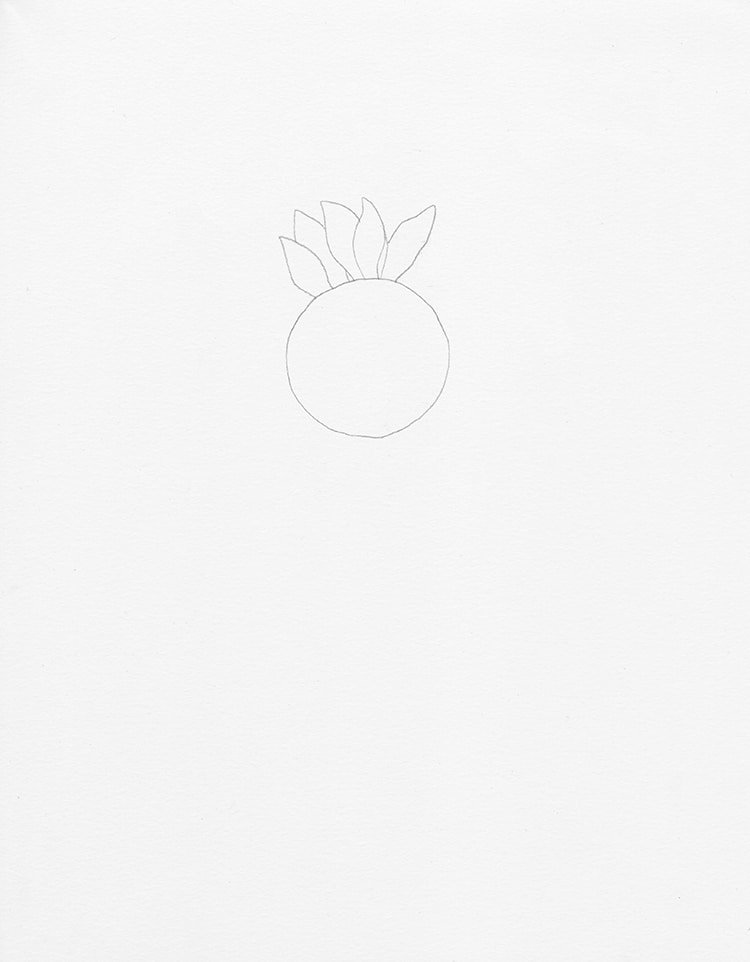
Photo & Art: Margherita Cole | My Modern Met
Next, we're going to add the petals. Looking at a reference photo, lightly sketch diamond-like shapes around the circle. Feel free to make some of the petals bend or curl to give the sunflower a bit of character. If you want to make a fuller-looking sunflower, then layer more petals in the back until you're satisfied. In this tutorial, the sunflower looks more or less even all the way around, but feel free to make it asymmetrical as well.
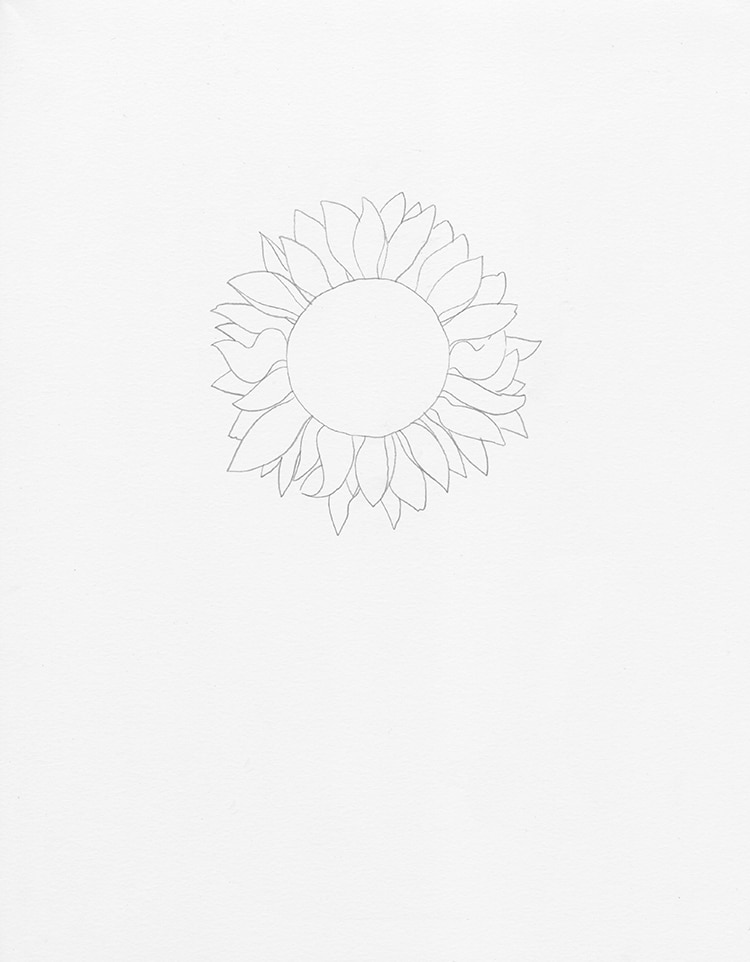
Photo & Art: Margherita Cole | My Modern Met
Step 3: Add the stem
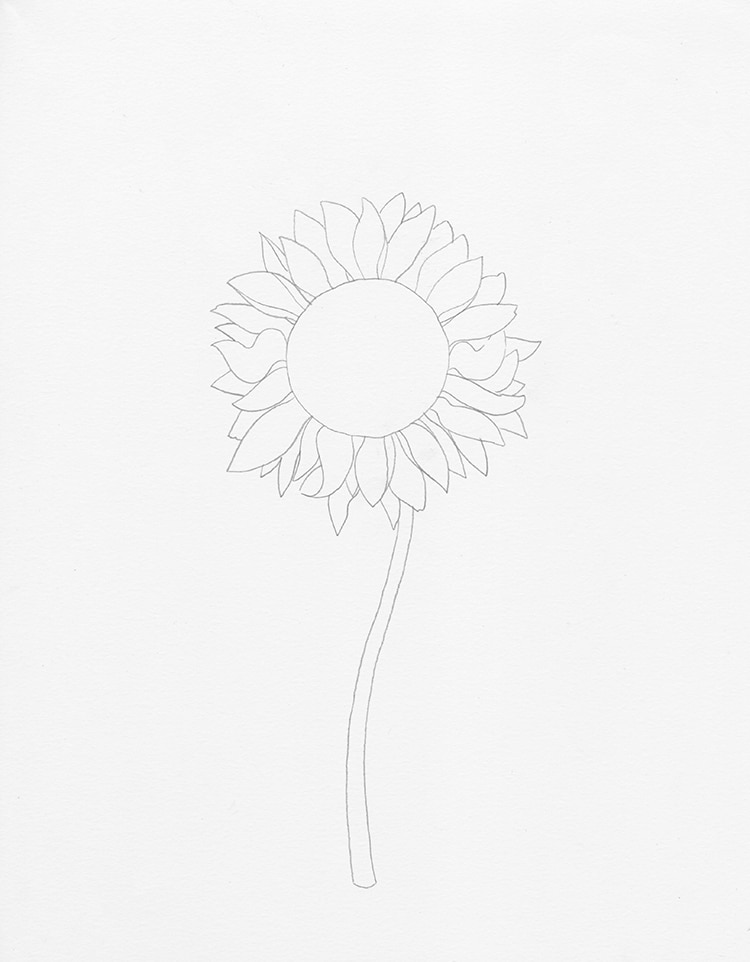
Photo & Art: Margherita Cole | My Modern Met
Afterward, we're going to add a thick stem that goes down almost to the end of the page.
Step 4: Add leaves
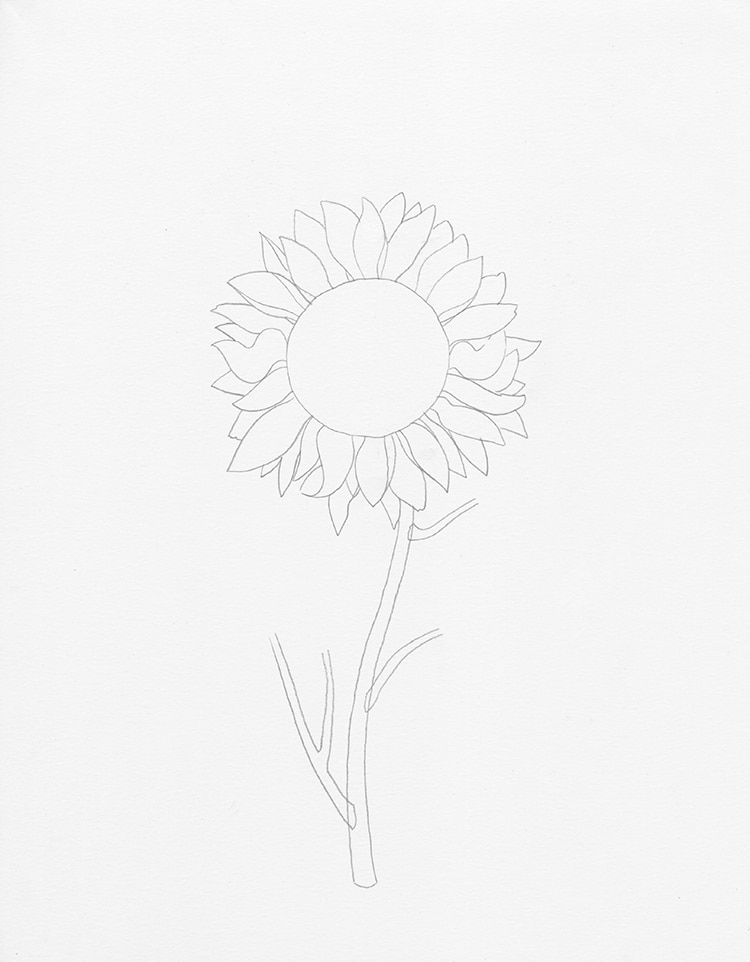
Photo & Art: Margherita Cole | My Modern Met
Next, add a few smaller stems that reach out on either side of the main stem. Then, draw a variety of small, medium, and large leaves at the end of these stems. Try curling some of the leaves to bring a sense of realism to the drawing.
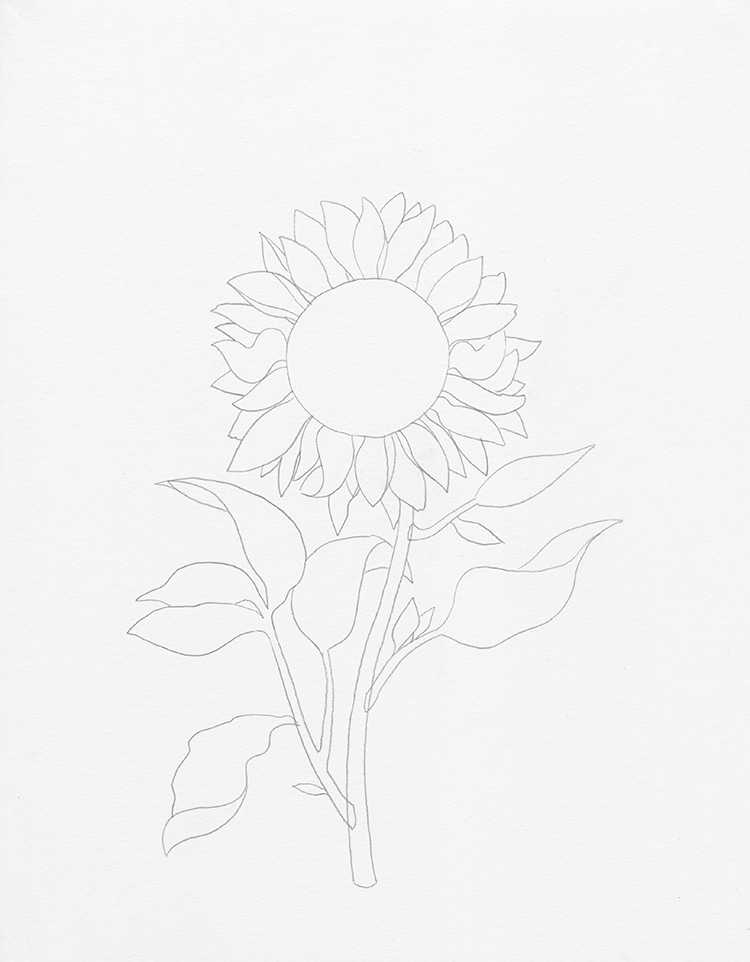
Photo & Art: Margherita Cole | My Modern Met
Step 5: Draw concentric circles in the center
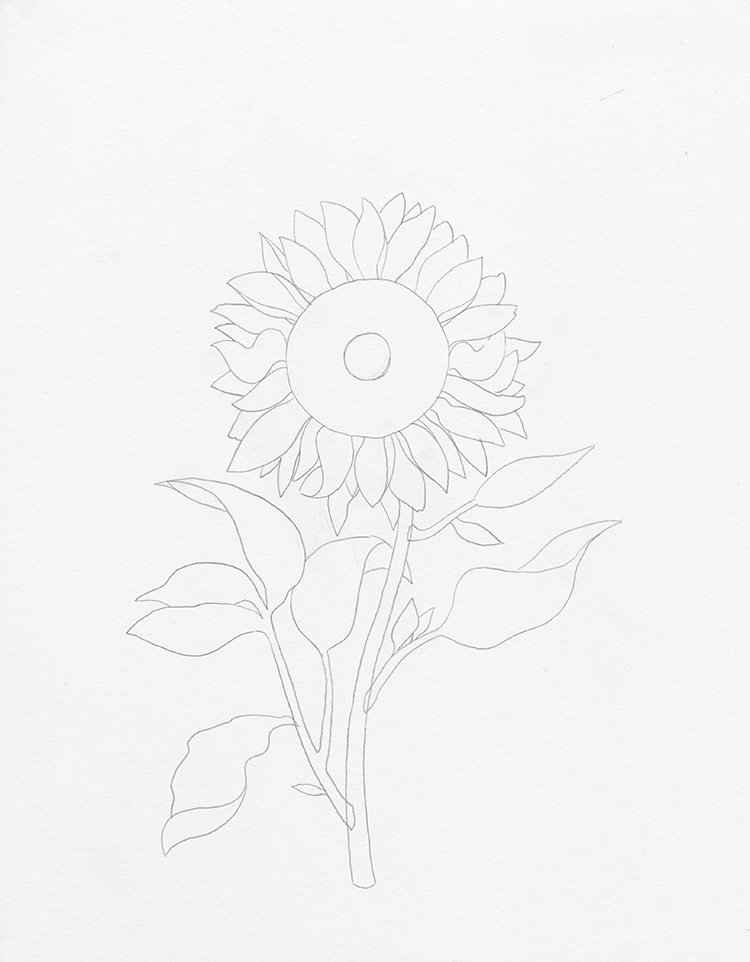
Photo & Art: Margherita Cole | My Modern Met
The center of a sunflower is full of depth. So, to help us map out how to sketch it, we're going to draw two concentric circles. Try to draw these as even as you can, but don't worry too much, as they'll be fleshed out with texture soon.
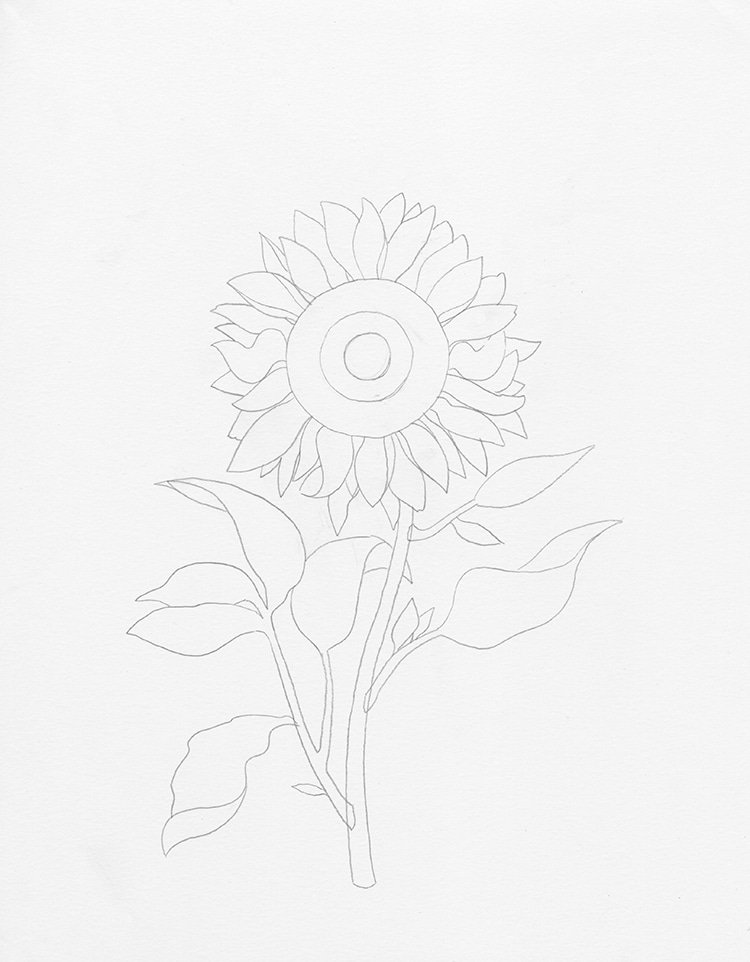
Photo & Art: Margherita Cole | My Modern Met
Step 6: Sketch the seeds
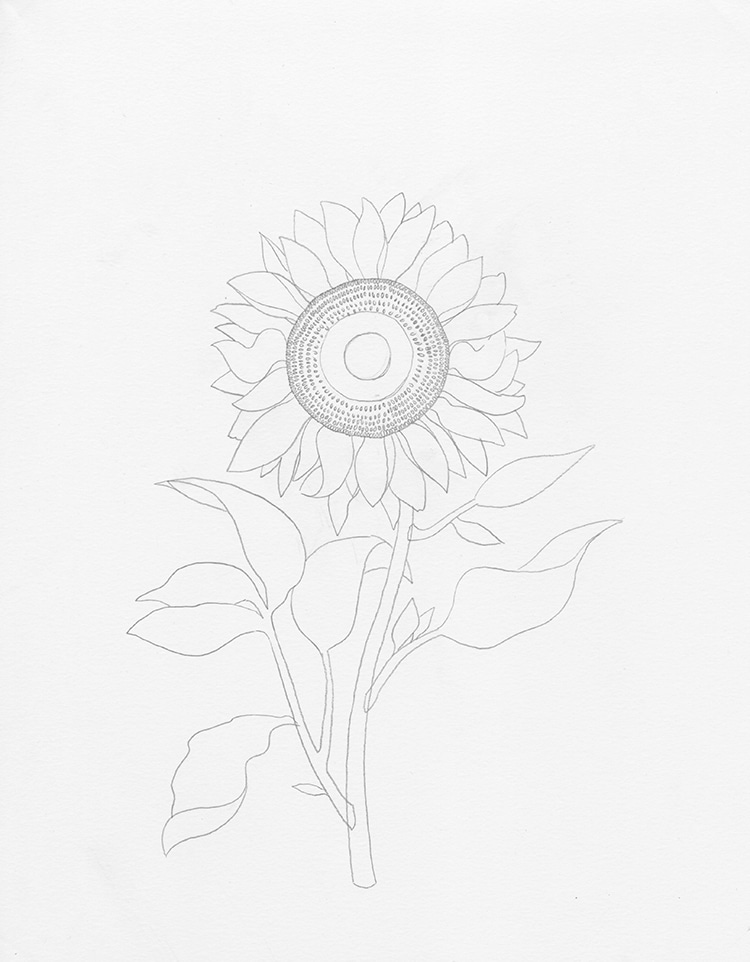
Photo & Art: Margherita Cole | My Modern Met
Starting at the outer part of the flower's center, begin drawing rows of small ovals. While the outer ring should be fairly spaced out, the second ring will be quite dense. Then, at the very center, just add a few ovals here and there, making sure to keep it mostly white.
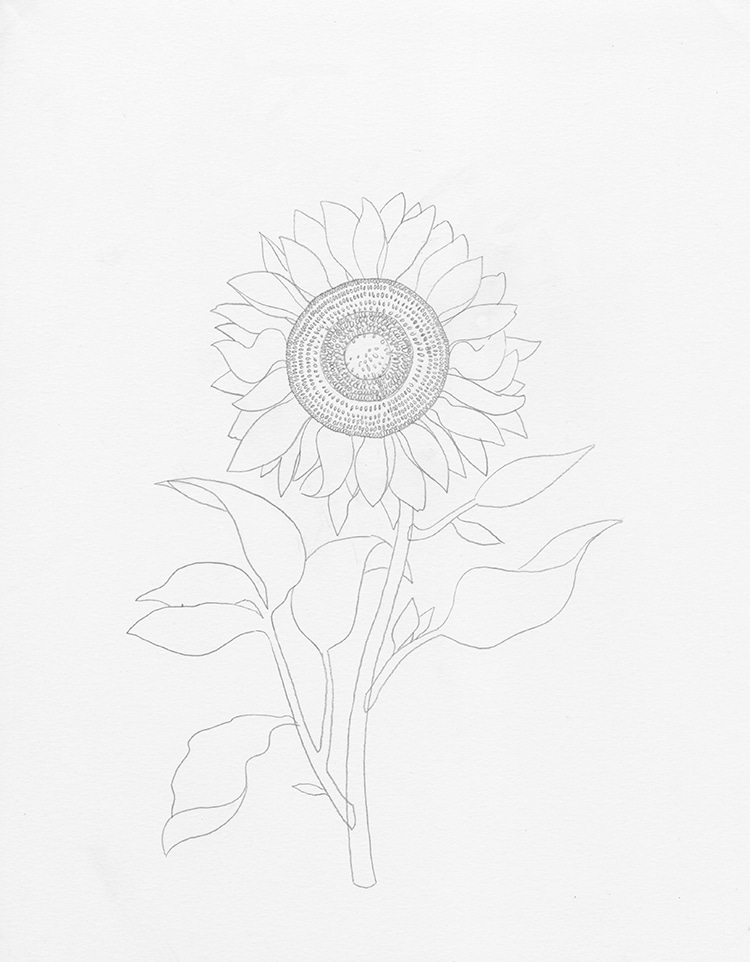
Photo & Art: Margherita Cole | My Modern Met
Step 7: Add definition to the sunflower
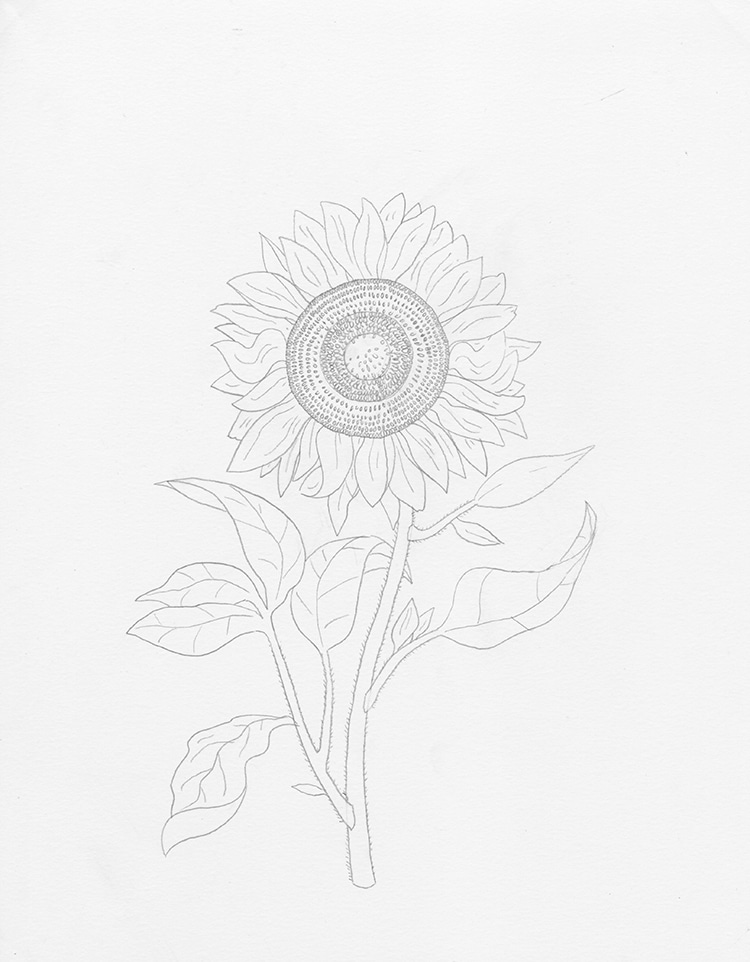
Photo & Art: Margherita Cole | My Modern Met
Now, we're going to erase any remaining guidelines and add some definition to the sunflower. Starting with the petals, sketch some creases in the center of each shape. Then, draw fine hairs all over the stem and add veins in the leaves.
Step 8: Add embellishments
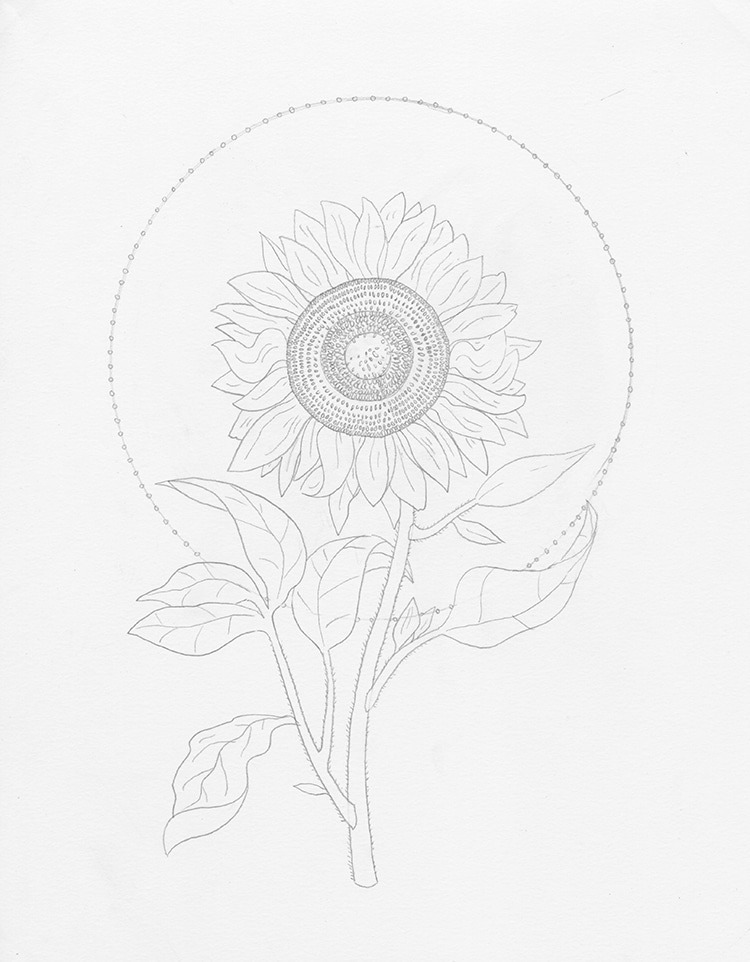
Photo & Art: Margherita Cole | My Modern Met
Although this step is optional, consider adding some embellishments to your sunflower drawing to make it a finished illustration. An easy way to do this is to create a circular border with a protractor and draw small circles along the curved line. This way the viewer's eyes are drawn to the head of the sunflower.
Step 9: Go over the drawing in ink
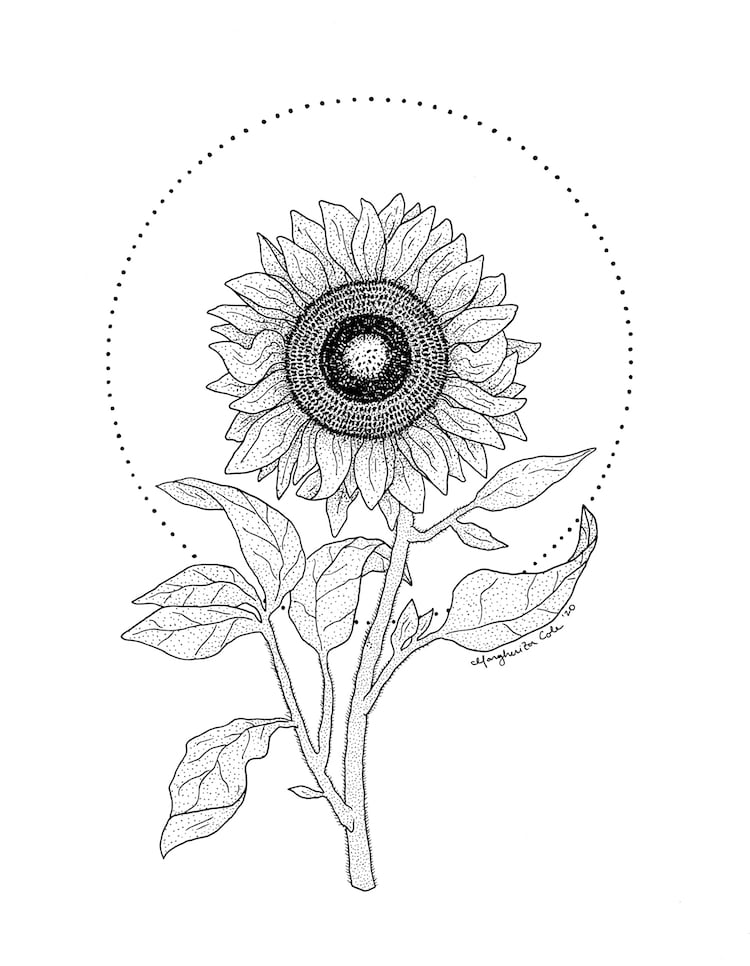
Photo & Art: Margherita Cole | My Modern Met
At last, it's time to complete our illustration by going over it in ink. So, place a scrap of paper under your drawing hand, and carefully go over the pencil lines with your favorite pen. Once you've gone over all of the linework, feel free to add some texture to key areas like the stem, leaves, and petals. Stippling and hatching are two great techniques you can use. After you're done inking, make sure you wait a considerable amount of time for the ink to dry, before erasing any remaining pencil marks. You can either fill the drawing in with color or leave it as is for a striking black and white illustration of a sunflower!
Looking for others who love drawing? Join our Art, Design, Photography, and Drawing Club on Facebook!
Related Articles:
Learn How to Draw a Pumpkin in a Few Easy Steps
Learn How to Draw Three Types of Trees: Oak, Pine, and Palm
Learn How to Draw a Monarch Butterfly in Five Easy Steps
Learn How to Draw Koi Fish With This Easy Step-By-Step Guide


