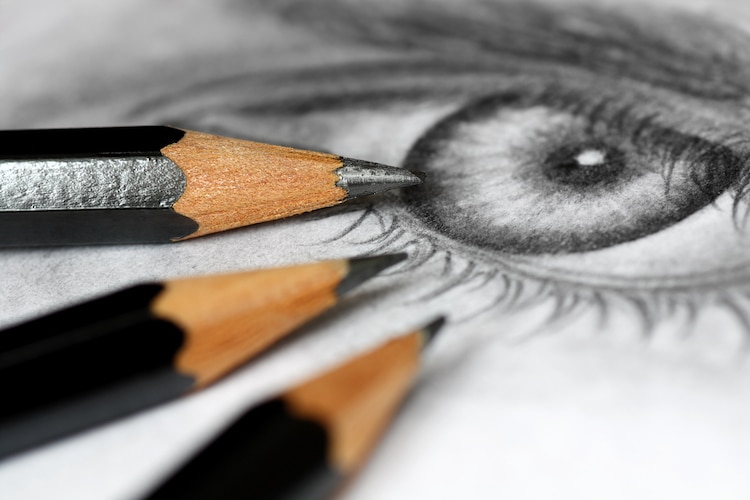
Stock Photos from Themalni/Shutterstock
This post may contain affiliate links. If you make a purchase, My Modern Met may earn an affiliate commission. Please read our disclosure for more info.
We know the eyes are the window to the soul, and they're even more expressive than you might think. In fact, we can read people's emotions just by seeing their eyes (and nothing else). Because they are vital in portrait drawing, it's important to learn how to depict eyes with accuracy. We'll take a closer look in this sketching tutorial.
Learning how to draw a realistic eye is all about understanding that it’s not just the pupil that makes it appear lifelike. The shape of the eye, the creases in the lid, and the eyelashes are also important in achieving likeness.
Anatomy of an Eye
So, before you stare deep into someone’s gaze, get acquainted with the parts of an eye. Unlike the skull or hand, it’s easy to memorize its anatomy—there’s a lot less to remember!
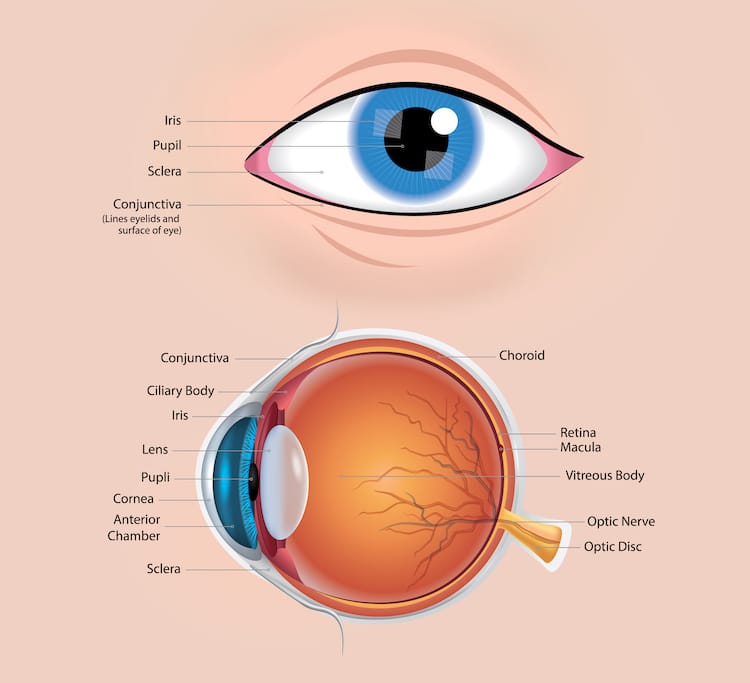
Before you begin drawing, notice how eyes aren’t exactly an almond shape, like many people prefer to describe them. The sclera, or white outer layer of the eyeball, stops and makes way for the corner of the eye. Characteristics like a drooping or puffy eyelid will also affect how an eye appears in shape. And that’s just when the eye is at rest. These factors will change if an eye is squinting or opened wider than normal. To imagine the possibilities, think of different emotions like shock, sadness, and anger. How does the shape of the eyes change with each state?
How to Draw an Eye, Step by Step
Make sure you grab your essential art supplies. For this lesson, you’ll want to have at least a few pencils of varying graphite tones, a vinyl eraser, and a sketchpad.

In addition to the drawing utensils, find a good reference to work from. We always encourage you to sketch from life (it will do wonders for your observation skills), but another option is photography. Whichever route you choose, make sure that you can see the fine details of the eye. If something appears blurry or obscured, opt for another reference.
Step 1: Sketch the basics.
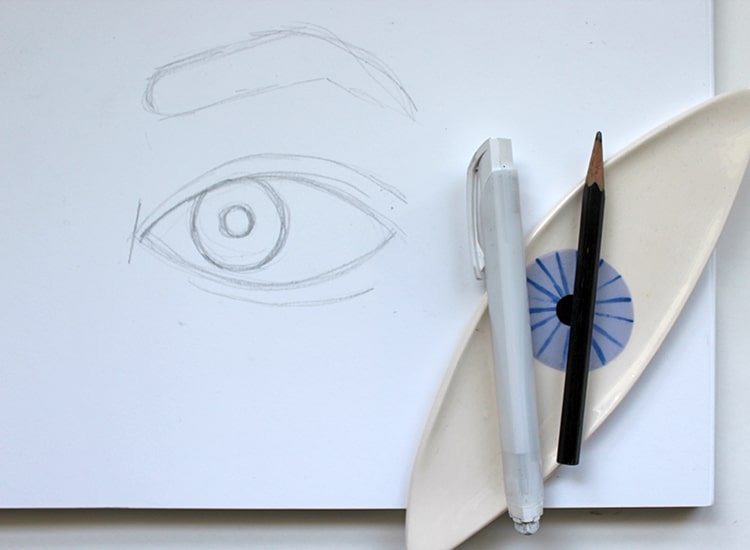
Photo & art: Sara Barnes / My Modern Met
Everything is easier to draw when you break it down to its basic components. This gives you a place to start and a foundation to build upon, especially as your drawing grows more complex.
Before putting pencil (we used an HB graphite) to paper, determine the overall shapes that you see. Although we just talked about how the eyes are not exactly almond-shaped, this is a good starting point for refinement later. So, sketch that on your paper along with your pupil and iris. Then look at some of the defining lines above, below, and beside the eye such as creases in the eyelid. You can also include the shape of the eyebrow, too, since that is often important in depicting the emotions of the eye.
Step 2: Refine the basics.
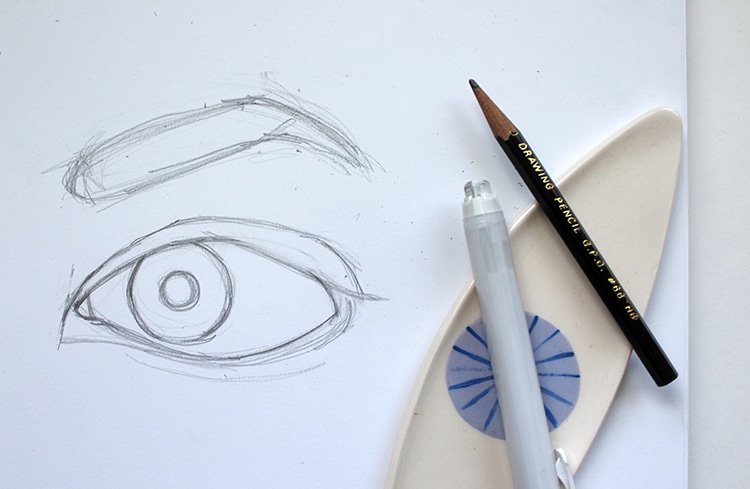
Photo & art: Sara Barnes / My Modern Met
Once you've got the big shapes drawn and positioned on your page, it's now time to refine what you've just sketched. Here's where an eraser will come in handy. Think of this stage like a sculptor who is chiseling away at a slab of marble. Using contour lines, you're doing something similar. Observe—really look—at the shape of the eye and notice its finer details. Then, erase and sketch your new observations. You might keep some of your original drawing, but chances are that you'll make a lot of new lines on the page.
Here are a few things you'll want to look for.
- Where is the highest part of the curve on the eye? It might not be in the exact middle of it.
- Is your subject looking straight ahead? If not, that will change the overall shape of the eye and shift that highest part of the curve.
- Check your placement again. Do things need to be moved around? From the first step to the second step, we shifted the eyebrow downward so that it was closer to the eye.
We can't stress enough how important it is to move onto the shading phase only once your contour line sketch is done. It can be significantly harder to completely erase shading if you've made a mistake. Contour lines, on the other hand, are much easier to correct. Take the extra time at this stage to double-check (and triple-check) your work.