Shibori Dyeing Step by Step
In general, here are the steps you’ll take to complete your Shibori project.
1. Prepare your supplies.
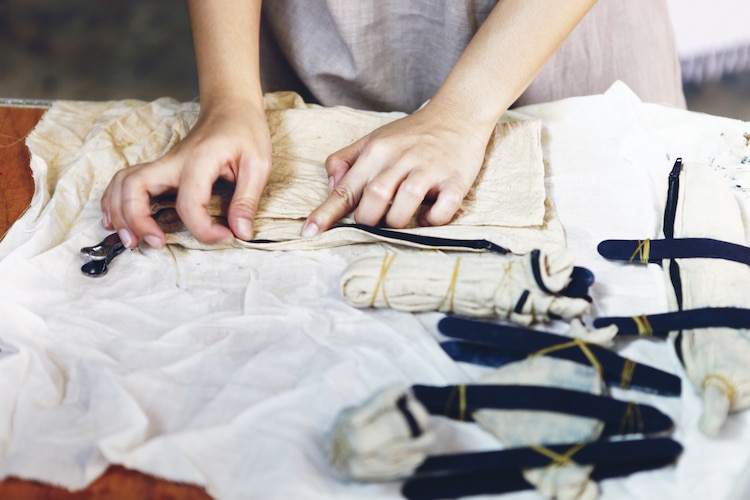
Before any fabric gets dyed, you’ll want to prep everything you need for the process. This includes preparing your fabric with your chosen technique. Using the rubber bands, twine, or wooden squares, manipulate your cloth by folding, pinching it, and more.
These helpful videos demonstrate different folding techniques.
Keep your fabric away from the indigo vat as you set it up. To get the dye ready, follow the instructions on your chosen kit. It’ll tell you how much water to add and what temperature you’ll want to have the water at. Often, there is indigo dye powder, soda ash, and a reduction agent to add, as well as instructions to keep the vat covered. Make sure you carefully read all of the written steps!
2. Submerge your fabric.
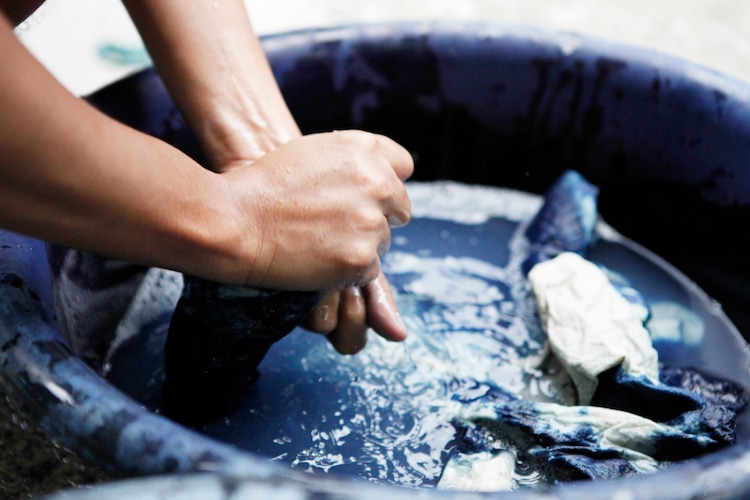
You know how you should have two five-gallon buckets? One of them should be filled with clean water. Before you put your fabric in the indigo, soak it in the clean water bucket. Squeeze out the excess liquid and then submerge it in the indigo vat. Wearing your rubber gloves, use your hands to rub the pigment into the fabric. Do this slowly—don’t agitate the mixture by moving it too fast or swirling it around.
3. Let the fabric sit in the dye for five minutes.
After your fabric has sat in the dye vat for about five minutes, it’s time to take it out. As you do this, the color will look green, but have no fear—after a few minutes exposed to oxygen, the cloth will start to turn blue.
4. Repeat the process.
Dip your fabric into the indigo vat again and massage the dye into your textile. You can do this multiple times—just remember that the more you dip the fabric, the darker it will be.
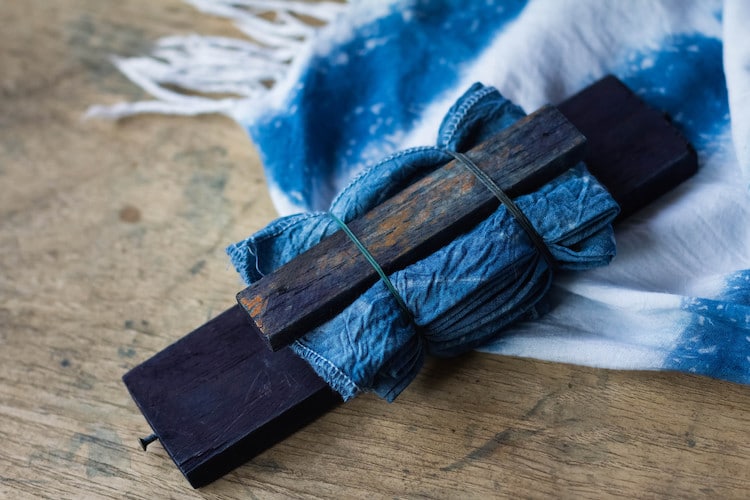
5. After the final dip, allow your pieces to set overnight.

Don’t unwrap or unbind anything yet. Allow the dye to set overnight. The next day, give your work a quick dunk in the clean water bucket and then cut away the twine and rubber bands. Now, you can finally admire your handiwork!
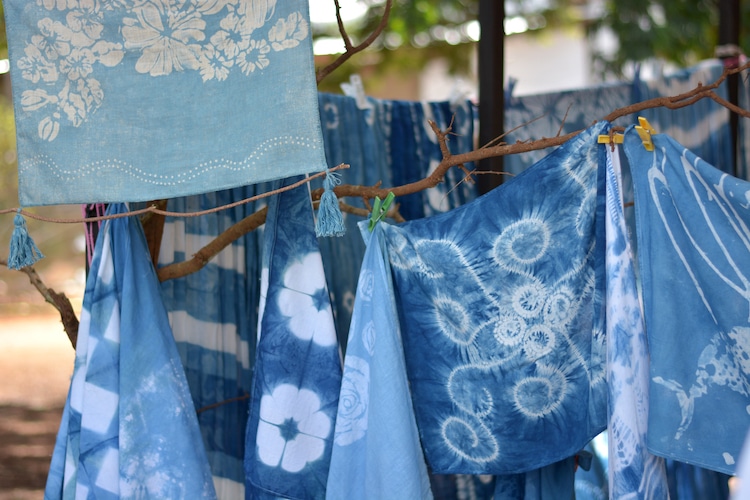
6. Wash your fabric in a washing machine with cold water and no detergent.
Clip the fabric on a clothing line to air dry. Alternatively, you can put them in a dryer on low heat. Iron your fabric when it's done.
Share your Shibori dyeing creations in our DIY & Crafts: Ideas and Projects group on Facebook!
Related Articles:
Ikebana: The Art of Japanese Flower Arranging and How to Make Your Own
Here’s Where to Find Thousands of Sewing Patterns for Fashion-Forward DIY
How Zen Gardens Became the Ultimate Expression of Japanese Culture