Photo: Stock Photos from PHOTOGRAPHER/Shutterstock
This post may contain affiliate links. If you make a purchase, My Modern Met may earn an affiliate commission. Please read our disclosure for more info.
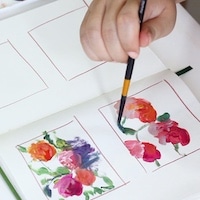
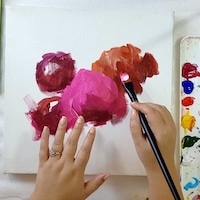
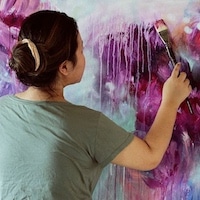
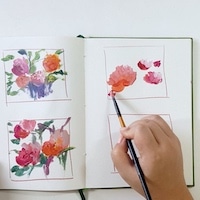
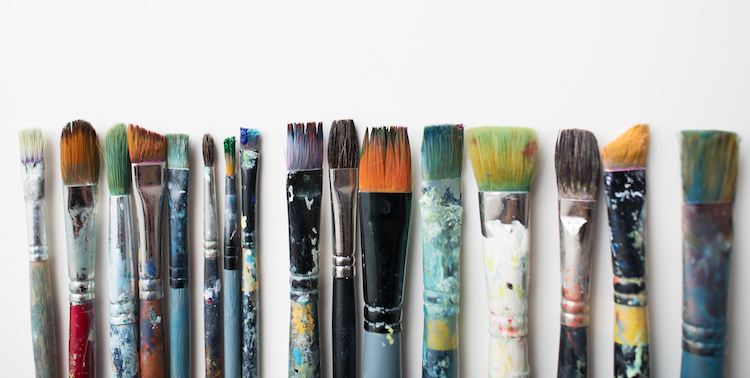
Paint and paint brushes go hand-in-hand. Although brushes aren’t a requirement when it comes to painting (just ask artist Iris Scott), they are a ubiquitous tool that nearly every artist has in their studio. So, it shouldn’t come as a surprise that you’ve got a lot of choices when it comes to picking out your favorite paint brush.
Brushes are available in a variety of sizes, but more importantly, shapes. From flat to round to angled bristles, each type of brush has its purpose. It behooves you to have a variety of brushes available for use—just like you would pencils and pens.
Paintbrushes aren’t cheap, but they are durable and will last many years if you properly care for them. Having a cleaning routine, one that is dependent on your medium, will ensure their longevity. And worried about frizzy bristles? Don't worry. There's an easy fix for that.
Read on to learn about different types of brushes, when to use them, and how to clean them.
Types of Paint Brushes
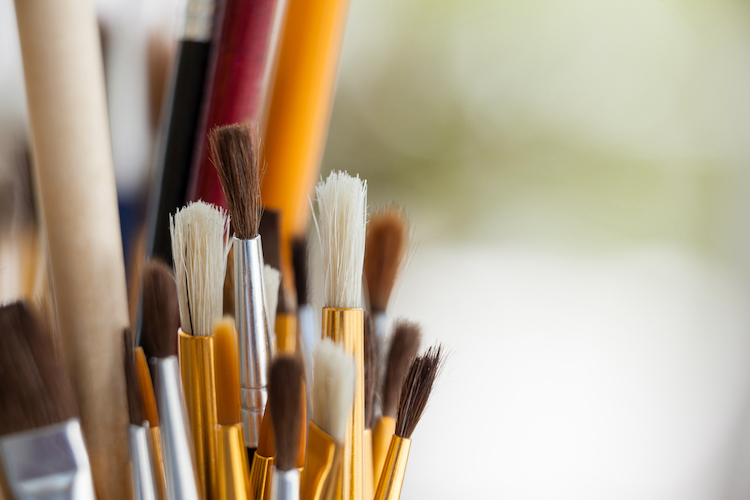
Photo: Stock Photos from wavebreakmedia/Shutterstock
If you’re new to painting, you might be surprised to learn that paint brushes come in many different shapes and sizes. The various shapes each have their own ideal uses depending on what you're trying to paint. Some, for instance, are better suited for covering large areas of ground while others excel at the fine details. You’ll want to make your selections based on your personal painting style. Do you opt for an abstract field of color, or do you relish painting every hair on someone's head? Consider your plans for your painting and then select brushes that will best help you achieve your goals.
If you’re still finding your style, never fear. Here are some of the most popular types of brushes to have on hand that will help you paint all the things.
Flat

Photo: Stock Photos from Vvoe/Shutterstock
The flat style brush head is shaped like a square or rectangle. This type of brush has bristles that are all the same length, so it doesn’t have as much precision as others on this list, but it’s great for applying large areas of color to your chosen canvas.
Round

Photo: Stock Photos from Vvoe/Shutterstock
The round brush is exactly as it sounds—the bristles are in a circular formation. It has a pointed tip that makes it ideal for painting thin lines and other detail work.
Angle

Photo: Stock Photos from Vladvm/Shutterstock
Angled brushes are similar to a flat brush, but instead of the bristles all being the same length, they are tapered to a point. This gives the brush the ability to spread pigment over large areas as well as paint tight corners to offer finer handling.
Liner

Photo: Stock Photos from Vladvm/Shutterstock
Liner paint brushes are similar to a round brush but have even longer bristles that offer more control as well as the ability to create very thin lines. They are ideal for outline or hand lettering.
Filbert

Photo: Stock Photos from Louella938/Shutterstock
A filbert brush is essentially a flat brush with a scalloped (oval) tip. Their rounded edges are effective in blending paint pigments.
Learn more about the best paint brushes in our handy buying guide.
Taking Care of Paint Brushes
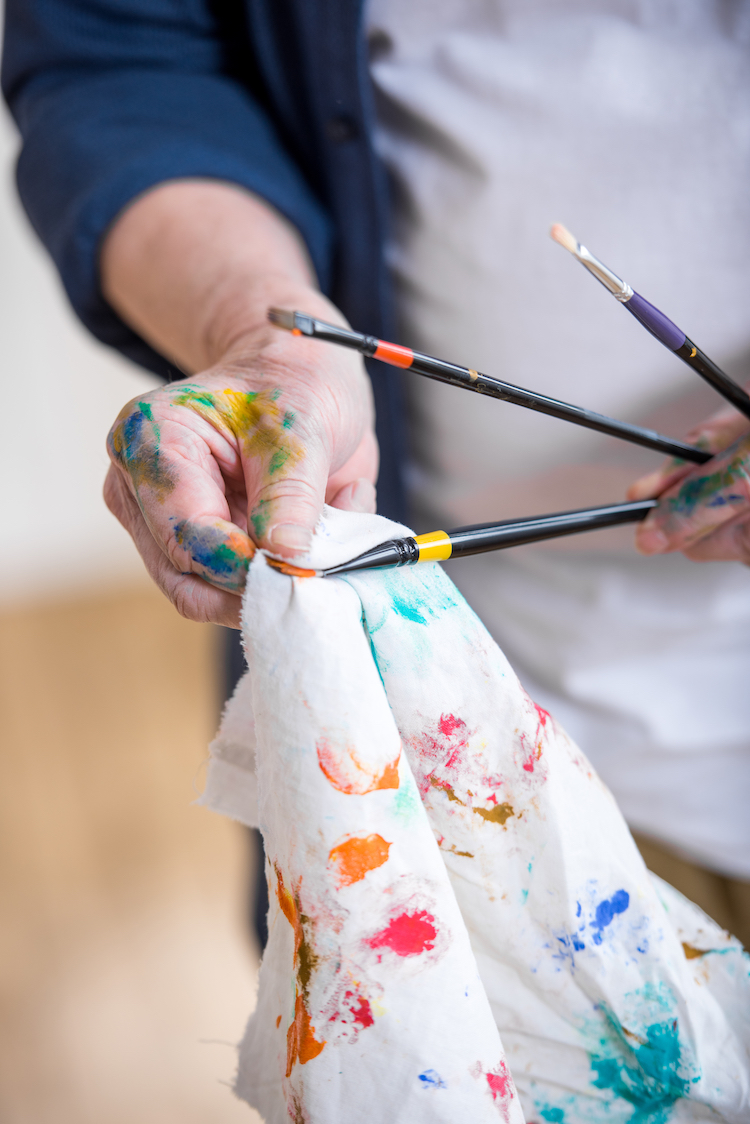
Photo: Stock Photos from LightField Studios/Shutterstock
Once you’ve acquired a set of paint brushes that you like, you’ll want to take good care of them. This doesn’t require a lot on your part. By using the right cleaning tools and observing the cardinal rule of never leaving pigment to dry on your brush, your supplies will last for years to come.
Water-based media and oil paint use different tools for cleaning, but they both start in the same way: take a rag or paper towel and wipe as much of the excess pigment from your brush as possible. Beyond that, here is how you’ll want to go about cleaning both.
Acrylic, Gouache, and Other Water-Based Media
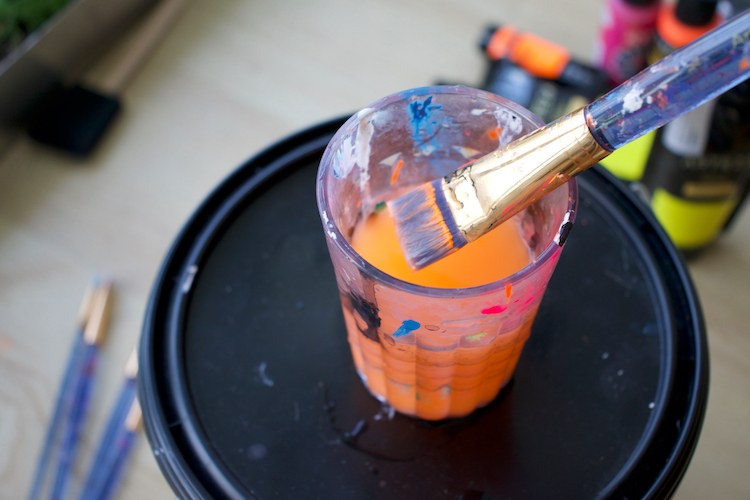
Photo: Stock Photos from Kat Liepins Art/Shutterstock
Mild soap and warm water will clean acrylic paint (and other water-based media) from your brush. The easiest–but messiest—way is to add soap to the palm of your hand and then, with the water running, gently move your brush back and forth across your palm until the paint is gone and the water runs clear. This, of course, will leave pigment on your hand, which isn’t always ideal.
Another option, which is helpful if you paint a lot, is to prepare the water and soap mixture in a container. You don’t need a lot of soap, either. If you’re using a squirt soap bottle (such as mild dish soap), a quarter-sized dollop is enough when added to a cup (or a little more) of water. Work the mixture through the bristles until they are free of pigment and then run under water until it runs clear.
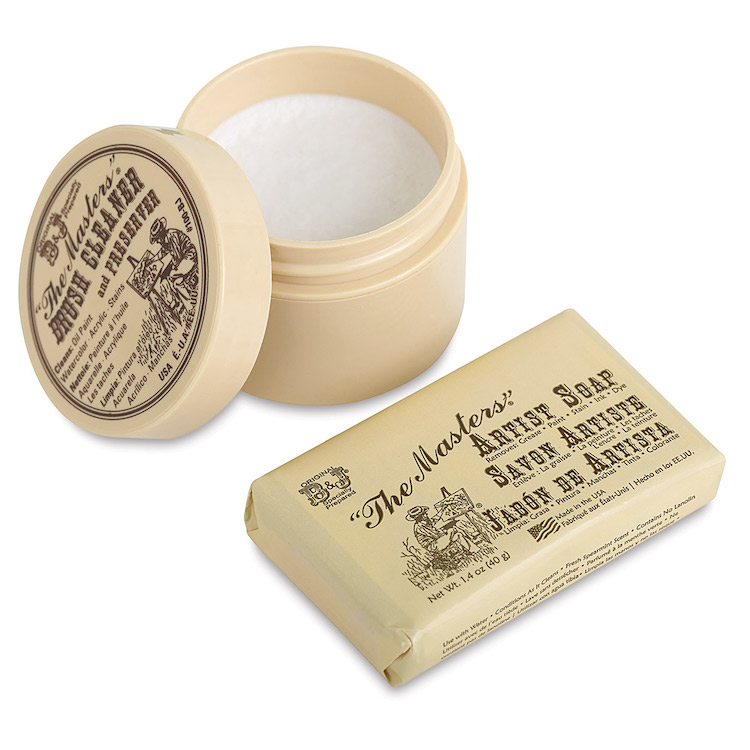
“The Masters” | $8.85
Want to take the guesswork out of clean-up? Get “The Masters” Clean-Up Kit. It features a bar of soap and a jar of brush cleaner. Just add water and run your brush back and forth on the bar or in the jar to remove acrylic, watercolor, or even oil paints from your brush.
Oil Paints and Other Oil-Based Media
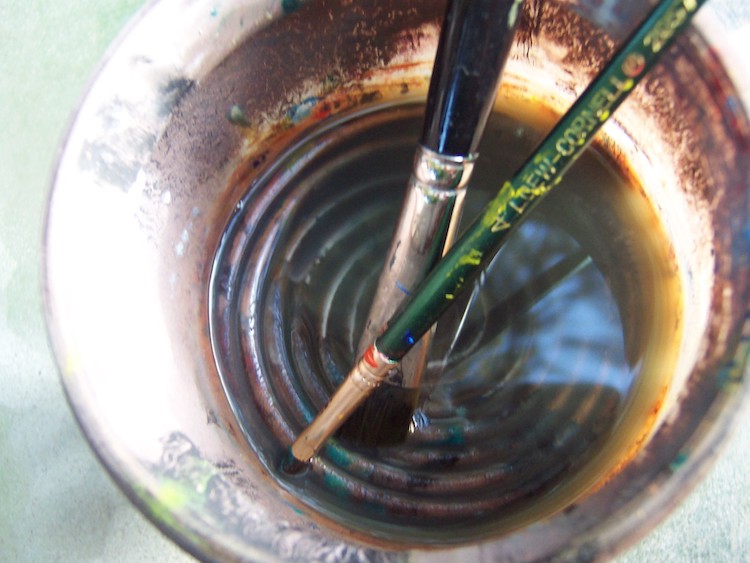
Photo: Stock Photos from Lexy Sinnott/Shutterstock
Using “The Masters” Clean-Up Kit is one way to clean oil from your brush, but it’s not the only way.
For any oil paint or oil-based pigment, you don’t have the luxury of using conventional soap and water. So, you’ll want to have a couple of tools on hand. One is odorless mineral spirits, which will remove pigment from your brush and the other is the Silicoil Brush Cleaning Tank. The Silicoil is a glass jar with a giant springy coil inside of it. You’ll fill the odorless spirits to the top of the coil and then run your dirty brush against the coil. The jar's design separates the brush hairs to quickly remove the pigment. Once you’ve got the brush free of oils, close the lid of the jar and wait until the sediment falls to the bottom of it. Later, you can scrape it and dispose of it according to where you live.
For non-odorless spirits, make sure you work in a place with good ventilation as the aromatic solvent is harmful. When working with mineral spirits, it’s best to wear gloves when cleaning as they can dry out your hands.
How to Save a Frizzy Brush
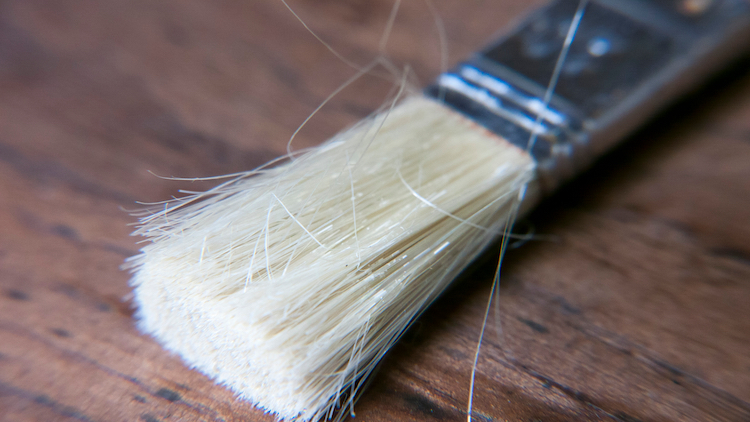
Photo: Stock Photos from Dario Pena/Shutterstock
If you don’t take good care of your brushes—or they are just getting old–you might notice that you have some stray bristles coming from your brush handle. This is frustrating when it comes time to paint, as an errant brush bristle can spread pigment out of place. But don’t throw them out! With some boiling water and a fresh eggshell, they can go back to their original shape.
Begin by boiling a cup of water. Once boiling, dip the brush into the water for a few seconds. When you pull it out, reshape and smooth the bristles. Dip again if they still look out of order. Once you’re happy with the shape, take that shell and rub your brush around the inside of it and into the egg white. This will act as a binder to hold the bristles in place. Once you’ve done that, set aside the brush to dry, and voilà! The brush should look as good as new.
Looking for others who love painting? Join our Art, Design, Photography, and Drawing Club on Facebook!
Related Articles:
30+ Watercolor Painting Ideas for Beginning Artists and Seasoned Professionals
Here’s Everything You’ll Need to Start Painting “en Plein Air” This Spring
These Beautiful Paint-by-Numbers Kits Will Spark a New Creative Pastime

