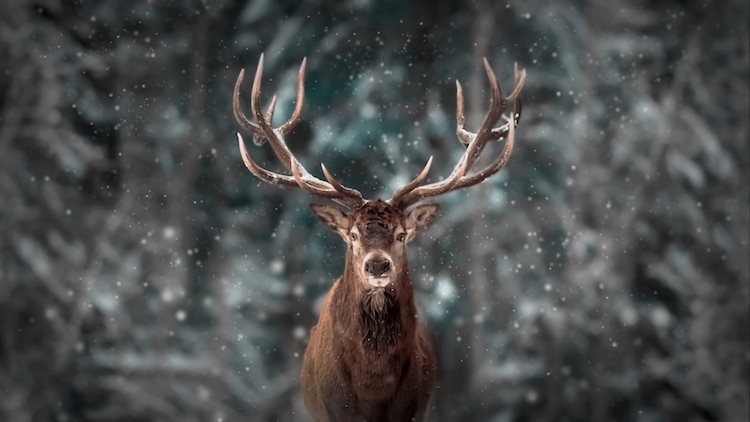
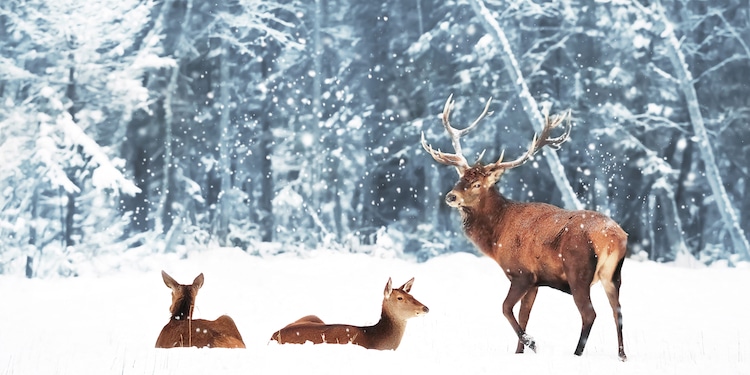
Deer are known for their peaceful natures and graceful gaits. That's why they're among the top of the list of favorite animals for artists to draw. However, if capturing the quiet elegance of a deer seems daunting, don't worry. Just as it is with any new subject, learning the basics and continuing practice will reap the best rewards.
We've put together this step-by-step tutorial to help you gain a better understanding of how to draw a deer, as well as how to render its enviable antlers. All you'll need to get started is some basic drawing supplies, paper, and a positive attitude. Ready to give it a go? Then grab your drawing supplies and some paper—it's time to draw a deer!
Learn how to draw a deer step by step
Step 1: Do your research
Before we begin drawing, it's important to set aside some time to familiarize yourself with deer anatomy. Although they are hooved animals like horses, there are several differences to take note of when drawing deer. In particular, you'll find that they have smaller heads and more slender bodies. Additionally, it's helpful to narrow down which subspecies of deer you want to portray and gather a few reference photos that you can look back at.
This tutorial will focus on drawing a male white-tailed deer, also known as a Virginia deer.
Step 2: Start with a small circle
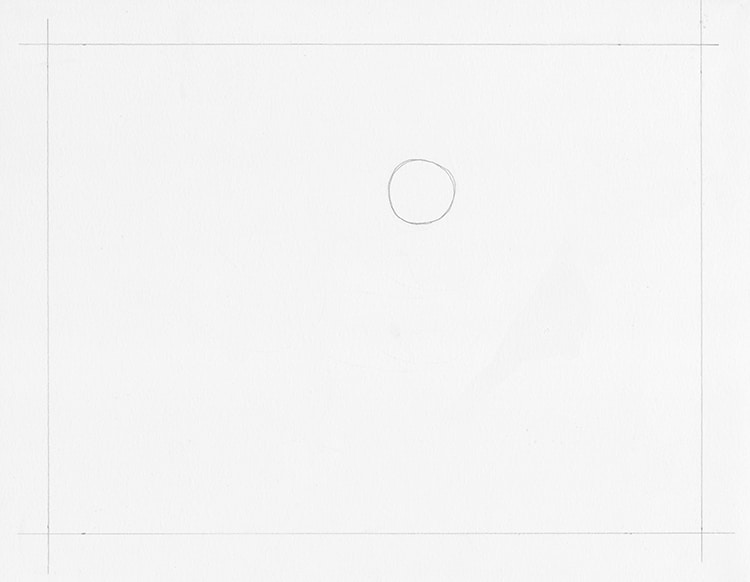
Photo & Art: Margherita Cole / My Modern Met
Begin by lightly sketching a small circle on the paper. This will be the head of the deer.
Step 3: Add the neck and snout
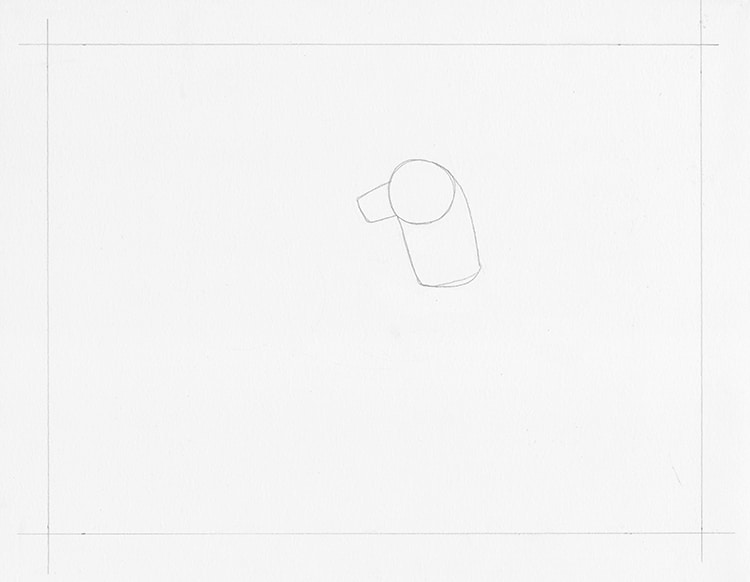
Photo & Art: Margherita Cole / My Modern Met
Next, add a rectangular-shaped snout to the side of the circle, and a thick rectangular neck extending downwards at a slight angle.
Step 4: Build the body
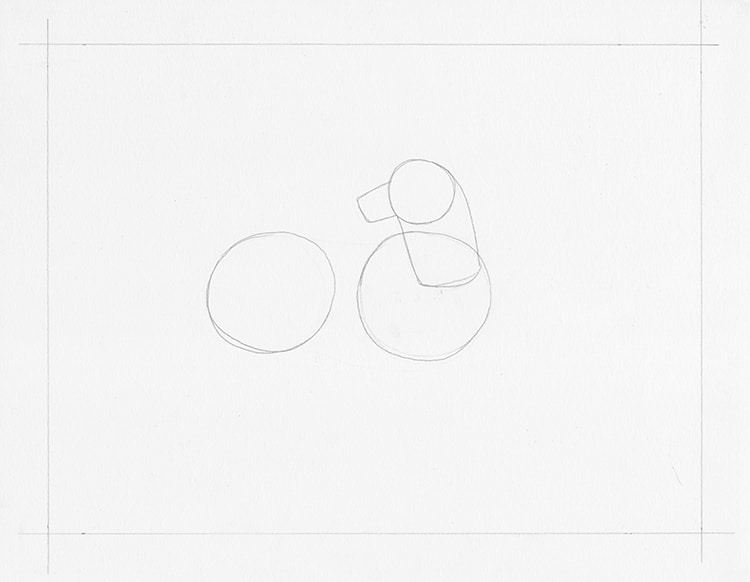
Photo & Art: Margherita Cole / My Modern Met
Now, it is time to build the body of the deer. To do this, we will sketch two large circles. The deer will be looking over his shoulder in this image, so the first circle which makes up the chest will overlap with the neck by a large margin. Next, draw a circle for the hindquarters a little ways away. Make sure these circles are at a parallel height.
Afterward, connect the circles to create the body of the deer. The line for the back should dip slightly as it meets the shoulders, and the belly line should curve under the chest.
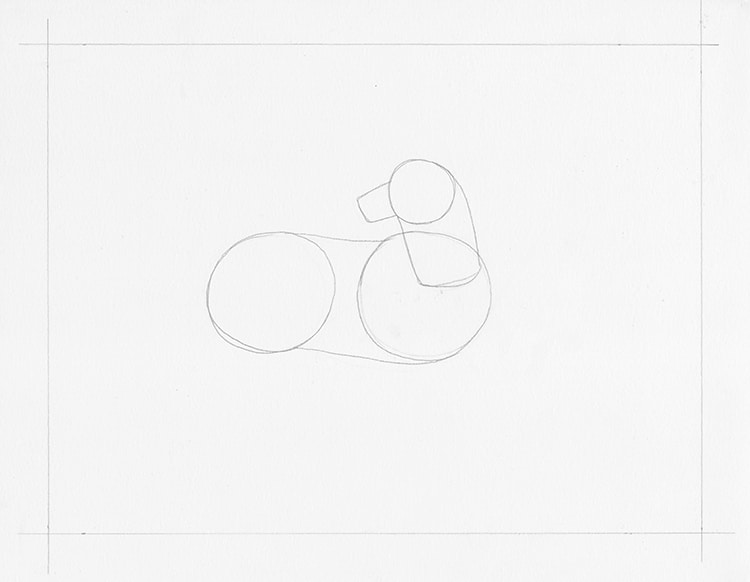
Photo & Art: Margherita Cole / My Modern Met
Step 5: Sketch the legs

Photo & Art: Margherita Cole / My Modern Met
With the body in place, it's time to add legs to the deer. Lightly sketch the forelegs using long, rectangular shapes and denoting the joints of the knees and ankles with small circles. Then, draw the nearest hind leg with a trumpet-like shape for the thigh, making sure that the widest part meets the body. Add a circle at the knee joint, and sketch a thinner rectangle at an angle, also ending with a circle. Draw the far hind leg in the same way, but bent a little closer to the front legs.
Step 6: Add the hooves and ears
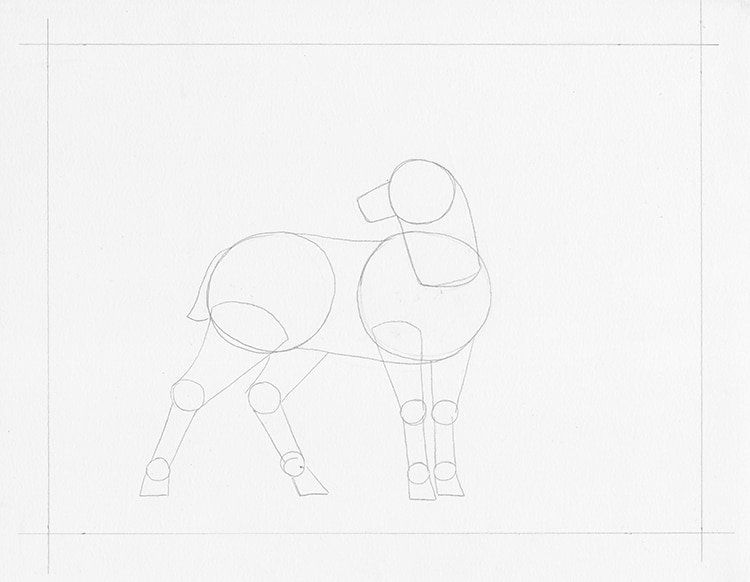
Photo & Art: Margherita Cole / My Modern Met
After you've drawn the legs, it's time to add the deer's hooves. Lightly sketch trapezoid-like shapes at the bottom of each leg.
Then, turn your attention upwards, and draw large petal-like ears to the top of the deer's head. If you like, you can also add an eye at the top-center of the head at this time.
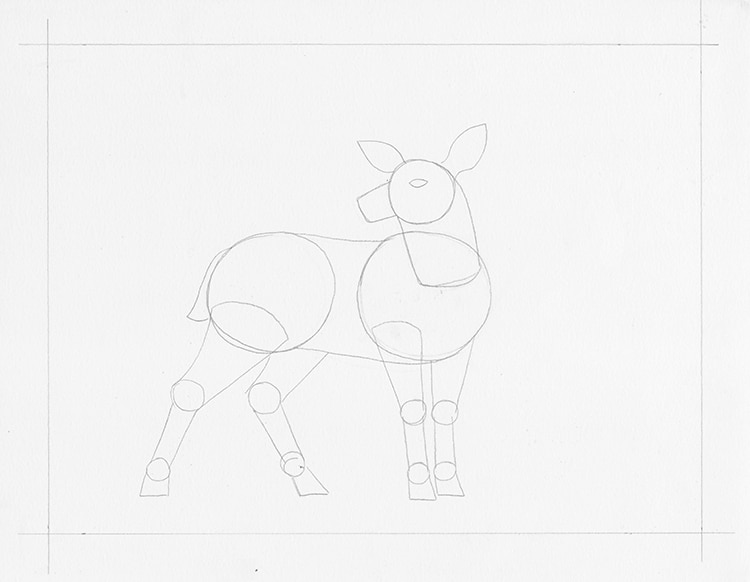
Photo & Art: Margherita Cole / My Modern Met
Step 7: Refine the face
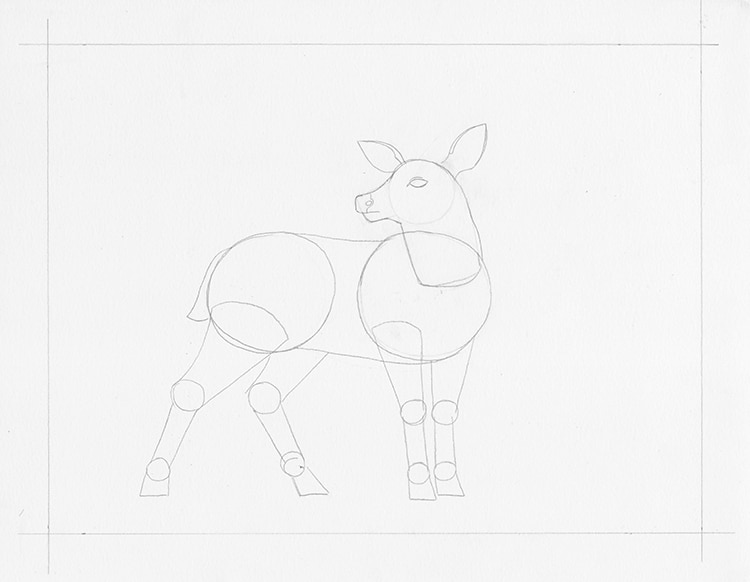
Photo & Art: Margherita Cole / My Modern Met
Now that we've drawn the basic shapes of the deer, we will begin to slowly refine it. Starting with the head, carve out a slightly narrower snout from the initial shape we've drawn. Make sure that the nose protrudes slightly over the mouth. Add a nostril to the nose and a fold over the almond-shaped eye. Remember to erase any remaining guidelines around the head when you're done.
Step 8: Define the body
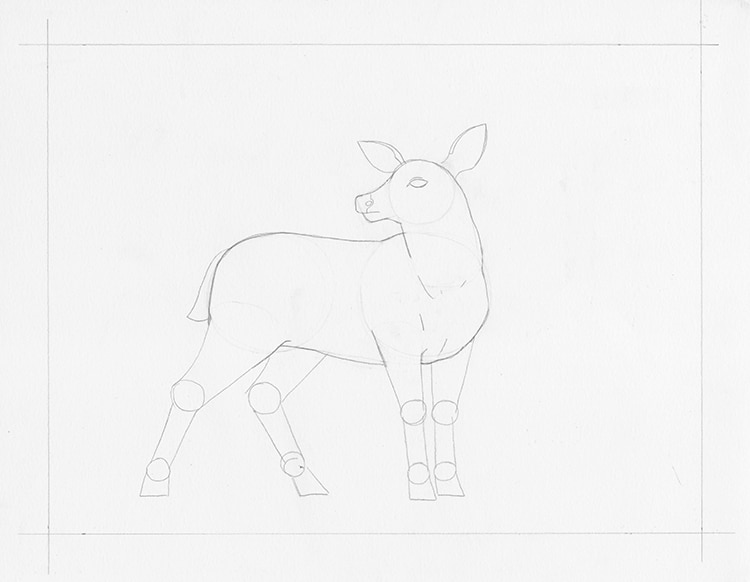
Photo & Art: Margherita Cole / My Modern Met
Next we're going to give the body of the deer more definition. Starting with the neck, refine the line that connects to the chest, making sure it protrudes at halfway from the legs. Likewise, refine the lines of the back and stomach. Erase any remaining guidelines in the body.
Step 9: Refine the legs
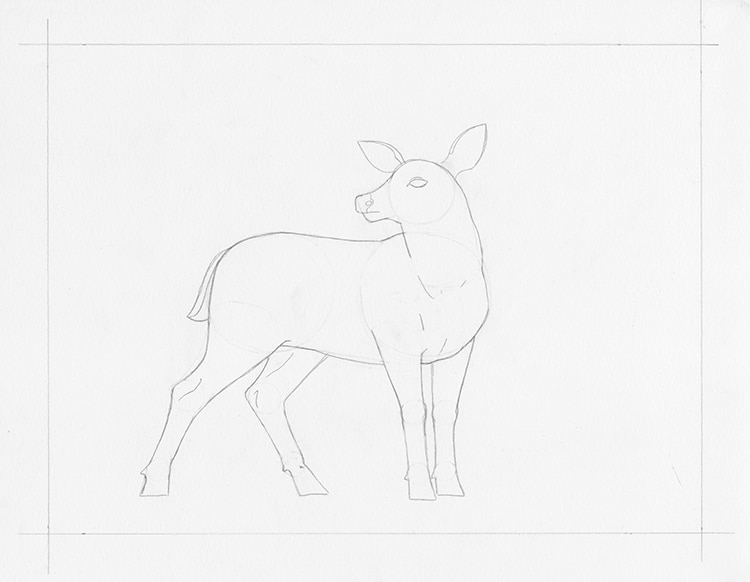
Photo & Art: Margherita Cole / My Modern Met
Lastly, it is time to refine the legs. Using the shapes that you drew, connect them into strong and angular legs. At this time, also add an extra toe right above each of the four hooves. Erase any remaining guidelines until you have a clean outline of the deer.
Step 10: Add the antlers
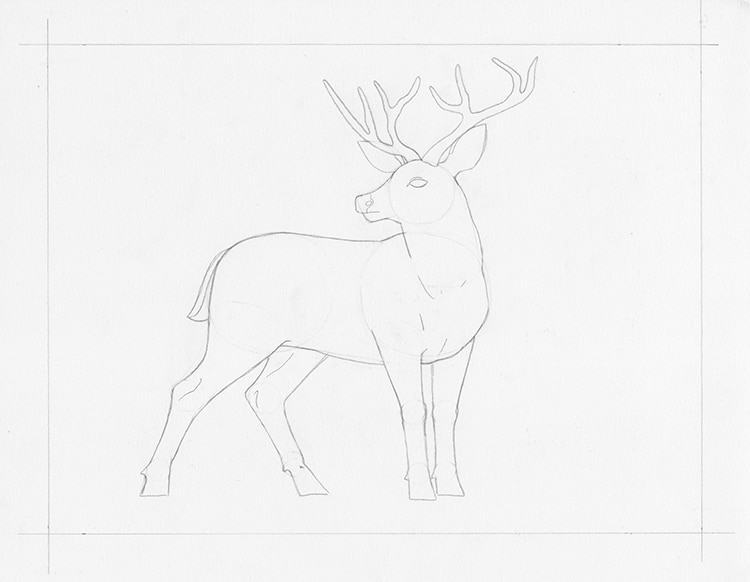
Photo & Art: Margherita Cole / My Modern Met
You can leave your deer as is if you want to draw a fawn. However, in this tutorial we are drawing an adult male deer, or stag, so we will be adding a pair of antlers at the head. Depending on the age of the deer and time of year, these can be in a variety of shapes and sizes. Here, we will be adding two medium-sized antlers. Starting between the ears, create branch-like shapes that crown above the deer's head.
Step 11: Sketch a background
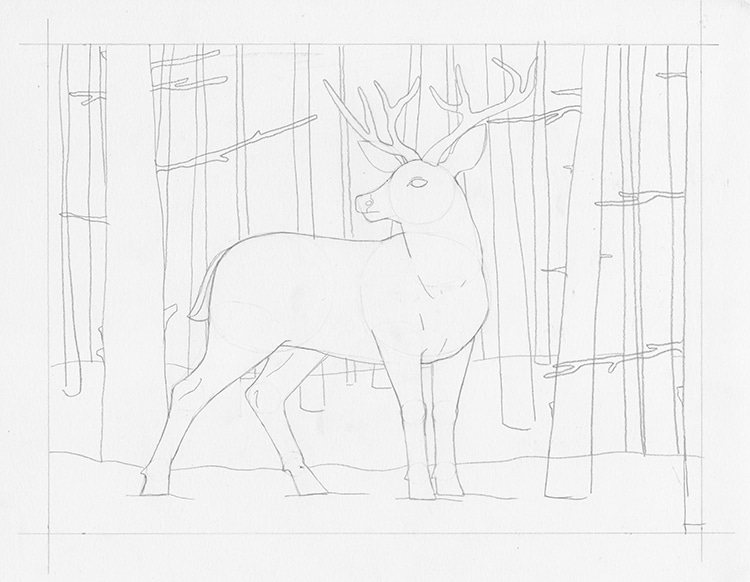
Photo & Art: Margherita Cole / My Modern Met
Since your deer drawing is almost done, it is time to give it a home. Most deer reside in forests or meadows, so draw an appropriate landscape of your choosing to complete the illustration.
Step 12: Go over the drawing in ink
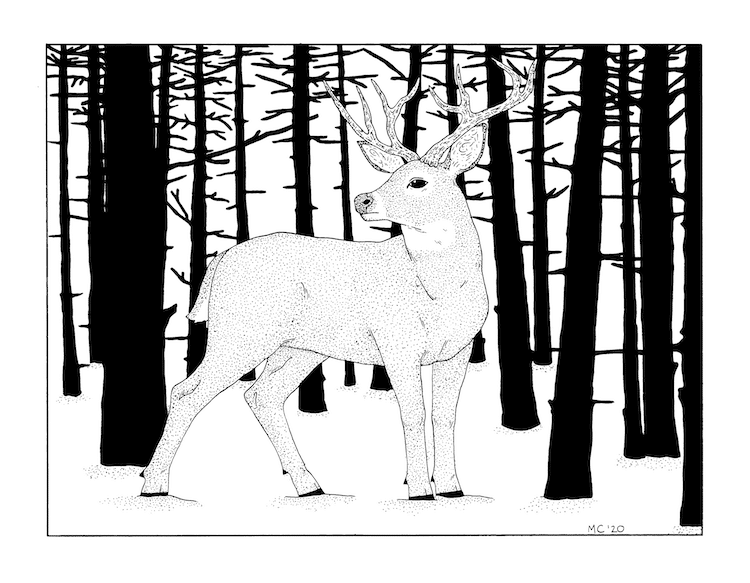
Photo & Art: Margherita Cole / My Modern Met
Finally, it is time to go over the drawing in ink. Using the pen of your choosing, carefully trace over your pencil lines. To make sure you don't smear any ink, be sure to keep a spare piece of paper under your drawing hand. Afterward, use stippling on the deer's fur to give it texture.
When you've finished inking, you can either add color to the composition or leave it as is for a striking black and white illustration of a male deer in a snowy forest!
Looking for others who love drawing? Join our Art, Design, Photography, and Drawing Club on Facebook!
Related Articles:
Learn How to Draw a Tiger in This Step-by-Step Tutorial
Learn How to Draw Koi Fish With This Easy Step-By-Step Guide