Photo: mihtiander/Depositphotos
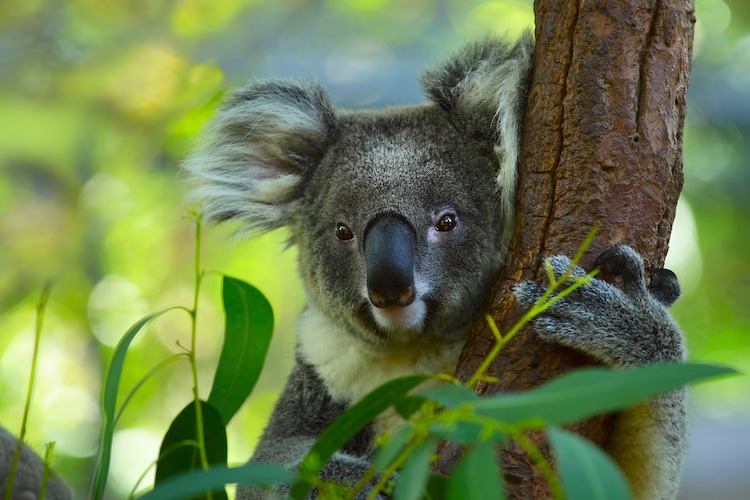
Among the contenders for cutest animals is surely the koala. With its distinctly large nose and big fluffy ears, there's no mistaking this marsupial for any other creature. However, for artists interested in capturing the koala's likeness on paper, the unique appearance can make it seem like an intimidating challenge. If that's something you can relate to, then don't worry. Even if you don't have experience in rendering this adorable animal, you will find that by following step-by-step instructions, you will be well on your way to creating your own koala illustration.
Before you get started, it's important you have some reference photos and essential drawing supplies. In this tutorial, we will endeavor to draw a koala climbing on a tree branch, so collecting a couple of pictures will help you check the anatomy. Once you have that, then pull out your typical sketching supplies like a pencil, eraser, your pen of choice, and some paper. We will draw the koala in graphite first and then go over the finished drawing in ink.
Ready to get started? Then, let's draw a koala!
How to Draw a Koala Step by Step
Step 1: Draw a large oval

Photo & Art: Margherita Cole | My Modern Met
Begin by drawing a large oval on your sheet of paper to create the head of the koala.
Step 2: Add guidelines
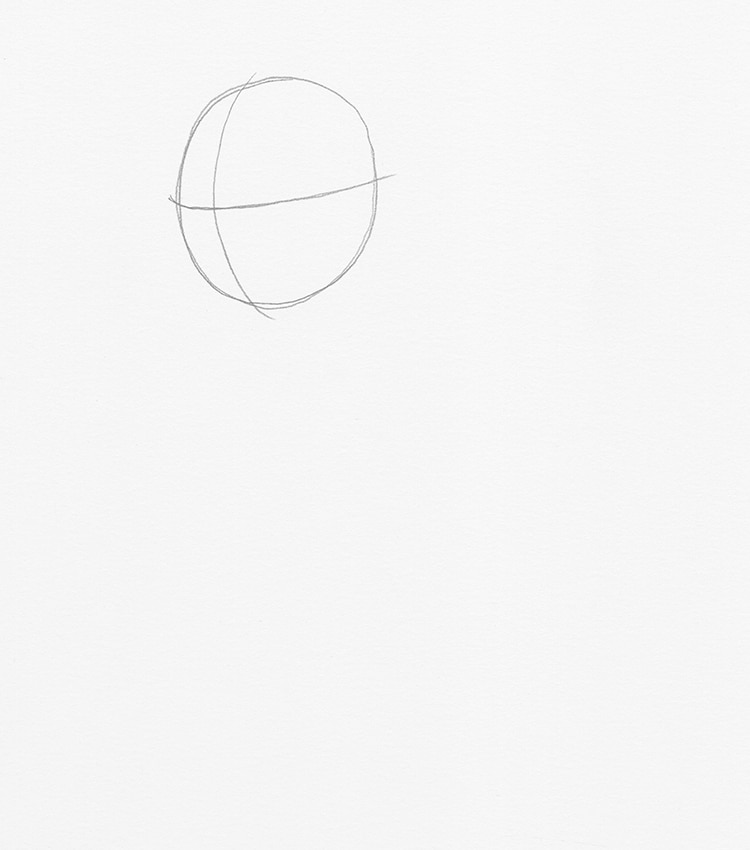
Photo & Art: Margherita Cole | My Modern Met
Next, add a curved pair of vertical and horizontal guidelines to the outline of the head. This will help you add the facial features, later.
Step 3: Sketch a pair of ears
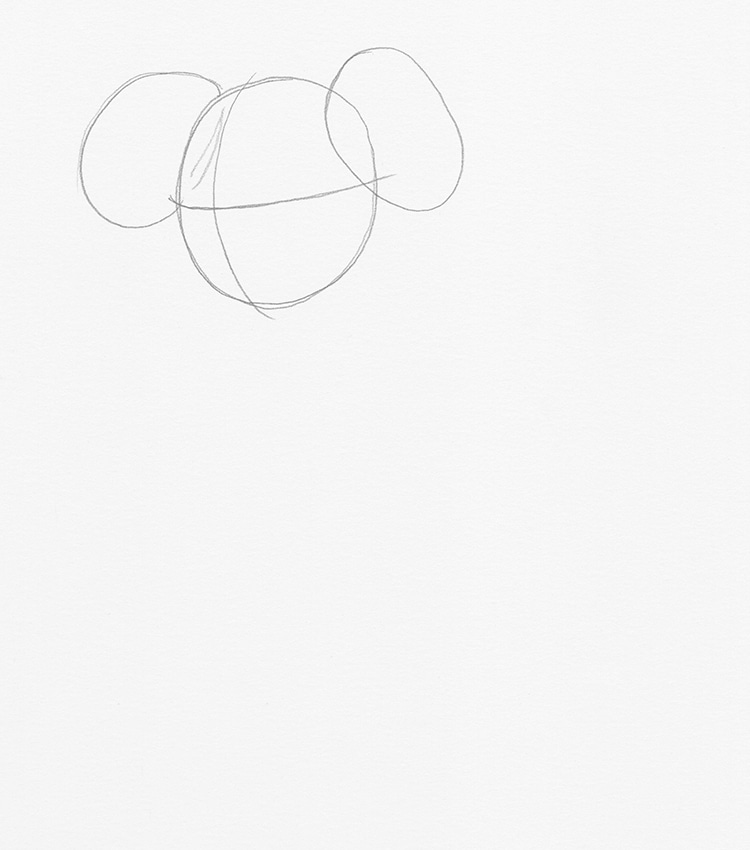
Photo & Art: Margherita Cole | My Modern Met
Afterward, sketch the koala's ears on top of the head. They should be ovals roughly half the size of the head.
Step 4: Draw a rectangular nose
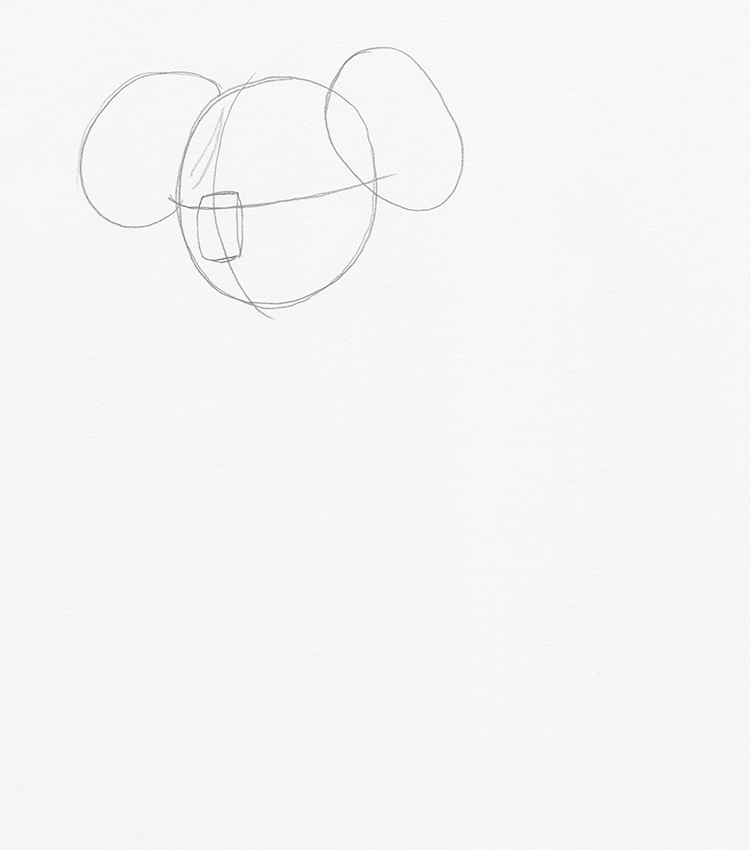
Photo & Art: Margherita Cole | My Modern Met
Then, return to the koala's face and add a nose by drawing a rectangle at the intersection of the guidelines.
Step 5: Add a pair of eyes
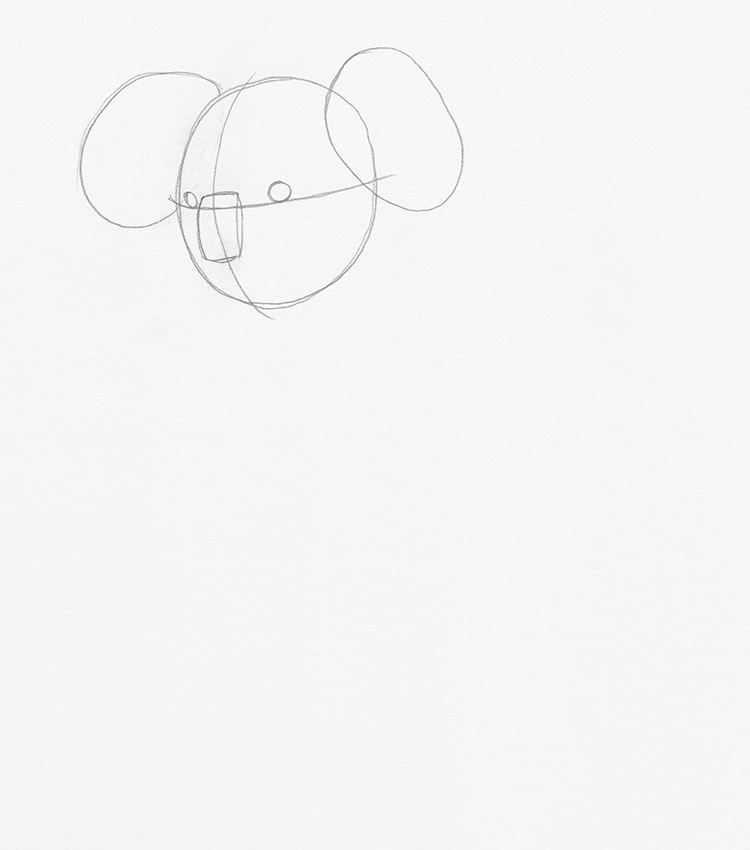
Photo & Art: Margherita Cole | My Modern Met
Continue the previous step by using the guidelines to add a pair of small circular eyes along the horizontal line.
Step 6: Sketch the mouth and chin
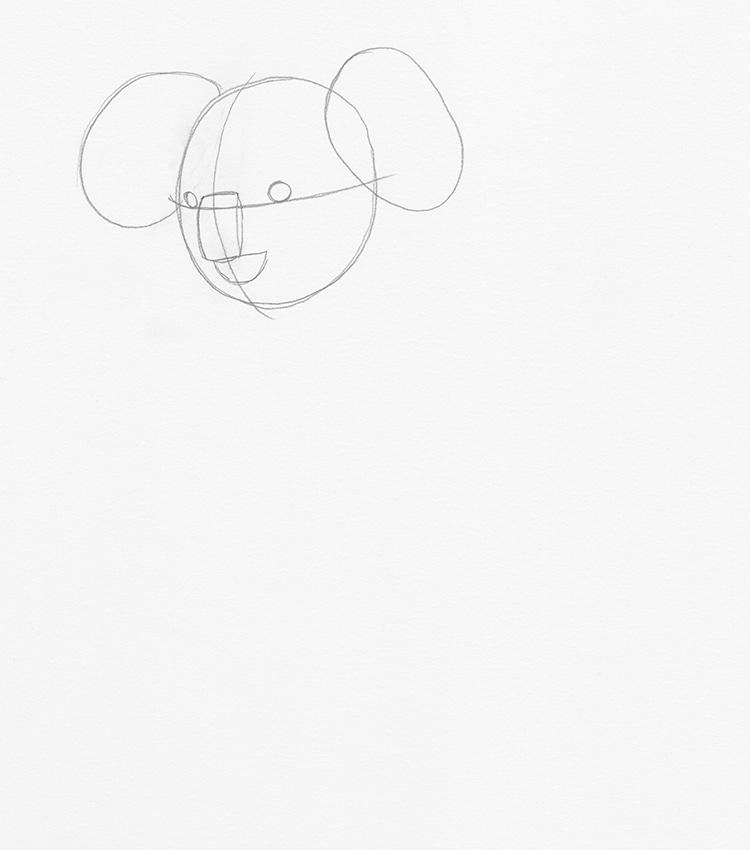
Photo & Art: Margherita Cole | My Modern Met
Next, add a half-circle underneath the koala's nose to create the mouth and chin.
Step 7: Draw a long tree branch
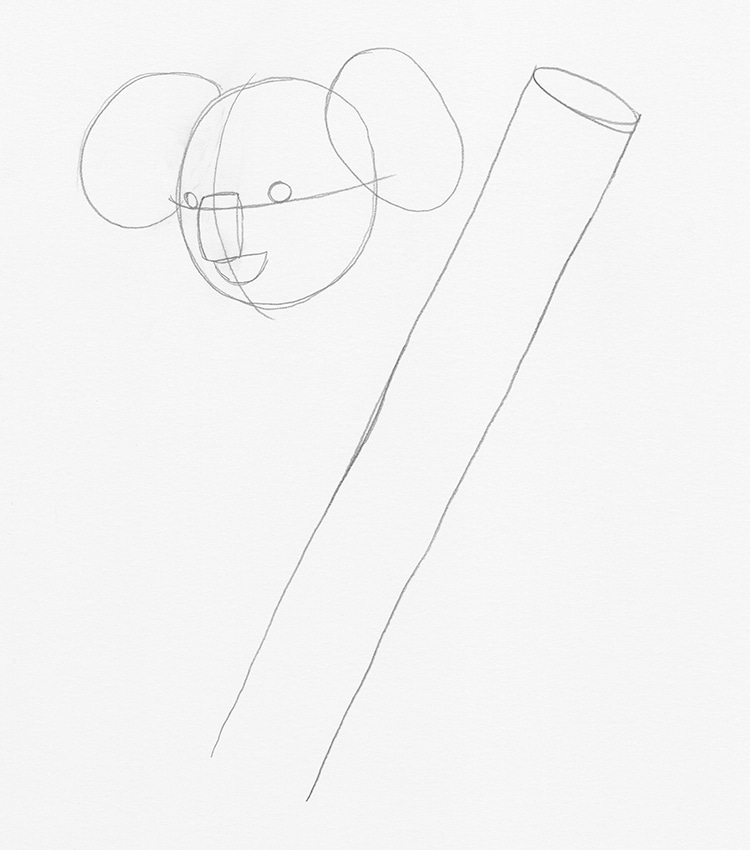
Photo & Art: Margherita Cole | My Modern Met
Before we render the koala's body, draw a long tree branch. You can do this by sketching a straight line close to the koala's ear, and adding a parallel line a small distance away. Be sure to sketch a circle on top to complete the branch. This will help us create the climbing pose in the next steps.
Step 8: Create the chest
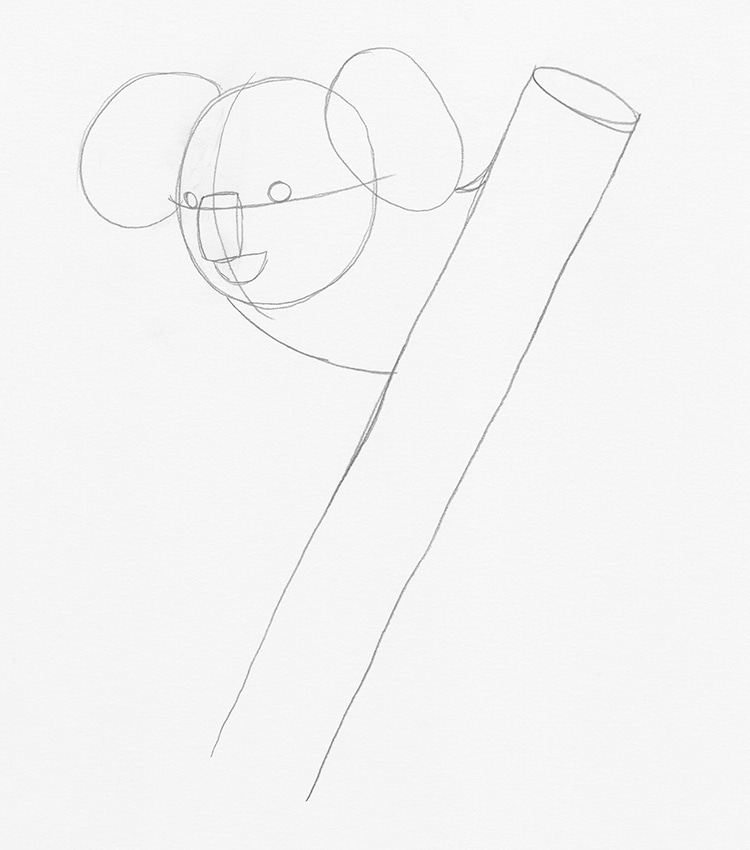
Photo & Art: Margherita Cole | My Modern Met
Next, connect the koala to the branch by rendering the chest. You can do this by adding two curved lines from the head to the branch.
Step 9: Sketch the arm
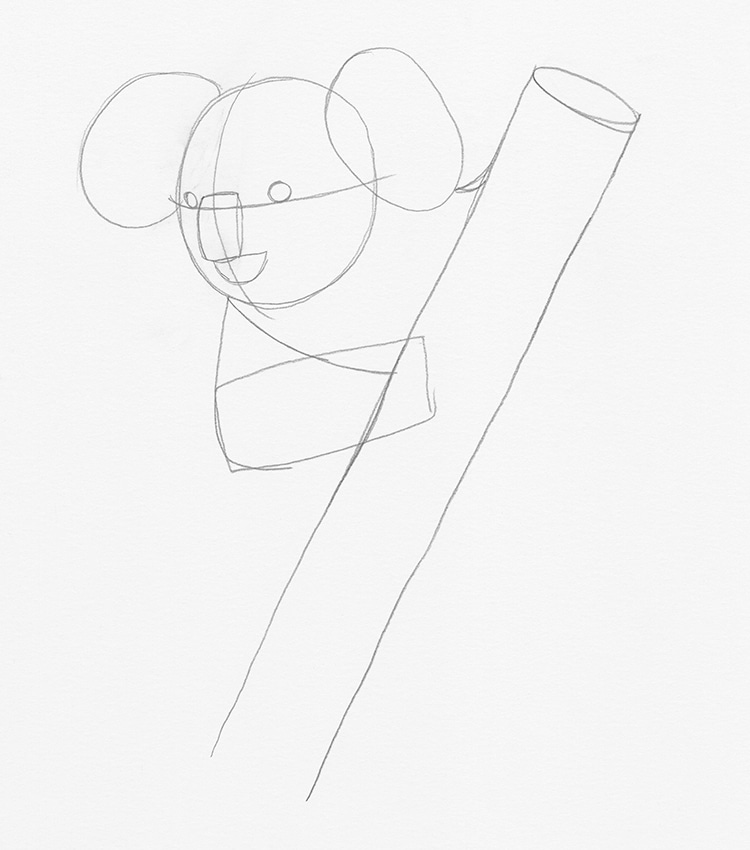
Photo & Art: Margherita Cole | My Modern Met
Afterward, it is time to draw the koala's arm wrapping around the branch. Sketch a rectangle for the forearm, and create another curved line to attach it to the koala's head and chest.
Step 10: Draw the hand
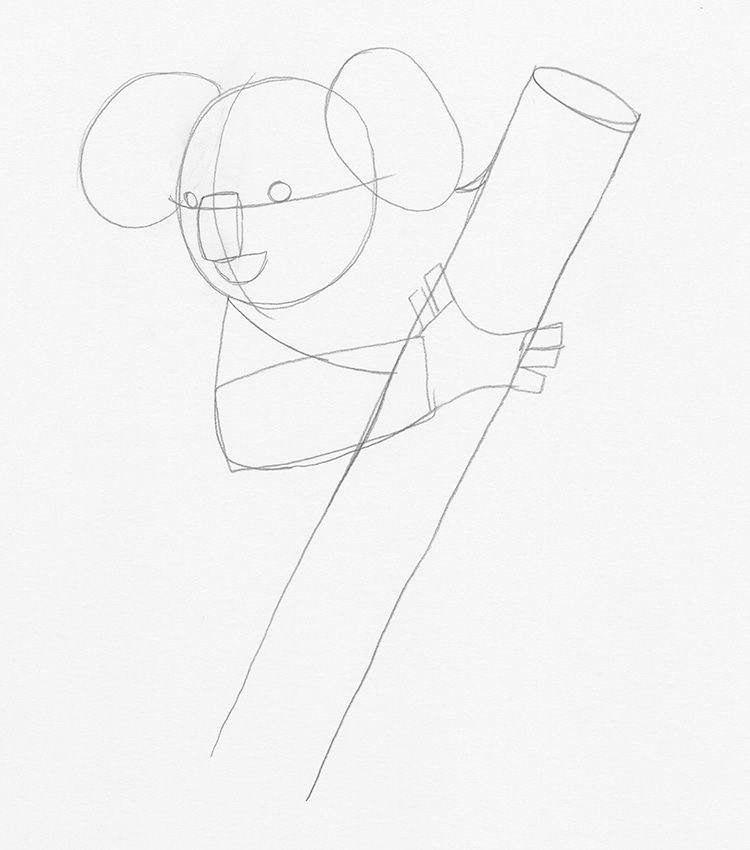
Photo & Art: Margherita Cole | My Modern Met
Starting at the base of the forearm, sketch the koala's hand. This should feature five fingers, two of which are clasped on the left side of the branch, and the other three are clinging to the right side.
Step 11: Draw the other hand
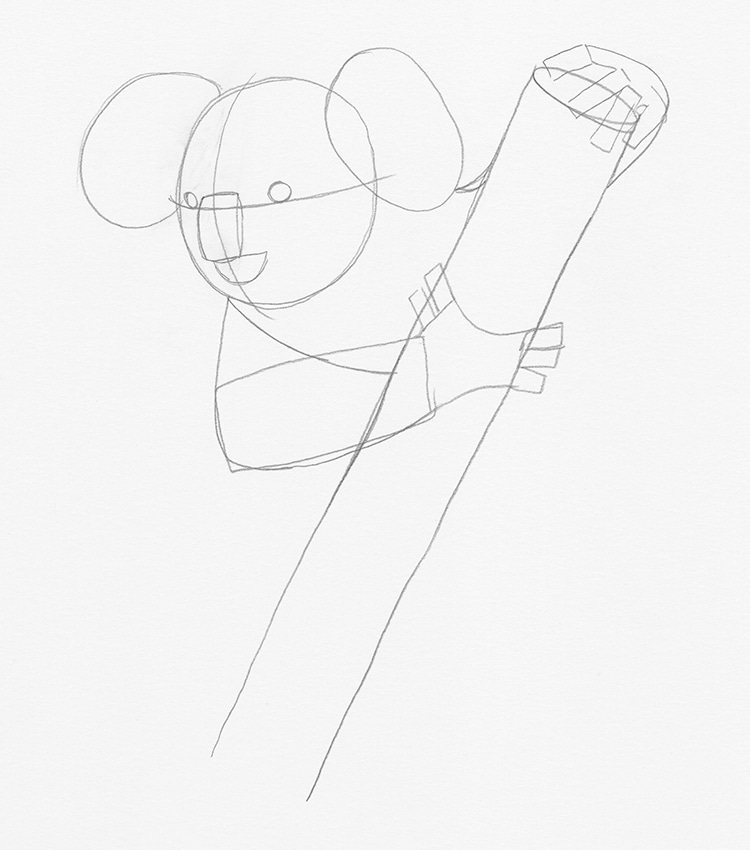
Photo & Art: Margherita Cole | My Modern Met
Now, it is time to add the koala's other hand, which we will place at the top of the branch. Once again, sketch the hand by creating four rectangular appendages.
Step 12: Add the legs
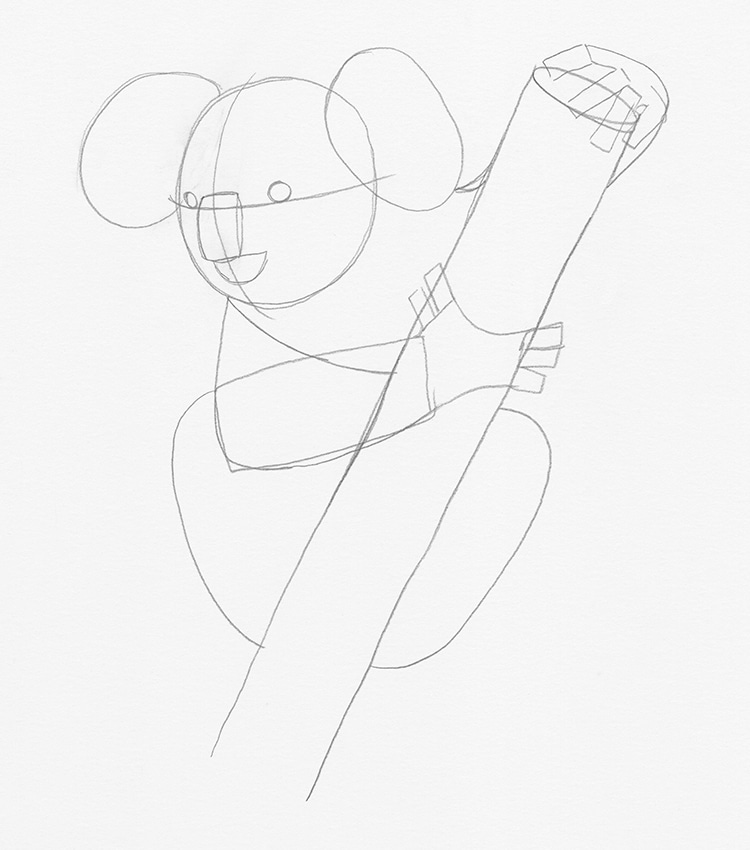
Photo & Art: Margherita Cole | My Modern Met
Next, we are going to start creating the hind legs of the koala. To do this, we will sketch two half ovals on either side of the branch.
Step 13: Sketch the feet
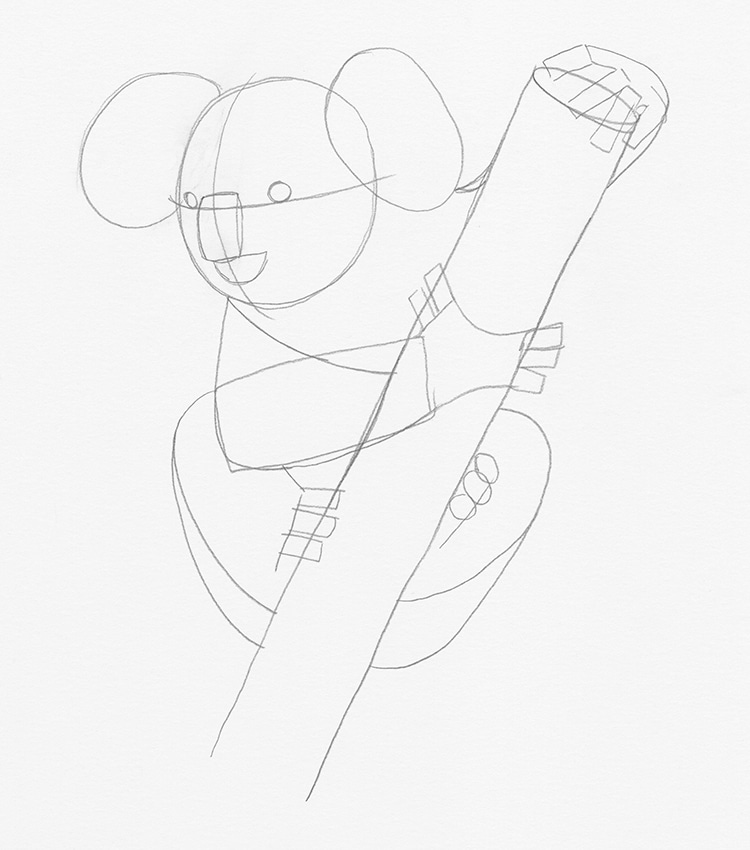
Photo & Art: Margherita Cole | My Modern Met
Keeping your attention on the koala's hind legs and sketch the koala's toes, which should be attached to either side of the tree branch. The toes on the left side should resemble short rectangles. However, for the toes on the right side, you can repeat a slightly smaller, rounded shape three times.
Step 14: Add the claws
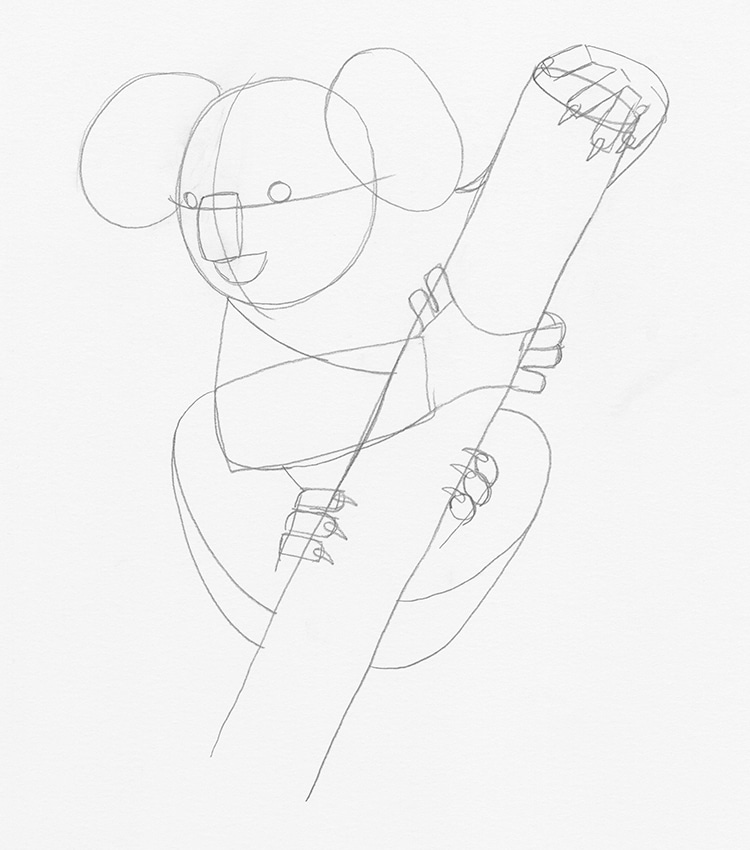
Photo & Art: Margherita Cole | My Modern Met
Afterward, sketch long, sharp claws on the koala's fingers and toes. These help the koala keep itself stable on the tree branch.
Step 15: Add detail and erase unnecessary pencil marks
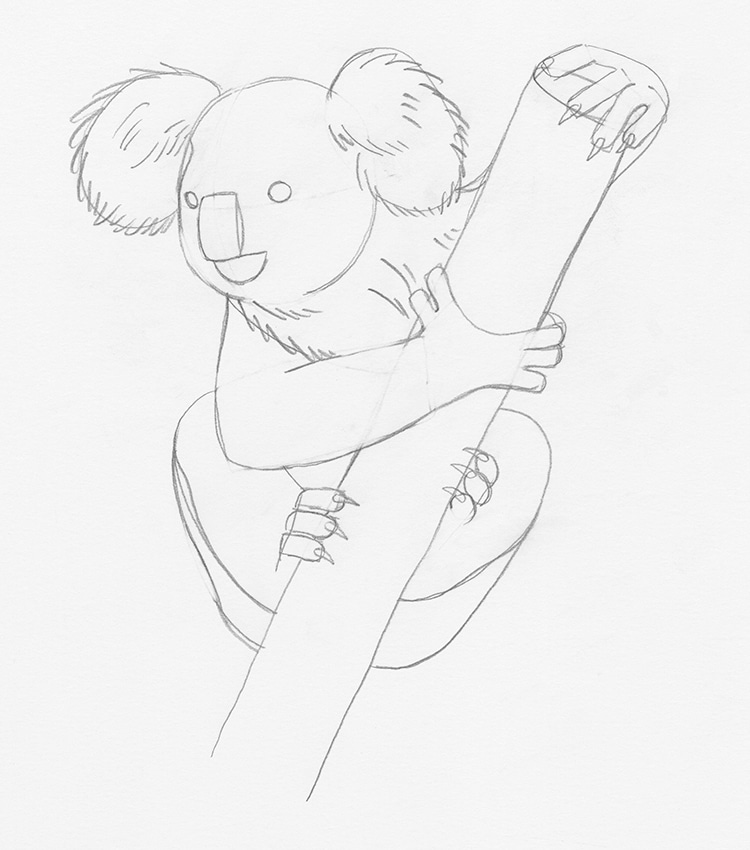
Photo & Art: Margherita Cole | My Modern Met
By now, we've drawn various geometric shapes to help us construct the rough body of the koala. Before we start adding more detail, consider erasing some of the unnecessary pencil marks that overlap. This will help you see what you have created so far.
Once that's done, you can start adding some detail to the koala, such as hair texture to the ears.
Step 16: Add more detail
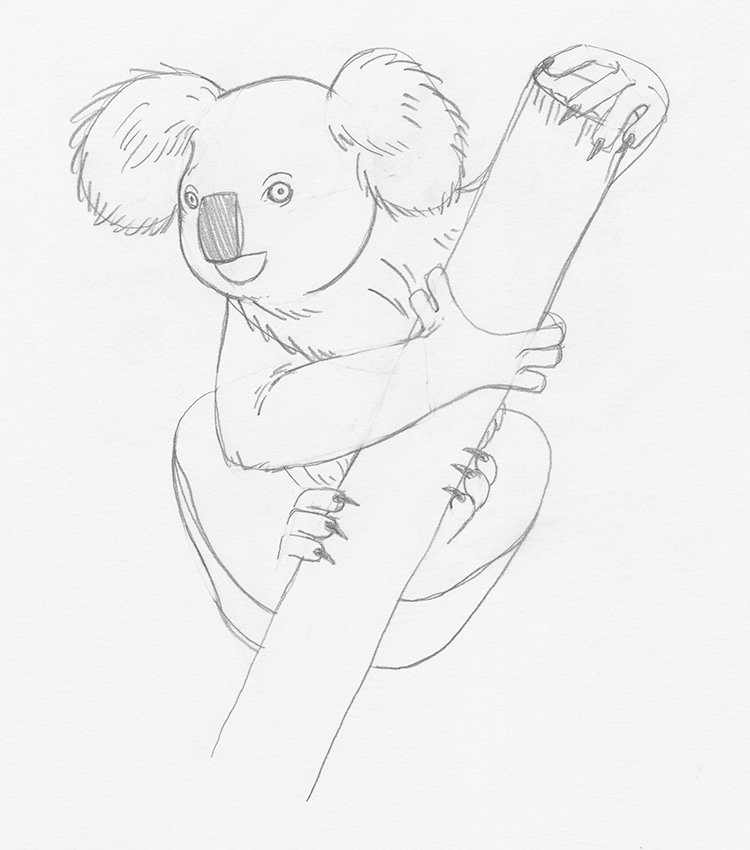
Photo & Art: Margherita Cole | My Modern Met
Before we move on to the last step of the drawing lesson, it is important to add more detail to the drawing, like pupils to the koala's eyes and more fur texture to the body.
Step 17: Go over the drawing in ink
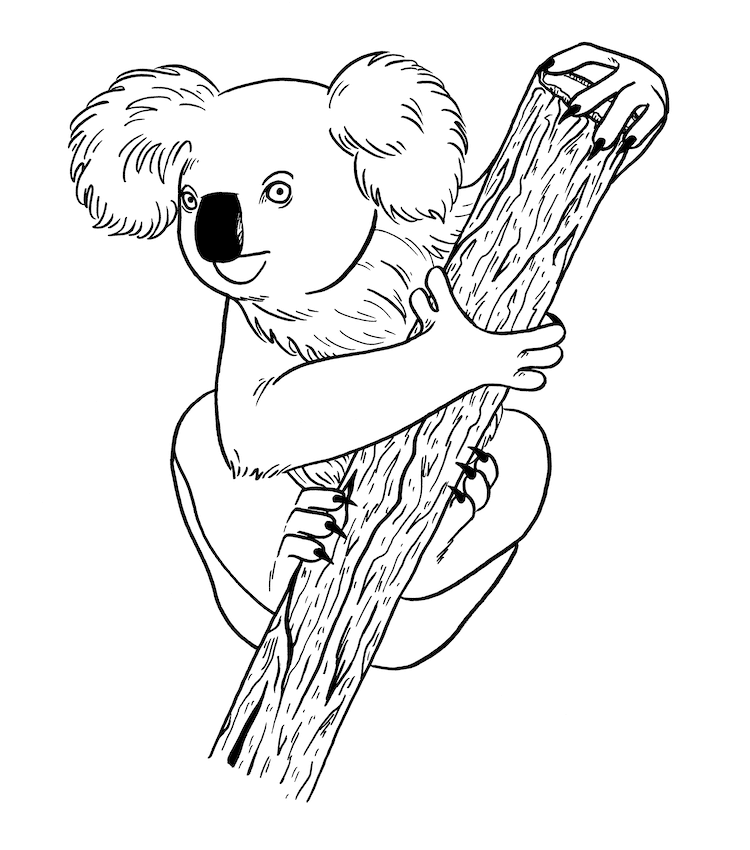
Photo & Art: Margherita Cole | My Modern Met
Lastly, it is time to go over our illustration in ink. So, using your pen of choice, slowly go over all of your pencil lines. You can do this with any drawing pen, but I chose to use a brush pen, here, which provides more expressive line variation. Be sure to leave any large areas of black for last so you do not risk smearing the ink on the page.
Once you are sure that the ink has dried, carefully erase the remaining pencil marks. You can either add color to your artwork with markers or color pencils or leave it in black and white.
Congratulations! You've now drawn your own cuddly koala bear.
Related Articles:
Learn How to Draw a Sloth Hanging on a Branch in 9 Steps
Learn How to Draw an Enchanting Snowy Owl With This Step-by-Step Guide


