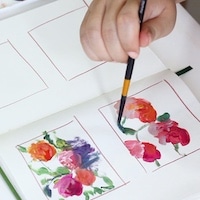
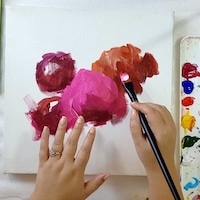
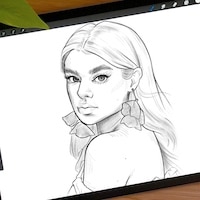
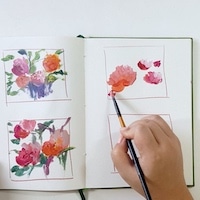
Step 1: Start in the middle of your flower.
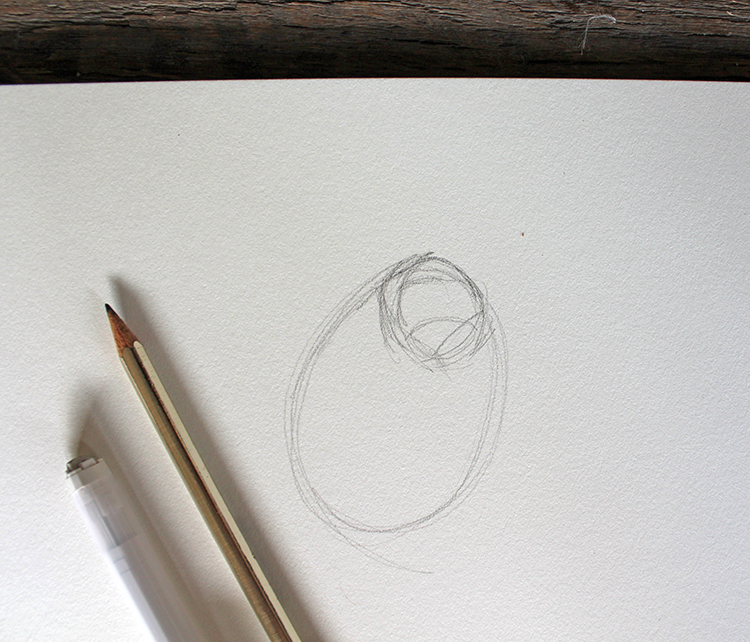
Photo & artwork: Sara Barnes / My Modern Met
Start your rose drawing by looking at the center of the bloom. This will be where the most intricate folds are, and it'll help you judge how large (or small) to draw the outer petals.
Focus on the overall shapes that you observe and sketch them as circles and ovals. It's okay if the shapes overlap one another. At this point, you're simply laying the base for where your refined drawing will go.
Step 2: From the center, draw the outer petals.
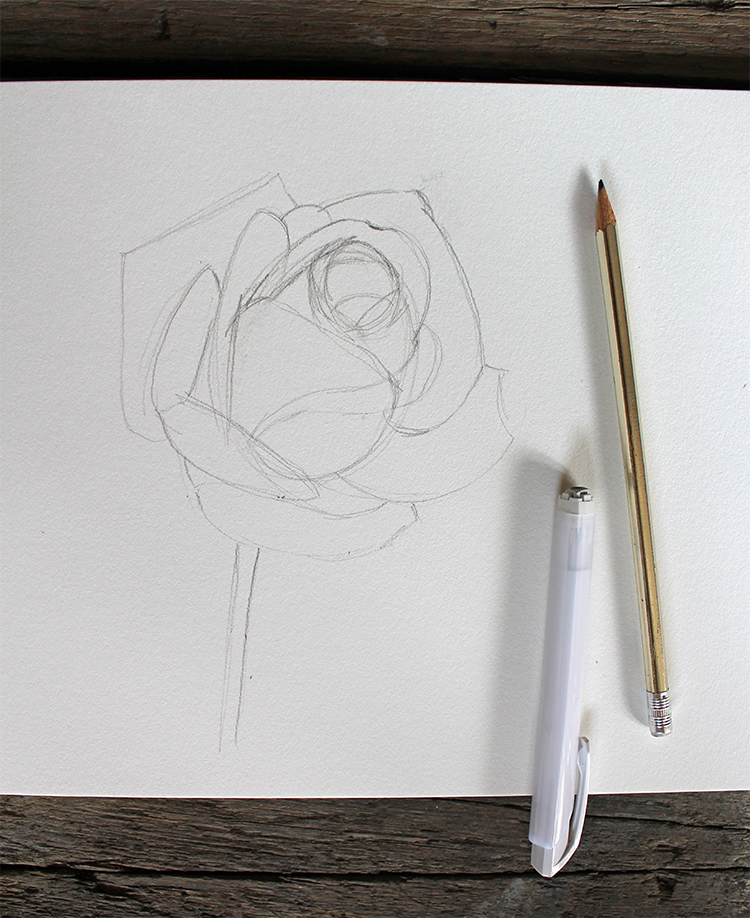
Photo & artwork: Sara Barnes / My Modern Met
With the center of your rose complete, start to work your way outward. Look at the petals closest to the core. Ask yourself: What is their shape? How large are they when compared to the center? Do they overlap with other petals? Just like the first step, express them in general forms.
At this point, it's important to make sure your drawing is correct. Take the extra time to make sure petals are in the correct shape and are placed properly. It's easier to fix any mistakes now—you don't want to be in the middle of shading and have to erase all your hard work!
Step 3: Refine the petals.
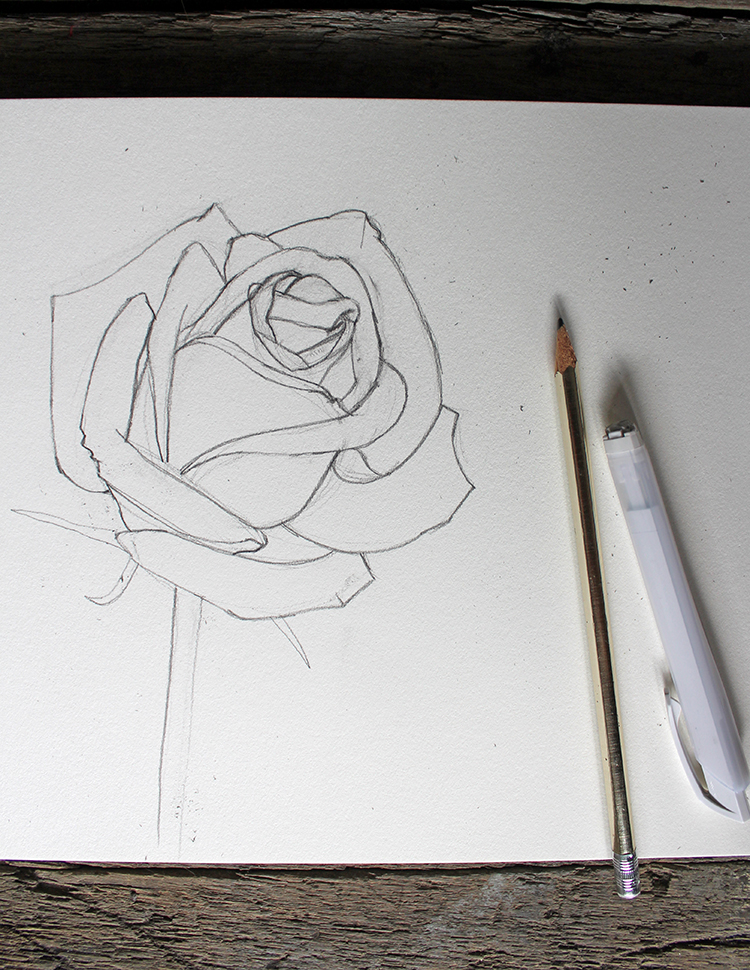
Photo & artwork: Sara Barnes / My Modern Met
Once you feel confident about your flower, start to refine the petals. Just as you've done in previous steps, begin in the middle and look at each of their contours. Notice where one part of the petal might curve or dip and sketch it on paper.
At this point, you can erase any extraneous lines. When done, you'll have a solid outline that's ready for shading.
Step 4: Begin shading.
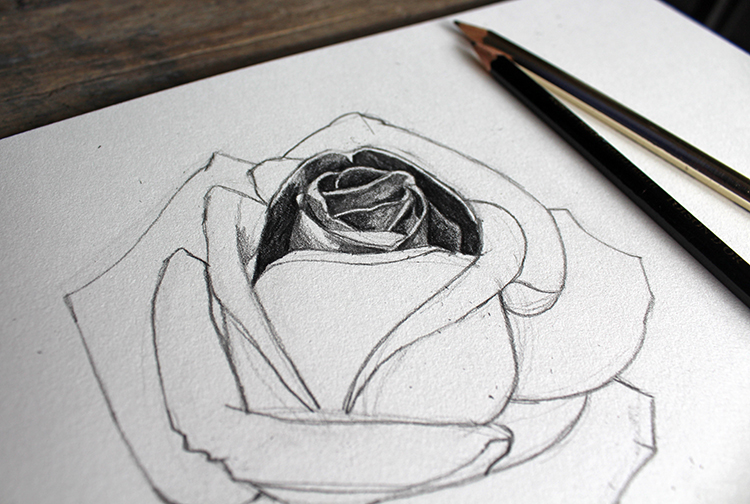
Photo & artwork: Sara Barnes / My Modern Met
Time to apply the shading to your rose! This marks the most exciting step because it's where your flower starts to come to life. Going petal by petal, make observations similar to those from step two. Is this petal lighter or darker than the one next to it? Does it have a highlight? Using your softer lead (B) graphite will help you achieve rich darks.
Step 5: Work around the rose.
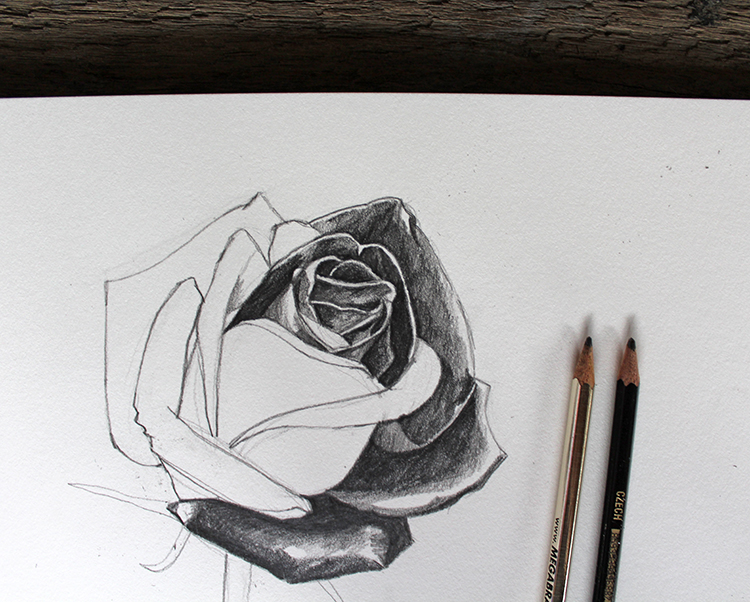
Photo & artwork: Sara Barnes / My Modern Met
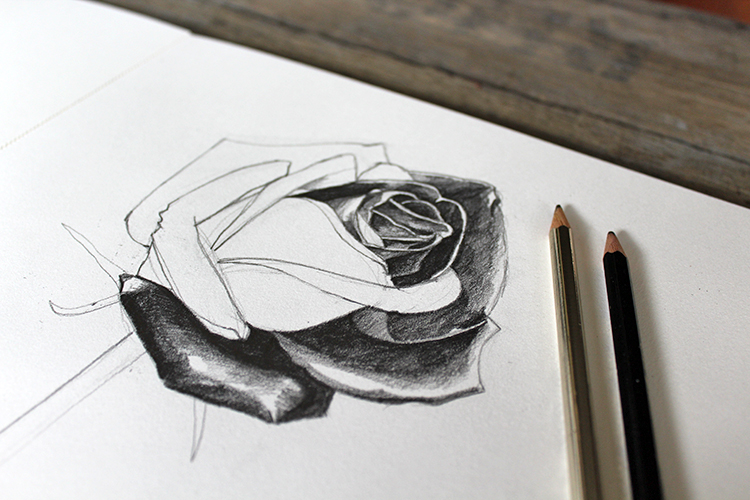
Photo & artwork: Sara Barnes / My Modern Met
Continue your way around the rose. The darker parts of the flower will be towards the center. Once you get to the outer layer of the petals, you'll have more variety in your tones. Be sure to reserve the white of the paper for the bright highlights—such as where the petals droop or fold.
Step 5.5 (optional): Add texture to your petals.
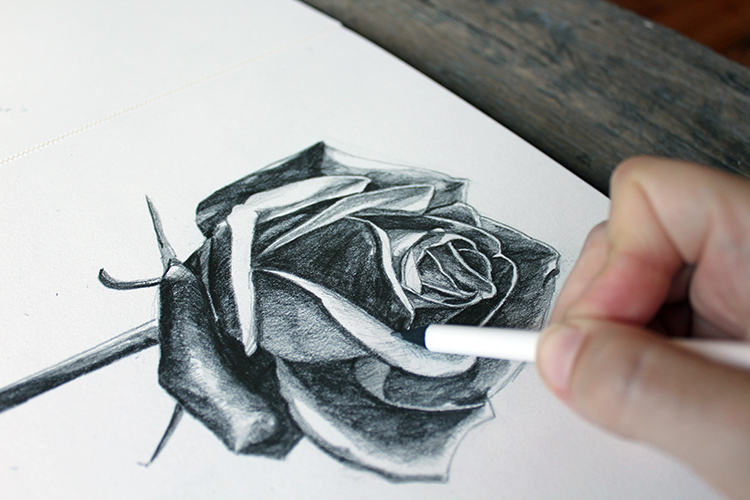
Photo & artwork: Sara Barnes / My Modern Met
This step is optional, but it'll add more realism to your drawing. Using a hard-graphite pencil (something in the H family), sketch thin, tiny lines onto the petals of your flower to convey the creases visible from up close.
Step 6: Refine your drawing.
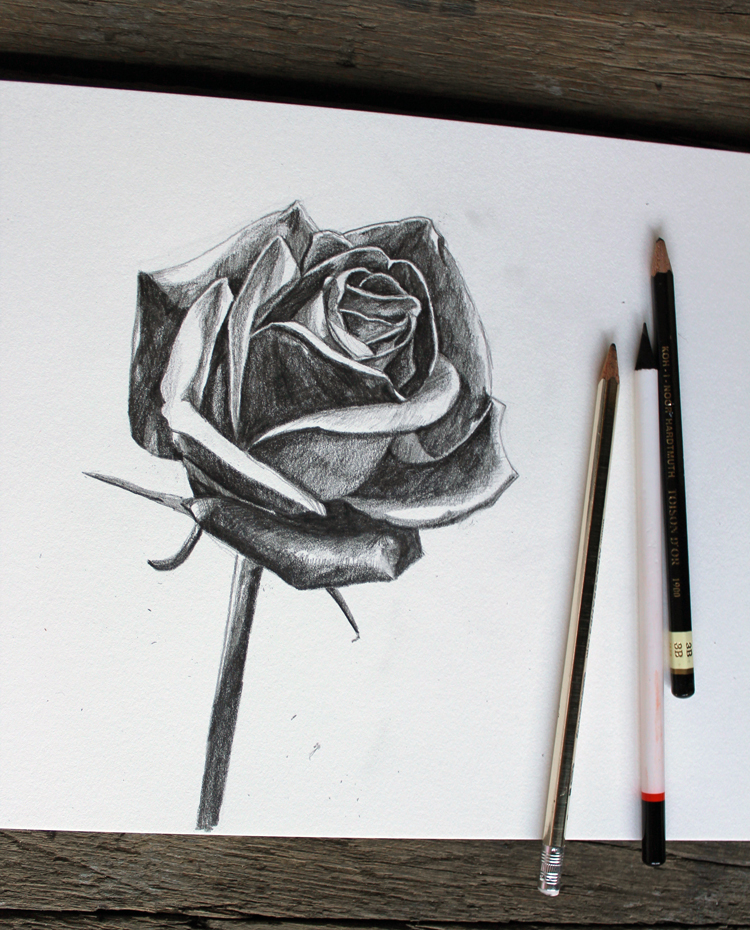
Photo & artwork: Sara Barnes / My Modern Met
At this point, you're done! Give the drawing a once-over. Are there any areas that need additional refinement? Any smudges that need erasing? Use this time to make those tweaks.

