Photo: arievdwolde/DepositPhotos
This post may contain affiliate links. If you make a purchase, My Modern Met may earn an affiliate commission. Please read our disclosure for more info.
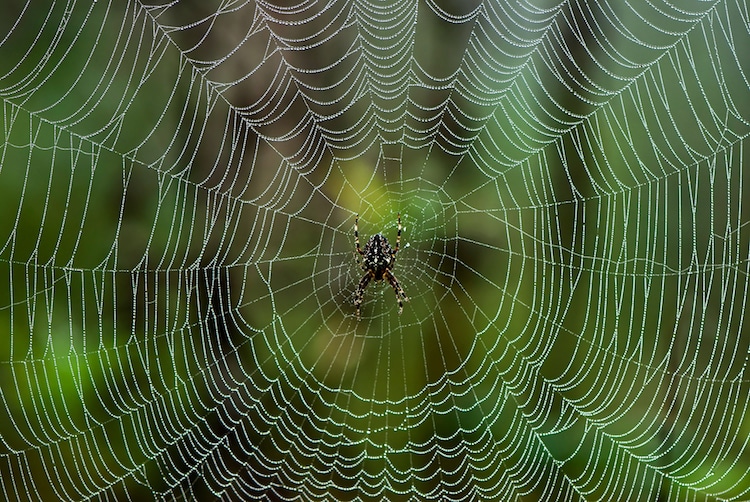
Whether you love them or hate them, spiders are some of the most iconic creatures of the bug kingdom. Their fascinating eight-legged bodies and ability to craft intricate webs make them stand apart from other creepy crawlies. However, few arachnids are as well known as the black widow. This red-spotted spider has long-held a fearsome reputation for its venom.
Here, we'll learn how to draw a black widow spider resting on a spiderweb in pencil before going over it in ink. All you'll need to get started are some essential art supplies, like a pencil, eraser, pen, ruler, and some paper. Have everything you need? Then let's draw a spider on a spiderweb!
Need some more art supplies before you begin? Check out our guides to the best drawing pencils, best drawing pens, and best sketchbooks.
Learn How to Draw a Spider on a Spiderweb Step by Step
Step 1: Draw a grid

Photo & Art: Margherita Cole | My Modern Met
Divide your paper into a simple grid by drawing a line halfway lengthwise and widthwise. You can do this freehand or, if you prefer straight lines, you can use a ruler.
Step 2: Sketch a circle
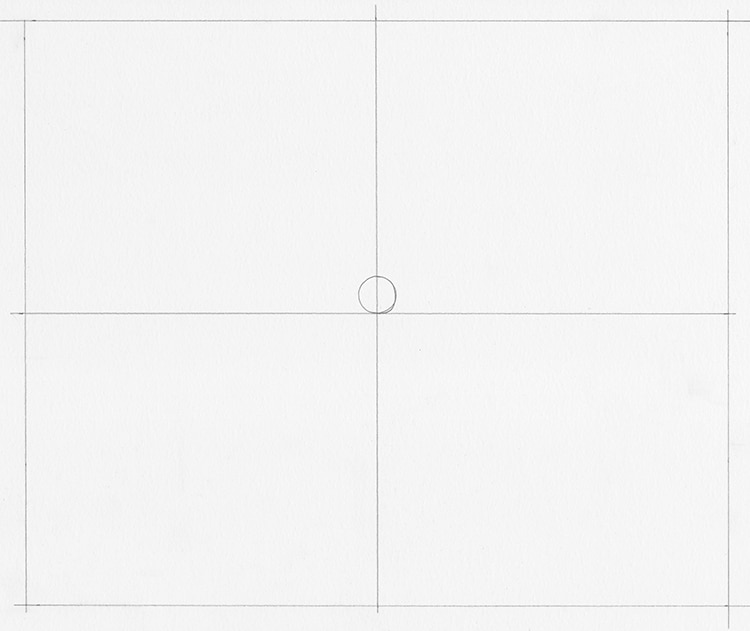
Photo & Art: Margherita Cole | My Modern Met
Next, place a small circle just above the center of the grid to create the head of the spider.
Step 3: Draw another circle
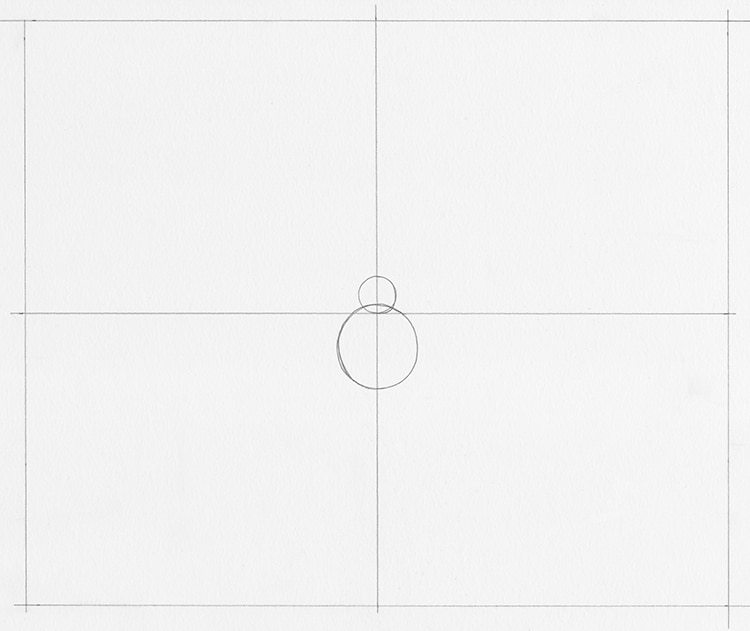
Photo & Art: Margherita Cole | My Modern Met
Sketch a larger circle on the opposite side of the grid in such a way that it slightly overlaps with the first circle.
Step 4: Add the jaws
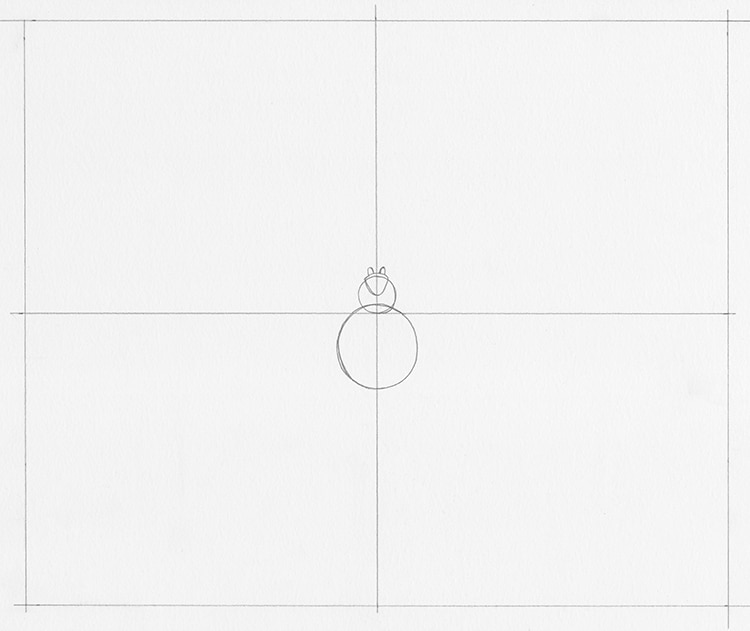
Photo & Art: Margherita Cole | My Modern Met
After, add a pair of small jaws to the top circle.
Step 5: Add the first pair of legs
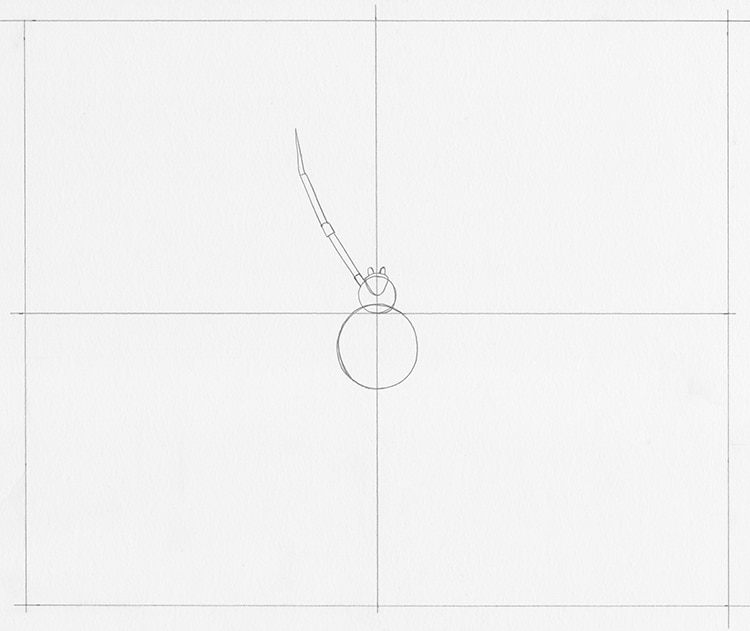
Photo & Art: Margherita Cole | My Modern Met
Now, it is time to add legs to the spider's body. Starting with the front legs, you'll want to place them on either side of the spider's jaws. Create each leg in three segments, ending with a point.
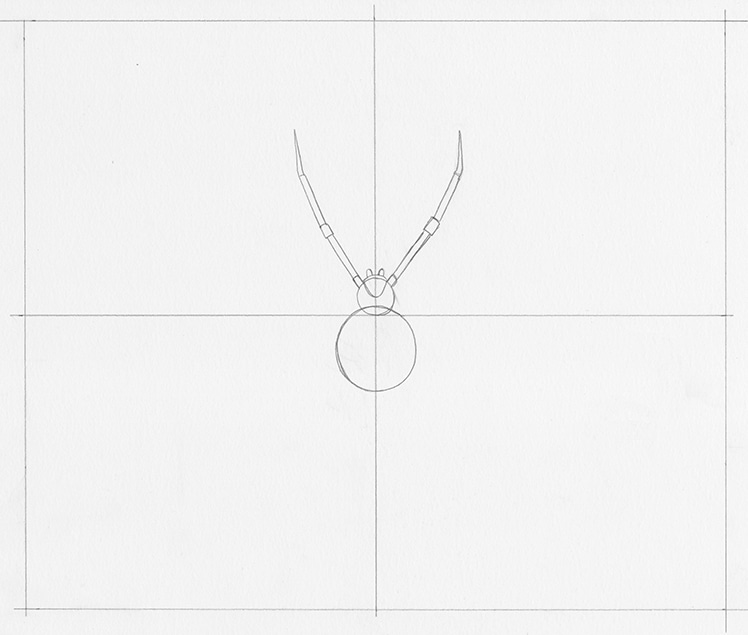
Photo & Art: Margherita Cole | My Modern Met
Step 6: Add the second pair of legs
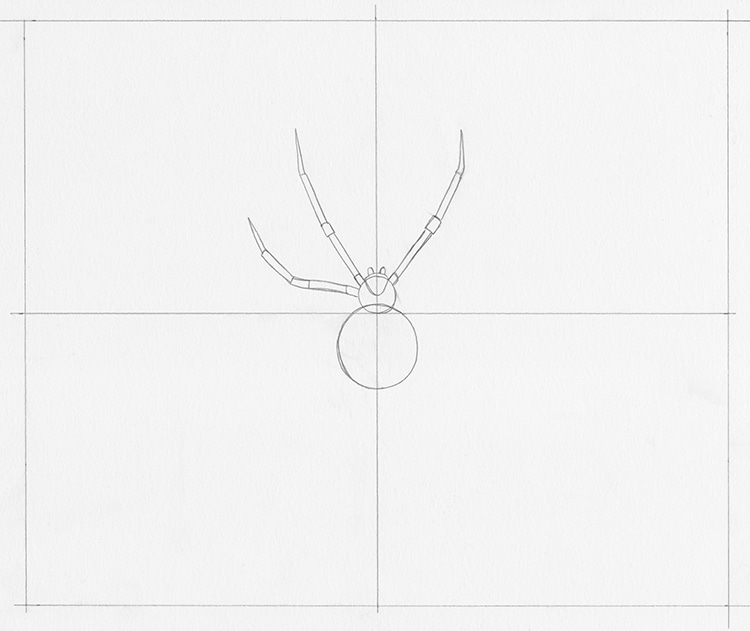
Photo & Art: Margherita Cole | My Modern Met
Next, we're going to move onto the second pair of legs, which should be about halfway down the small circle. One again, you will want to create these in three rectangular sections and add short rectangular joints where they start and in between the first and second segment.
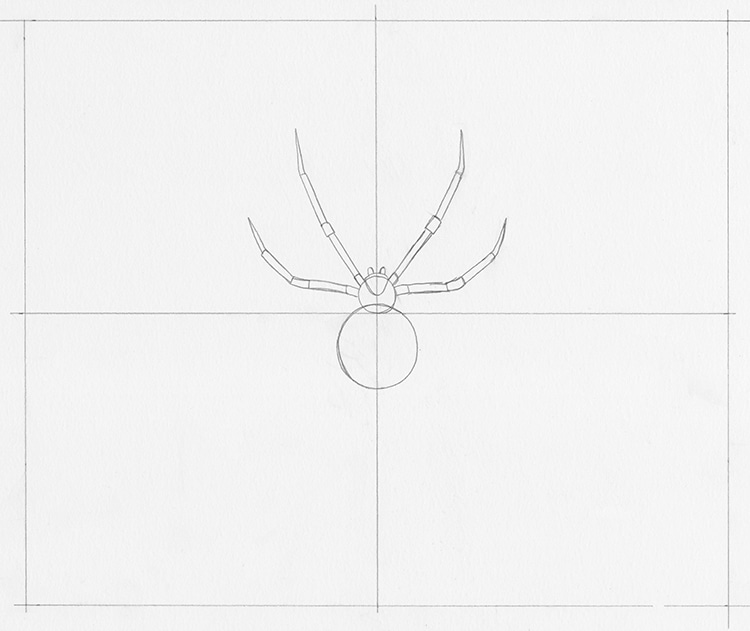
Photo & Art: Margherita Cole | My Modern Met
Step 7: Add the third pair of legs
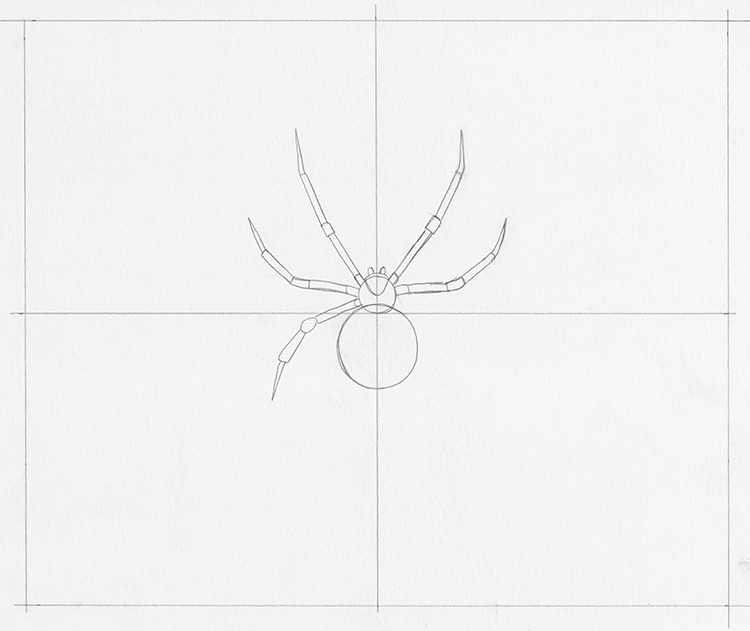
Photo & Art: Margherita Cole | My Modern Met
Afterward, it is time to focus on the third pair of legs. These should appear at the lower part of the small circle. Start each of these legs with a small joint, then a rectangular segment, a bulbous joint, another rectangular segment, and a last segment that ends with a point.
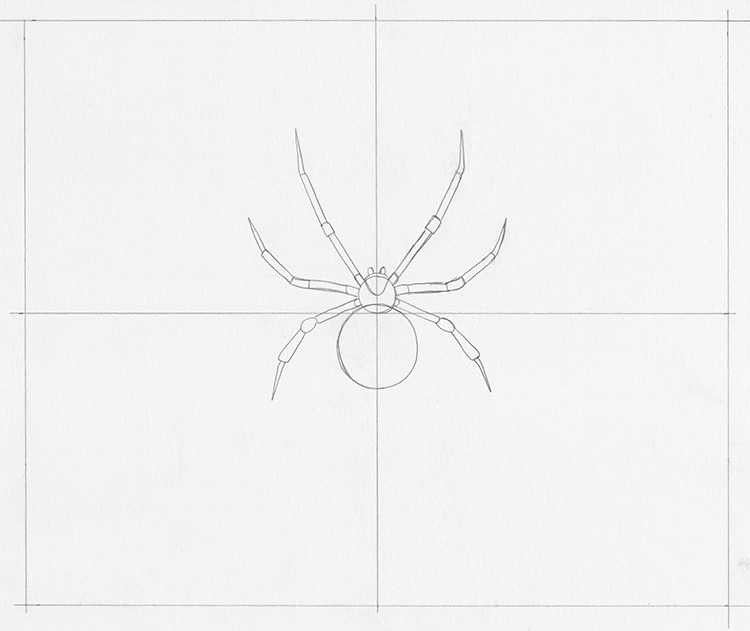
Photo & Art: Margherita Cole | My Modern Met
Step 8: Add the fourth pair of legs
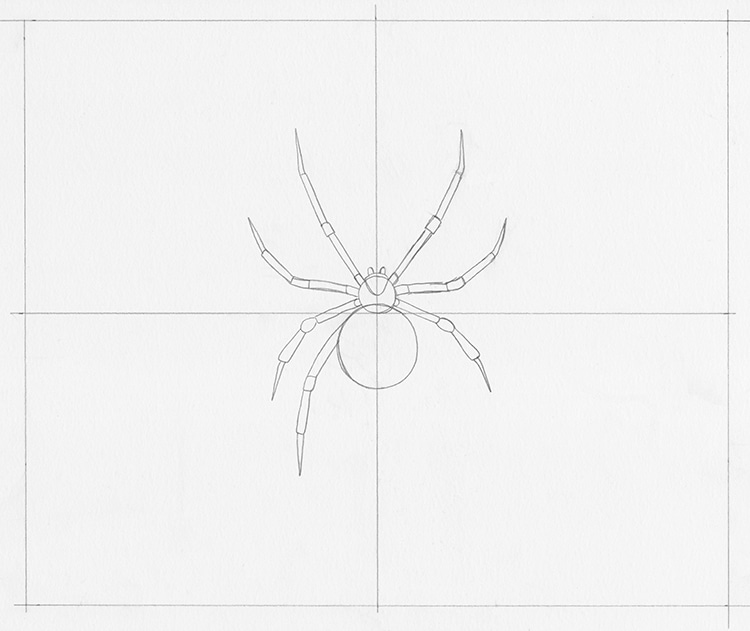
Photo & Art: Margherita Cole | My Modern Met
Now, we can move onto the fourth and last pair of legs. These will protrude from the bottom circle. Create each one by drawing a long rectangular segment, then a small rectangular joint, another rectangular segment, and a third segment that ends in a sharp point.
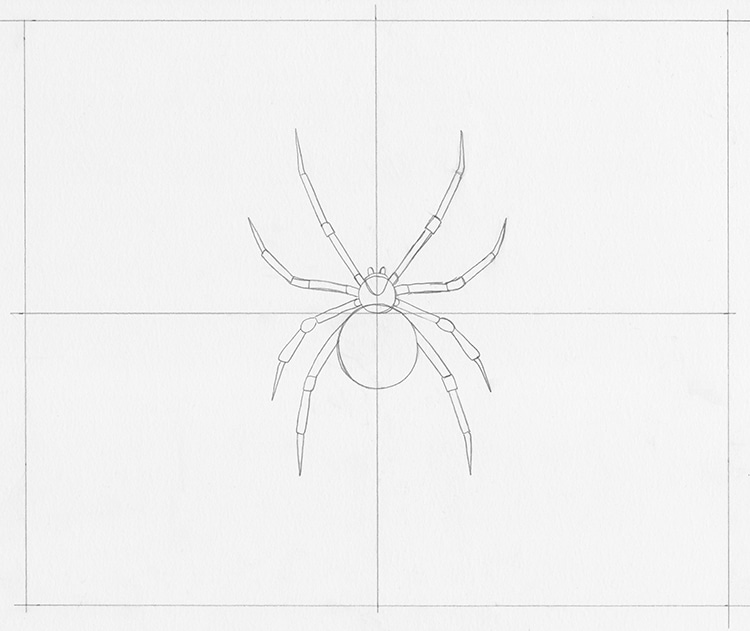
Photo & Art: Margherita Cole | My Modern Met
Step 9: Add spots
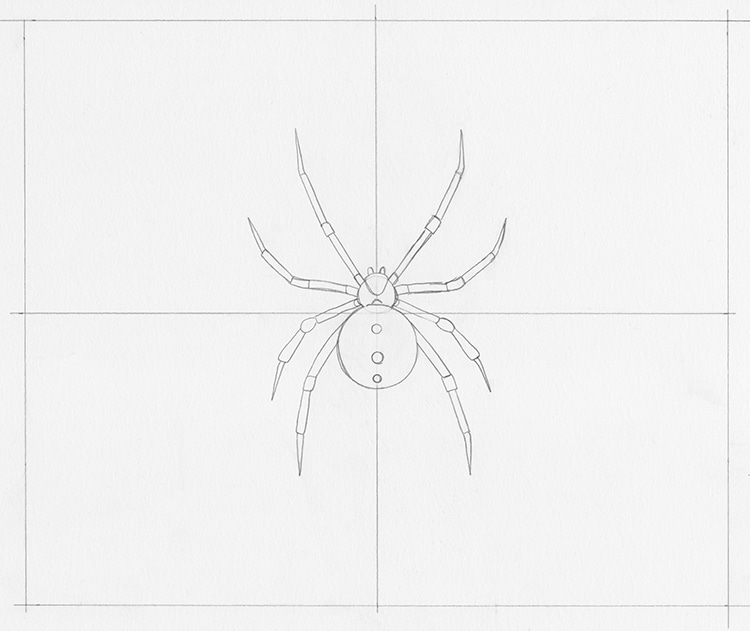
Photo & Art: Margherita Cole | My Modern Met
Since this tutorial portrays a dorsal-view of a female black widow, you will want to add three spots on the abdomen.
Step 10: Start the spiderweb
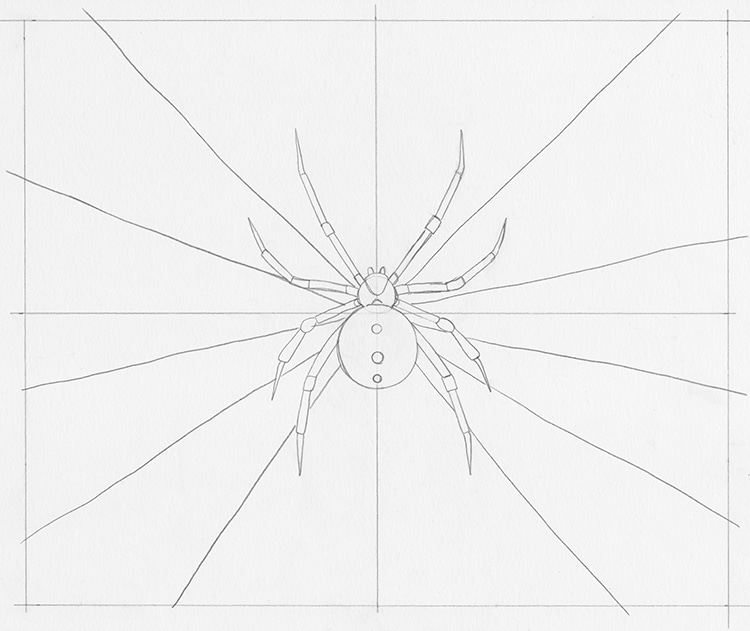
Photo & Art: Margherita Cole | My Modern Met
Next, it is time to draw the spiderweb. Begin by sketching diagonal lines that start at the center of the grid and extend to the perimeter of the paper.
Step 11: Add the design
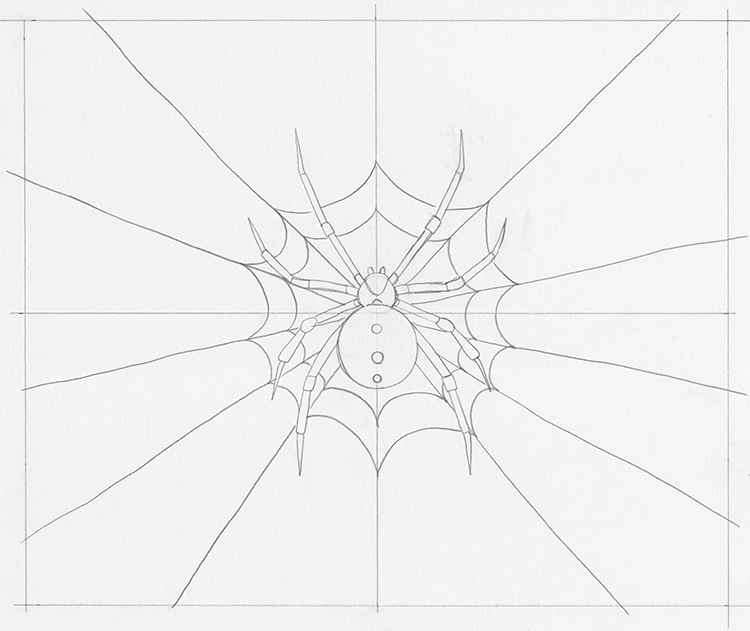
Photo & Art: Margherita Cole | My Modern Met
Afterward, we will start adding the pattern to the web. You can do this by drawing an updside down arch between each pair of diagonal lines.
Step 12: Continue the web pattern
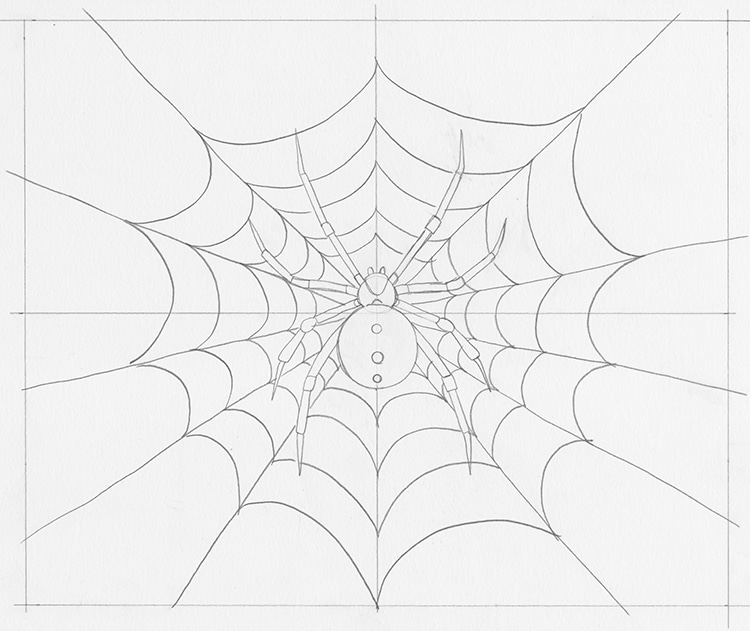
Photo & Art: Margherita Cole | My Modern Met
Continue adding the pattern to the web until you're satisfied or you run out of room on the paper. The web can be as big as you want it to be.
Step 13: Go over the drawing in ink
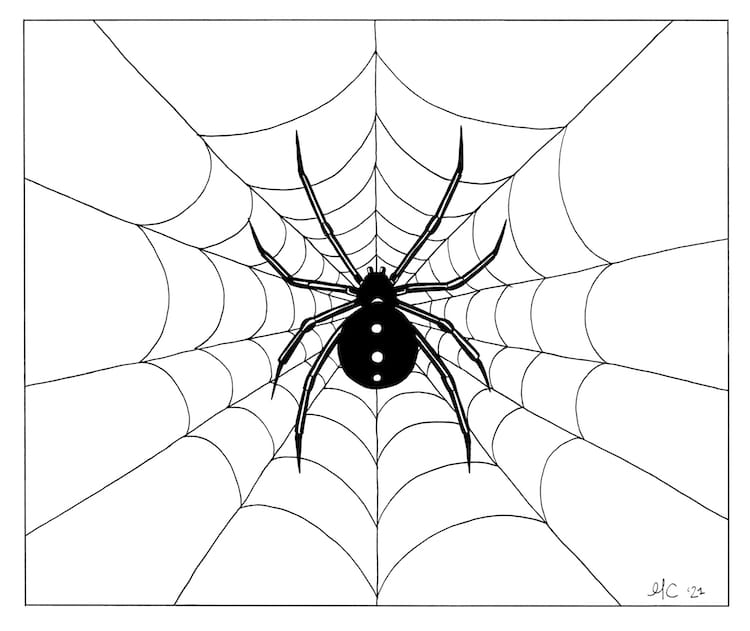
Photo & Art: Margherita Cole | My Modern Met
Finally, it is time to go over the drawing in ink. So, using your favorite pen, carefully trace over all of the pencil marks. Then, you can fill in the desired areas with black ink. And voila! You've drawn a striking black and white illustration of a black widow on a spiderweb.
Looking for others who love drawing? Join our Art, Design, Photography, and Drawing Club on Facebook!
Related Articles:
Learn How to Draw a Monarch Butterfly in Five Easy Steps
Learn How to Draw a Ladybug Step by Step
How to Easily Draw Flower Doodles to Decorate Your Journals and Sketchbooks


