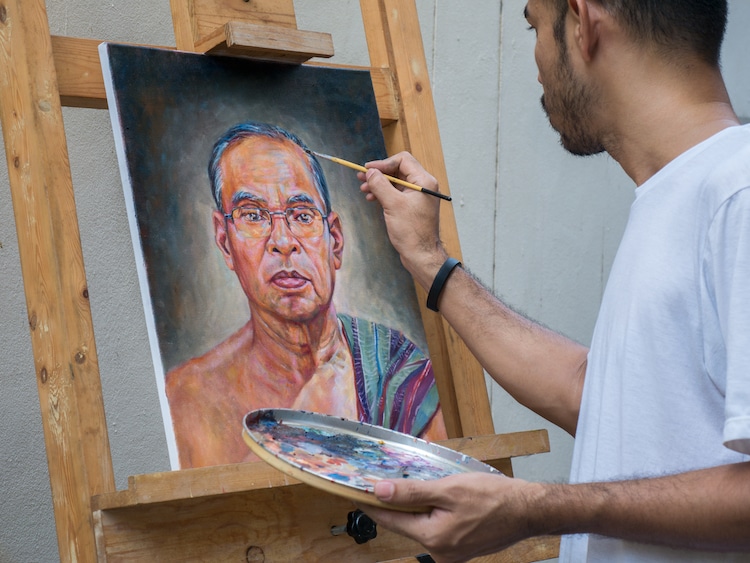
Stock Photos from hadkhanong/Shutterstock
Portrait painting is a tricky subject. Often, you’re trying to achieve a person’s likeness—which is itself challenging enough—while also focusing on technique. But the fact that a good portrait is hard to achieve is a great reason to try painting one in the first place. The only way you’re going to improve in your art is to push yourself to make increasingly complicated things.
If you’re new to portrait painting, knowing where to start is the hardest part. To help you in your artistic journey, we’ve spoken to talented portrait painters about their favorite tips and tricks to creating a great picture. Their years of experience—laced with bouts of trial and error—is the type of expertise you’ll want before starting to put pigment to canvas.
Scroll down for what the experts have to say.
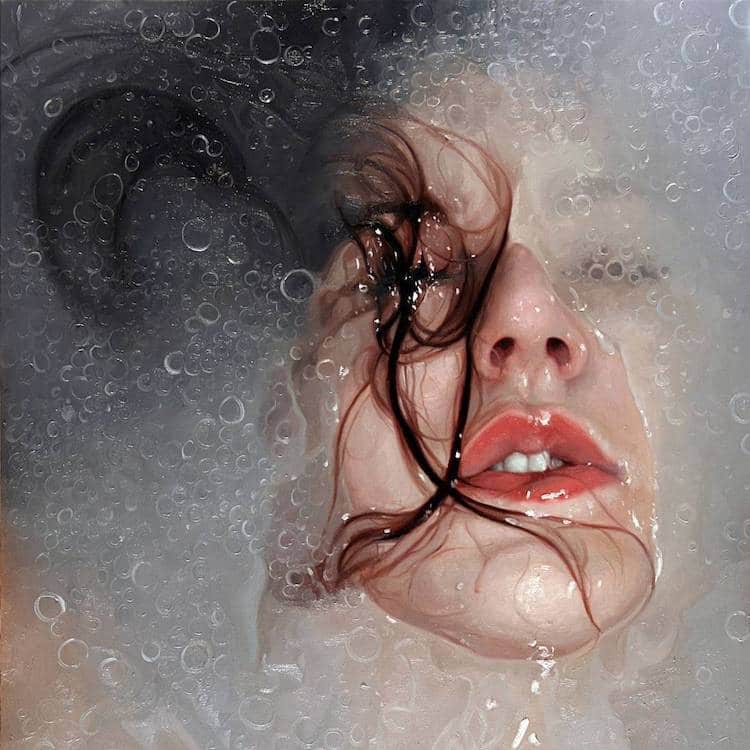
Artist: Alyssa Monks
Portrait painting tips for getting the likeness just right.
Achieving a great portrait is a delicate balance. It should capture the likeness of a person—or at least the essence of them—while still maintaining an artistic voice. Jessica Miller uses thick brushstrokes and vibrant hues to express her subjects while still focusing on how they look in real life. How does she do this? “Compare, compare, compare,” she tells My Modern Met. “Constantly compare sizes, distances, angles, lightness/darkness, etc., the entire time you’re painting.”
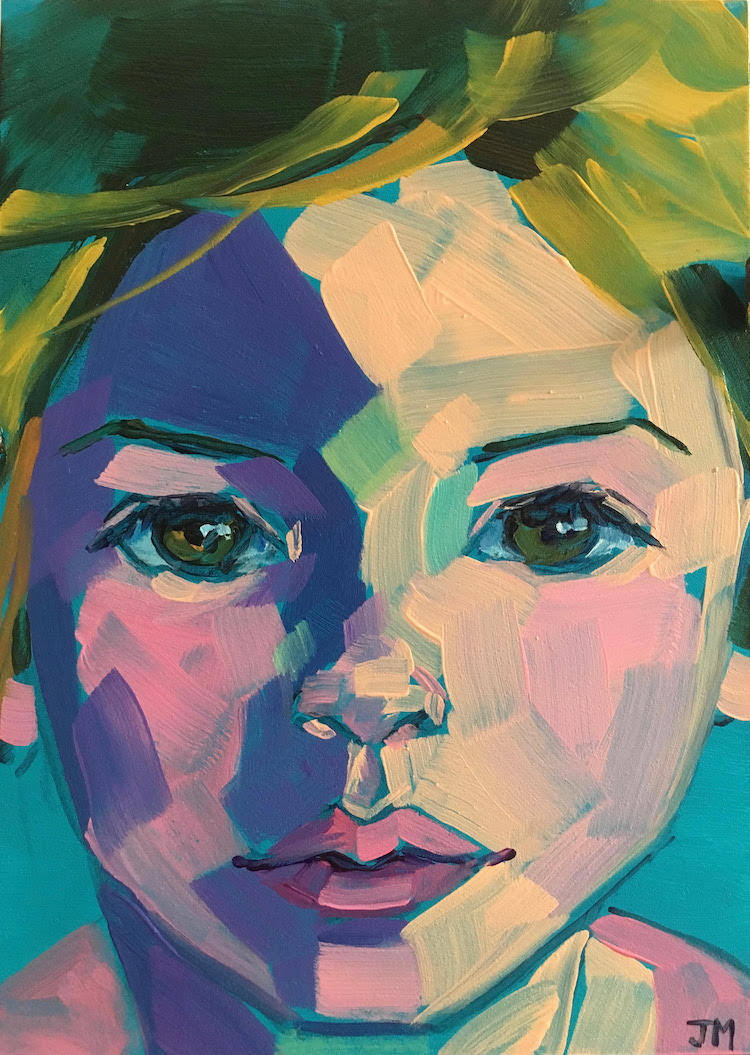
Artist: Jessica Miller
Miller offers practical considerations to make as you paint. For example, she says, “How does the distance from the bridge of the nose to the tip compare to the distance from the tip of the nose to the chin? Whatever the ratio is in life, it should be in your painting.” But she doesn't stop there. “How does the width of the face compare to the length? Do this all over the face, and keep doing it.” Miller is thorough and practices this meticulous process in her work. “I do this intensely when I’m in the initial stages of a portrait, but I constantly make adjustments throughout the entire sitting.”
Artist Shelley Hanna has always had the inherent ability to render someone's likeness. “When I was 17,” she reveals to My Modern Met, “I had a portrait painting of an older couple that was featured on the back of an insurance magazine and one of their relatives working in a post office recognized them and freaked out! He had no idea why his aunt and uncle from a small town in Wisconsin would be on a magazine cover.” Although Hanna has a gift, she later recognized there was more she could learn. “While I was able to capture a likeness naturally when I was younger, I realize now that I could have benefited greatly by using a couple of drawing methods.”
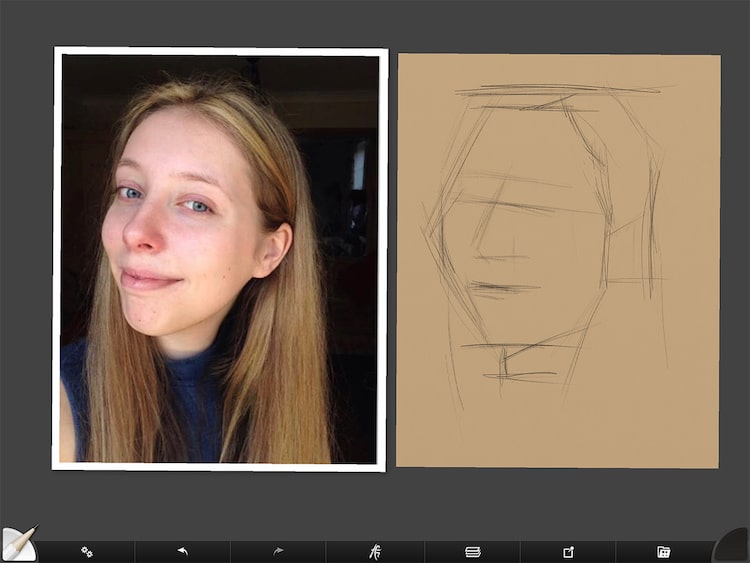
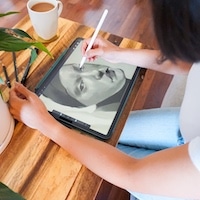
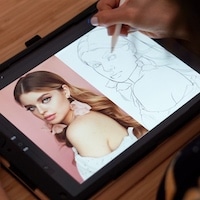
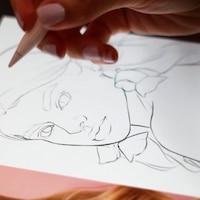
“Using the envelope on the iPad,” Shelley Hanna says.
Hanna’s first approach to likeness involves blocking the basic shapes of the head to create an “envelope” around it. “Start out by drawing straight lines at the top, bottom and the sides, then cut in on key angles to define the shape working quickly,” she explains. “This helps to capture the overall proportion of the subject rather than getting caught up in drawing detailed parts right away, which is very tempting to do.”
Once everything is sketched in, Hanna plans the rest of the face. “I draw in other key lines indicating the center of the head, position of hairline, eyes, nose, and mouth. If the proportions are off at the beginning, you will find yourself struggling every step of the way to get a likeness. It can always be corrected later on in the painting, but better to solve proportion problems early on than to pay for it later.”
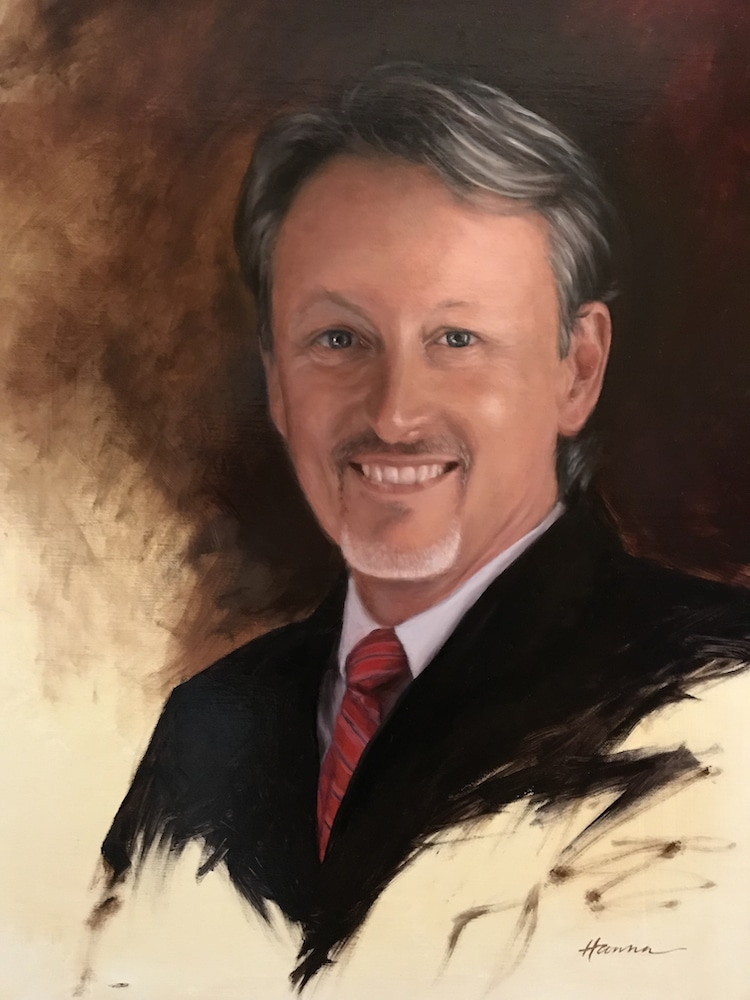
Dr. Claude Pressnell, oil on panel by Shelley Hanna.
No matter how long you’ve been practicing portrait painting, making someone appear as they do in real life is always challenging. “This [proportion problem] happened to me recently on a portrait of Dr. Claude Pressnell,” Hanna recalls. “I must have moved his nose and mouth around ten times! It’s all a part of the process though.”

Joshua Miels' sketching process in Photoshop.
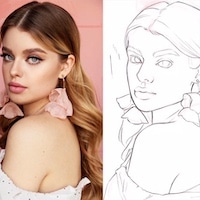
Artist Joshua Miels incorporates technology into the development of his paintings. Working from a photograph, he brings the image into Photoshop and converts it into grayscale. “By doing this I can look to break the painting down into sections,” he explains. “I use a small amount of Photoshop work to help with this. I adjust the contrast focusing on [creating] areas of black, areas of mid tones and finally looking at the highlights.” This informs his drawing. “I begin to sketch the piece in Photoshop using the drawing tool. I do this on a separate layer so I can make changes.” Once he’s happy with the drawing, he hides the initial photograph (in Photoshop) and projects it onto the canvas to trace it onto there.
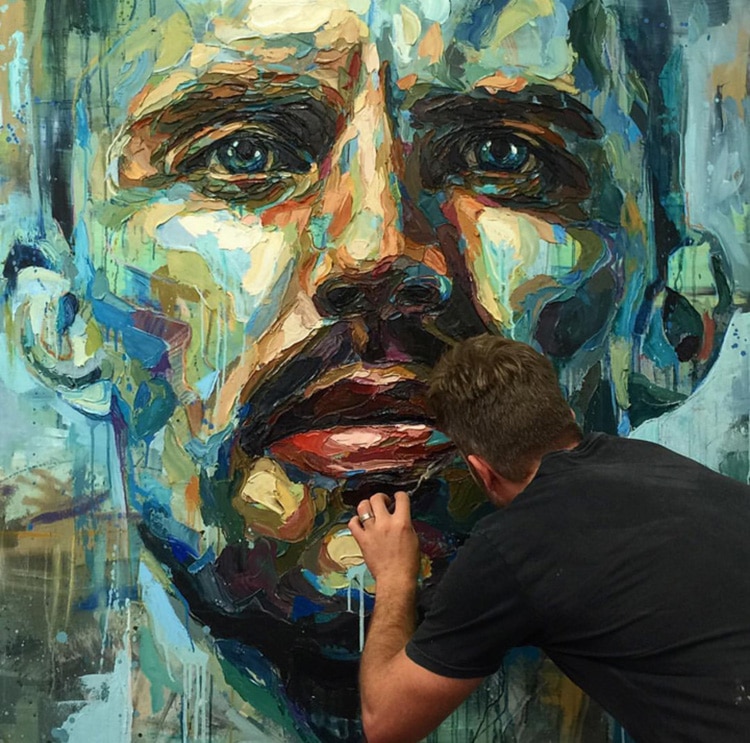
Artist: Joshua Miels
If you’re worried that tracing over an image onto canvas might make it look too much like a photograph, don’t worry. As long as you stay true to your style—for Miels, that’s highly textured and blocks of colors—your painting will have its own voice.

