This post is sponsored by Minted. Our partners are handpicked by My Modern Met’s team because they represent the best in design and innovation.
If you've ever seen images of gallery walls in magazines or on television, you know how much they can add to an interior. But for most of us, putting together our own wall of pictures in a way that's harmonious and aesthetically pleasing can be intimidating. When done correctly, they're the focal point of a room; but when done incorrectly, there's just something that seems off. So how do you make sure that your gallery wall ends up as you envisioned?
We've pulled together a bunch of tips and tricks that will help make your gallery wall project simple. And once you apply all of the tips we list below, make sure your gallery wall is in top shape by getting a free consultation by a Minted stylist. That's right, you can get a free expert opinion by simply texting a photo of your wall to 415-993-WALL (9255). After asking a few questions about your art preferences, a Minted stylist will get back to you with options for how to style your wall and artwork in just a few days. They can make art suggestions or you can include images of personal artwork and art from Minted in your original message.
There's no pressure to purchase. Minted just wants to make sure that your interior looks its best. So, why not give creating your very own gallery wall a shot?
Want to create a gallery wall but aren't sure where to start? Here are 5 tips and tricks to help.
Select Your Art
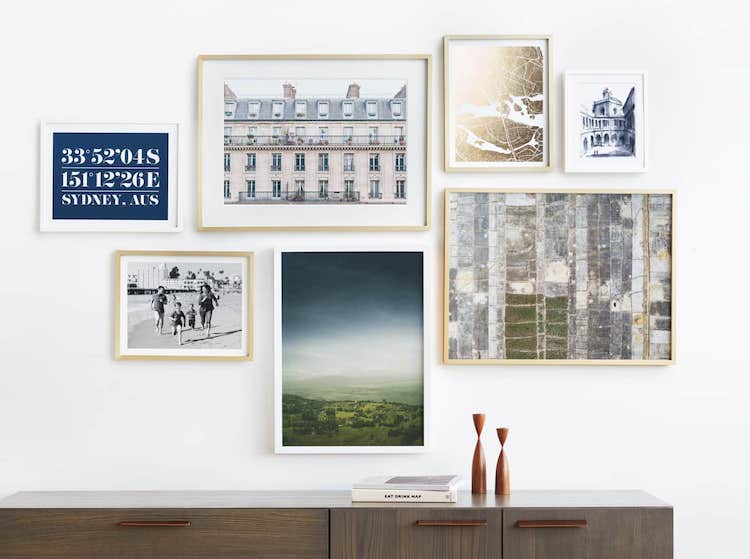
It all starts with the artwork you decide to hang on your wall. But don't feel limited to just one style or genre of art—mix things up. That could mean pairing your favorite vacation photograph with an abstract piece of art that reminds you of your trip. Or, incorporate some text art by printing your favorite quote and mixing that in with other artwork. By mixing and matching different types of art, your gallery wall will be even more dynamic.
However, if you had your heart set on creating a wall of all photography—that's ok! There's nothing wrong with sticking to a theme, particularly if the idea of mixing and matching is overwhelming. In fact, a theme can be a nice centering point for a gallery wall whether you stick to one type of art or even use a single color to unite your idea.
Once you are ready to get started, Minted has a wide range of custom art, as well as limited edition fine art. This makes it easier than ever to bring your gallery wall to life without having to leave Minted's website.
Think About Frames
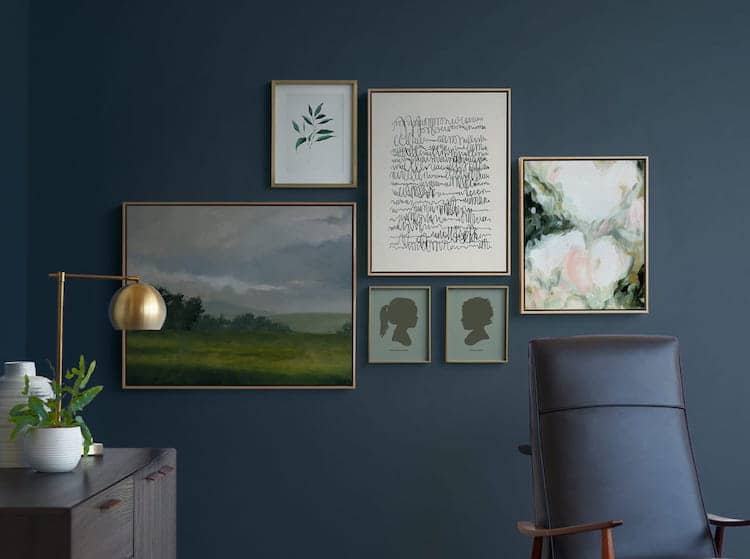
Though it's not mandatory, a great unifier for any gallery wall is the frames. The use of similar frames is a visually pleasing touch and can bind together different types of art. Luckily, Minted has 17 different types of frames to select from.
Depending on the visual you are after, you can select metal or wood frames. And if you want to add some unique character, Minted even has patterned or distressed frames. Once you have your frames picked, you'll also want to think about matting. The right matte can give a polished, museum-quality feel to any piece of art. You may want to go with classic white or mix it up with something more colorful. Either way, a good matte can make the wall more dynamic.
Pick a Layout
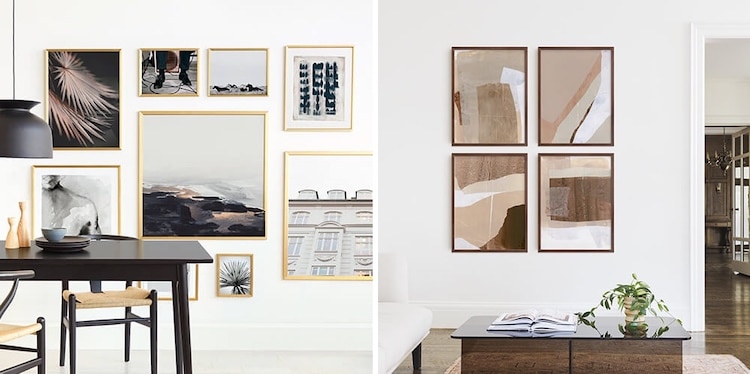
There are many different ways to set up your gallery wall. You can try something as simple as a grid or get more daring with an asymmetrical layout. While things can get more complicated depending on the amount of artwork to hang, there are a few tips to keep in mind in order to help you create a pleasing visual.
The first thing to keep in mind is spacing. Having uniform spacing between the artwork on the wall brings harmony to the gallery wall, even if you have an asymmetrical composition. So, when laying out your art, make sure you keep your ruler handy and stay consistent. With asymmetrical layouts, one trick is to keep the top line uniform. So, even if the artwork within the gallery is hung at different heights, the entire wall will start with a single line at the top. Again, this gives a pleasing visual when looked at.
Consider the Height
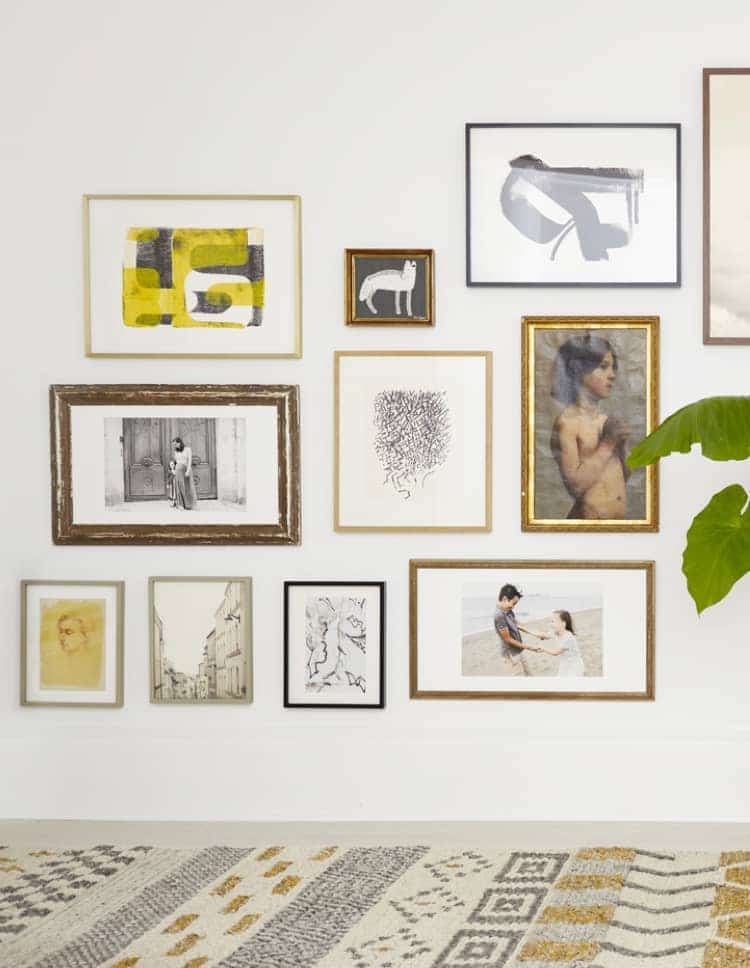
Generally, when it comes to hanging artwork you want to aim for placing it about 57 to 60 inches from the center of the image to the floor so that it's at eye level. This may appear complicated when talking about a gallery wall that involves a large scale, but it's not as difficult as you may think. It's nice to have a central chunk of art hung at eye level, but the inherent nature of a gallery wall means that some pieces will be higher and some will be lower.
The trick is to avoid placing artwork too close to the ceiling or the floor so that you won't have to strain your neck or crouch down to see them. Also, consider how detailed the artwork is. Something that can only be appreciated when studied up close is best placed lower, while bolder pieces that read well even from a distance can work at a higher level.
Practice with Paper
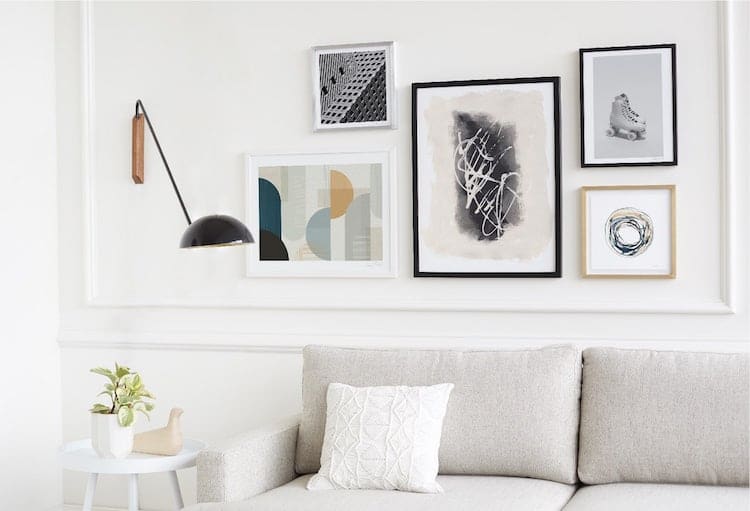
It's one thing to have an idea for a layout in your head or to sketch it on a piece of paper, but it's another to see it up on a wall. That's why we highly suggest that you use newspaper or butcher paper to mock up your wall. Just cut pieces of paper to the dimension of your artwork and tape them up on the wall to follow your desired layout.
By seeing how everything looks on the wall, you'll easily be able to determine if anything should be tweaked. Maybe you'll discover that you don't have enough space on the wall for all of your art or perhaps you'll realize that you can add more. Mapping things out in this way will allow you to adjust your plans to your liking before committing.
Aren't able to map out everything directly on the wall? Try laying it out on the floor, as you'll still get the visual impact.
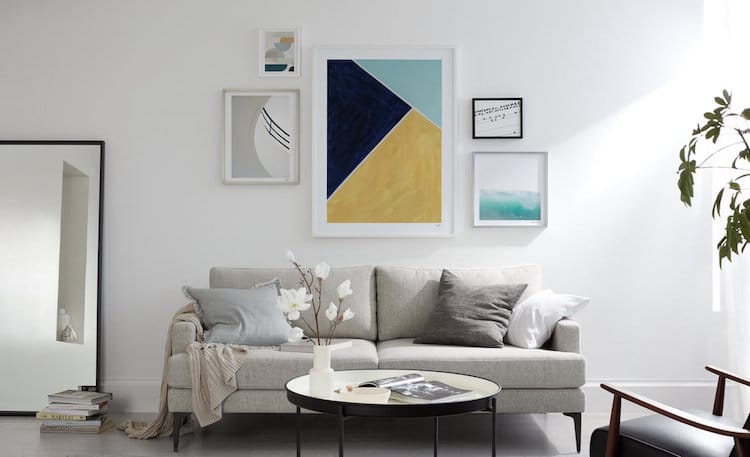
In need of inspiration for your gallery wall? See how Minted styles these gallery walls using fine art from its collection.
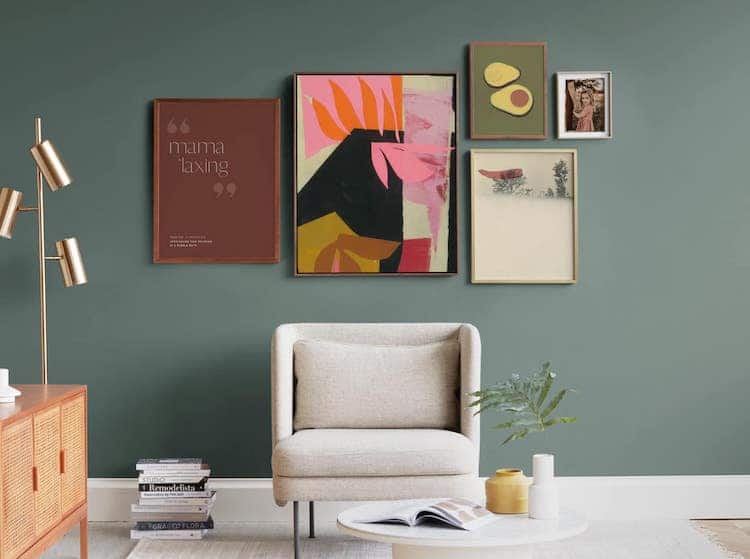
Want to replicate this gallery wall at home? You can find all the artwork on Minted.
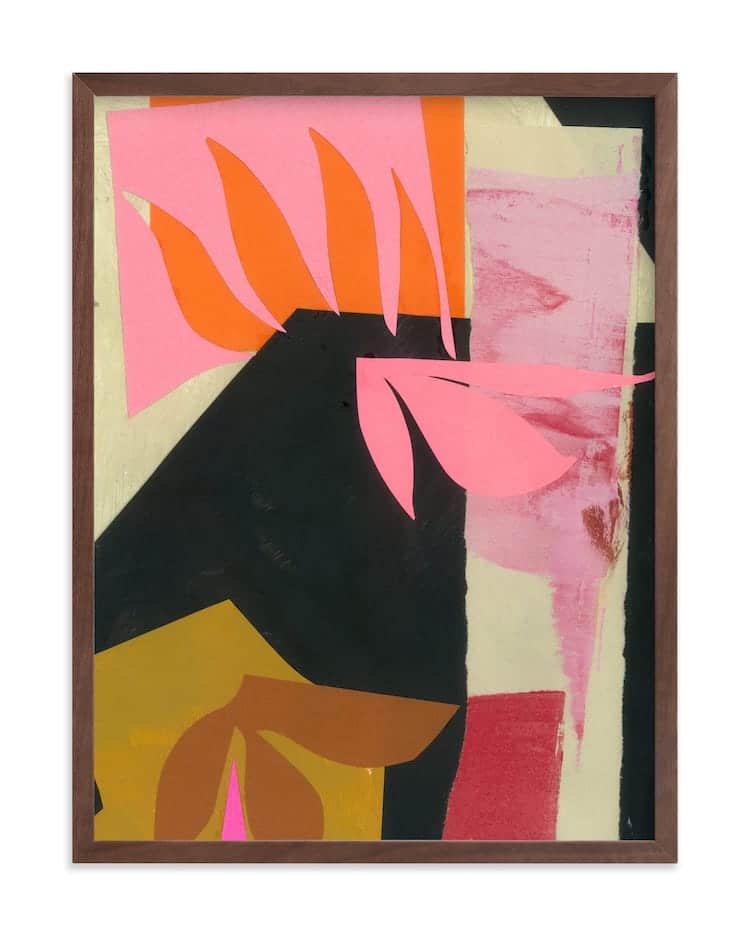
Blaze by Cyrille Gulassa
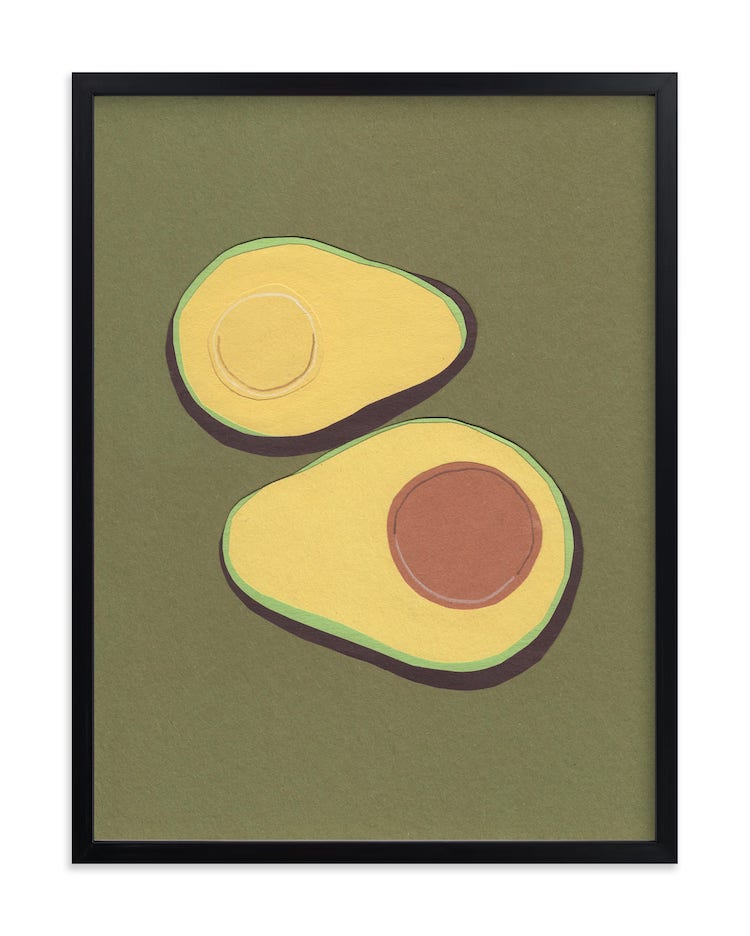
“Avocado” by Elliot Stokes
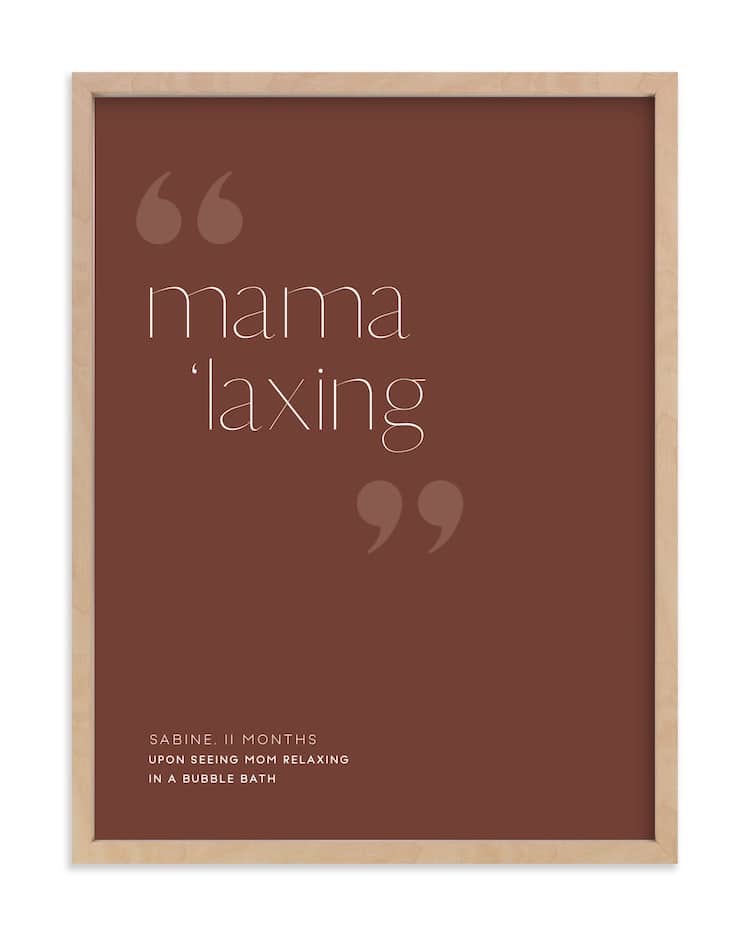
Custom Quote Art by Minted
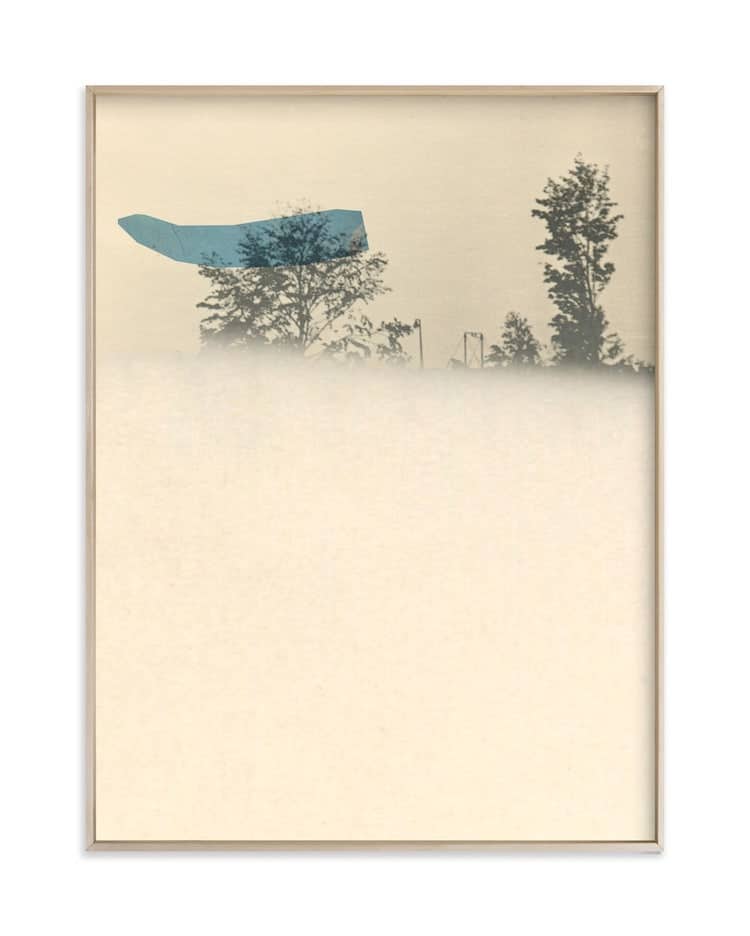
“What is Invisible” by Sumak Studio
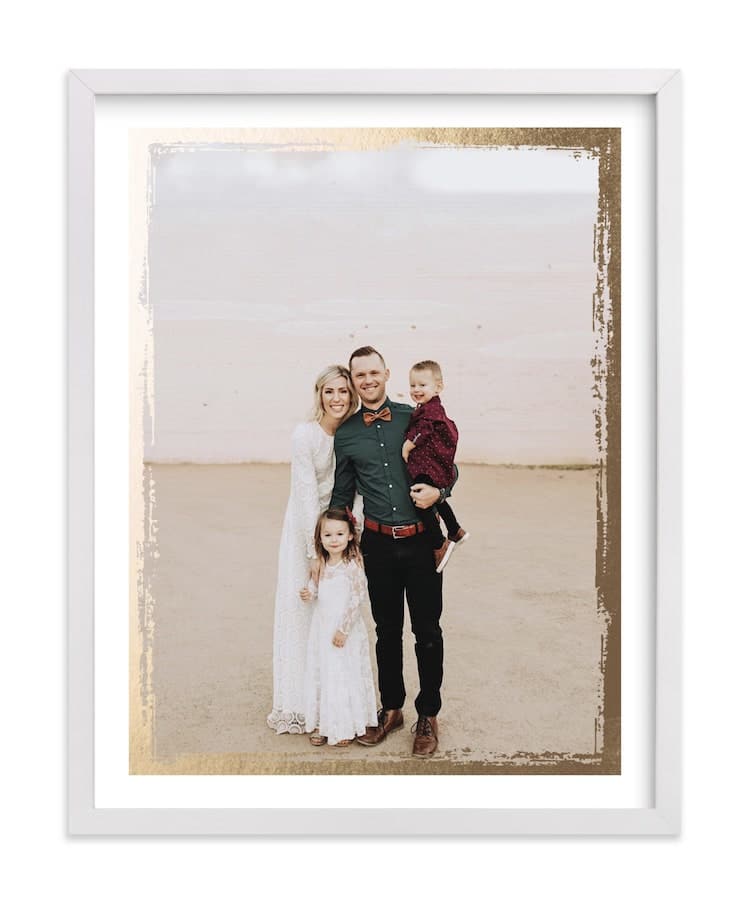
Rustic Edges Custom Photo Print by Cambria
Here's another example of a modern gallery wall.
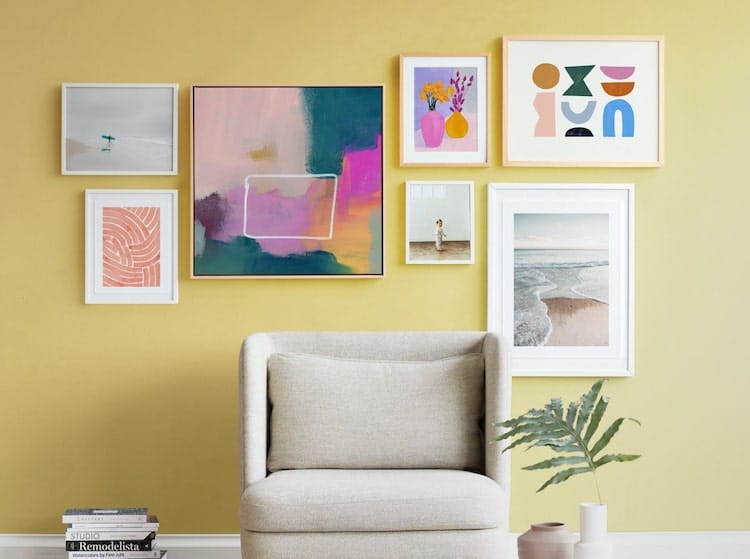
Create this gallery wall with the following limited edition artwork from Minted.
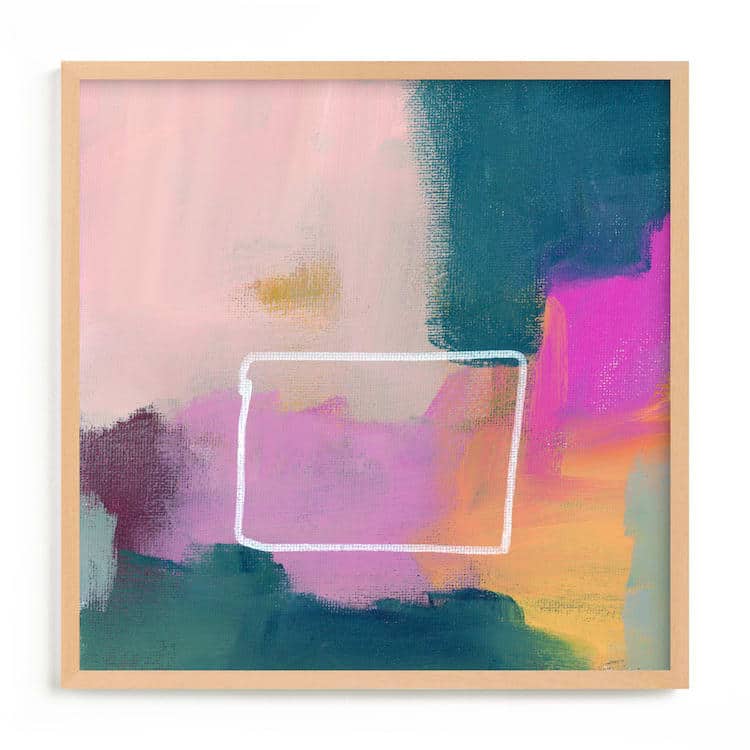
“Somewhat Contained” by Lindsay Megahed
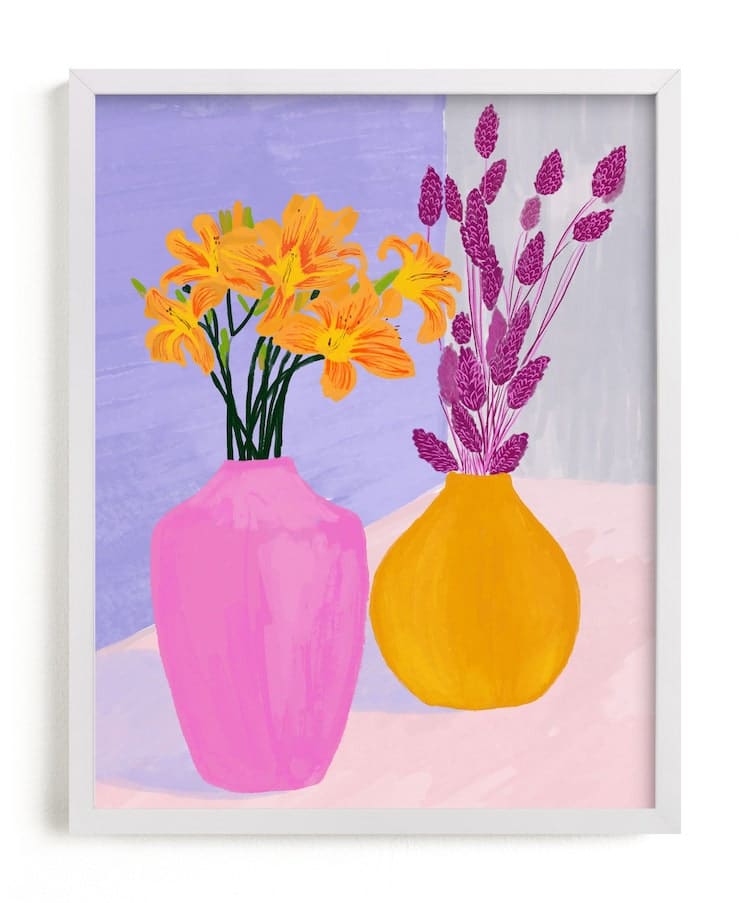
“Color Still” by Marta González
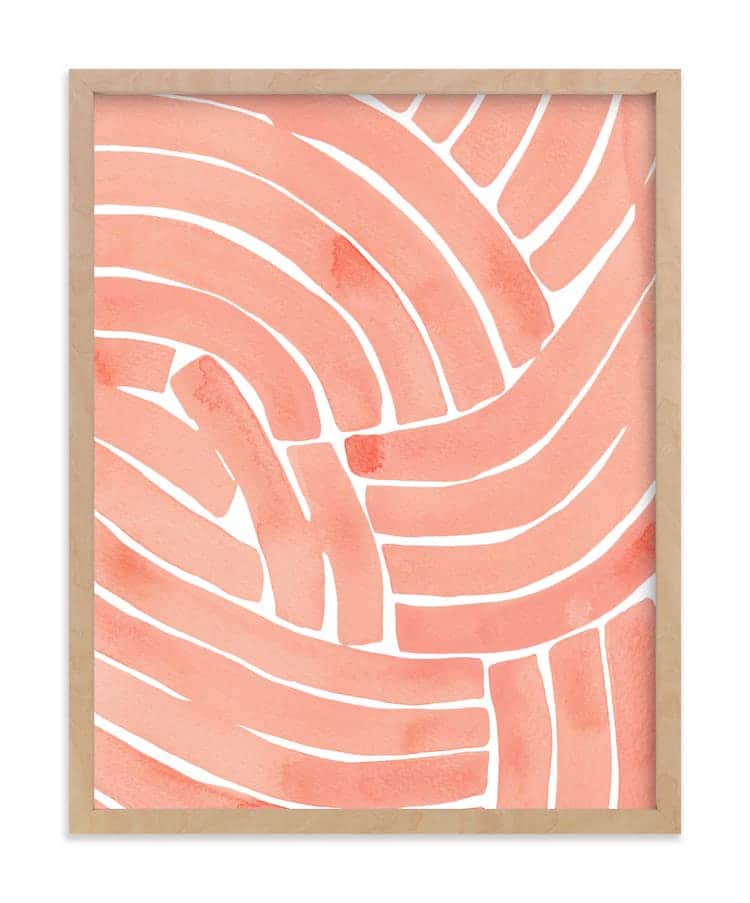
“Curvy Lines” by Kristine Sarley
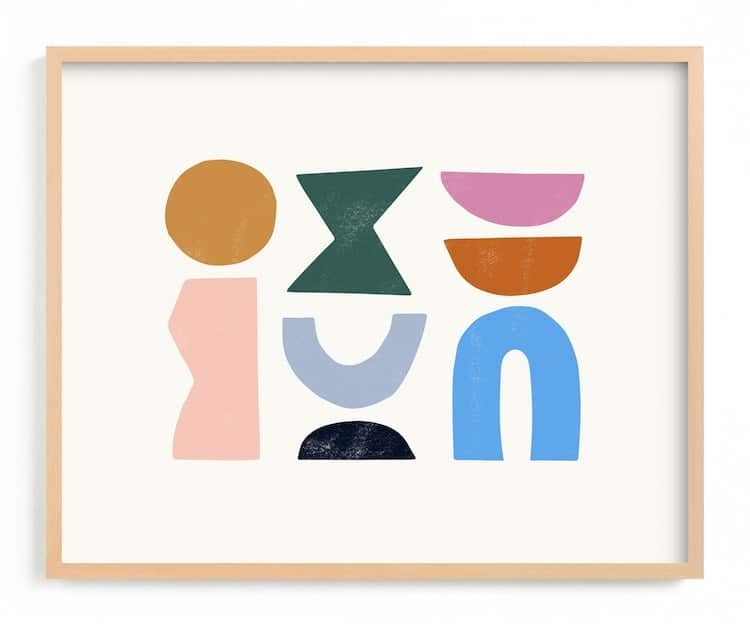
“Color Form” by Ampersand Design Studio
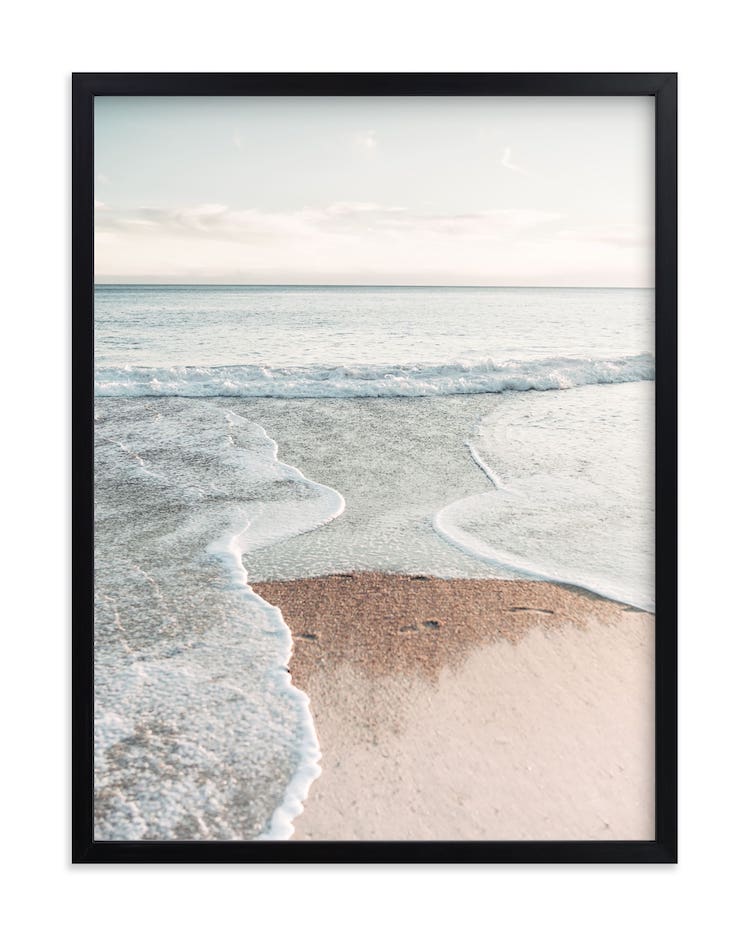
“Riptide” by Kamala Nahas
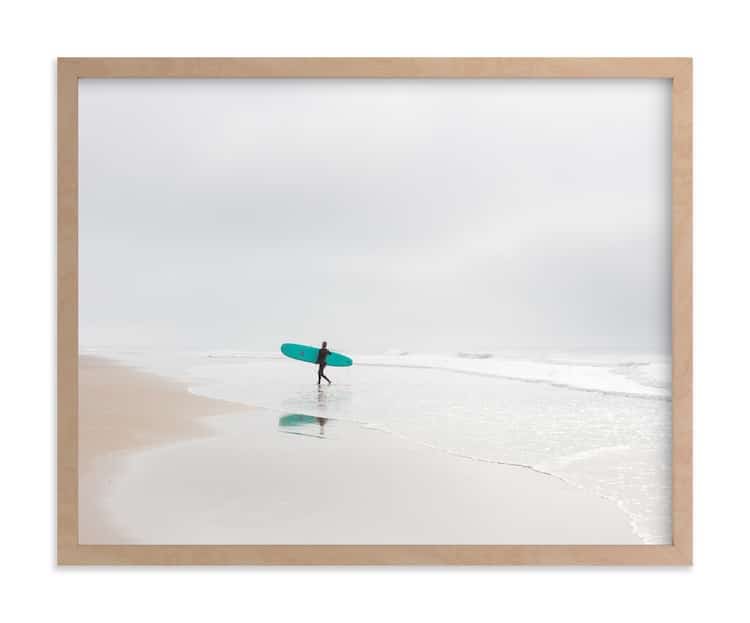
“California Surf” by Jessica C. Nugent
The Big Picture Custom Portrait by Minted

