Stock Photos from Arina P Habich/Shutterstock
This post may contain affiliate links. If you make a purchase, My Modern Met may earn an affiliate commission. Please read our disclosure for more info.
If you've ever dreamt of dabbling in sculpture but lack the studio space, you're in luck. While you may think you need access to a kiln to start sculpting, studio-free methods like oven bake clay and origami make mastering the art form quick and convenient. However, if you're less interested in all-inclusive DIY kits and more keen to try your hand at a homemade approach, paper mache may be the craft for you.
This centuries-old sculpting method transforms ordinary paper and simple paste into three-dimensional creations. On top of its decorative versatility and distinctive aesthetic, paper mache is praised for its preparation, which you can complete in just a few simple steps.
What is Paper Mache?
Paper mache—derived from papier-mâché, or “chewed paper” in French—is a sculpting medium made up of paper pieces that have been bound by an adhesive paste. Today, two popular methods are predominantly used to craft a paper mache creation.
For the first technique, the sculptor glues together long, narrow strips of paper that are usually laid and layered atop some sort of frame. For the second technique, the sculptor creates a pulp by boiling or soaking bits of paper joined by water. The mixture can then be molded like clay.
Though these methods differ in both preparation and procedure, both share a composition comprising paper and paste.
How to Make Your Own Paper Mache Paste
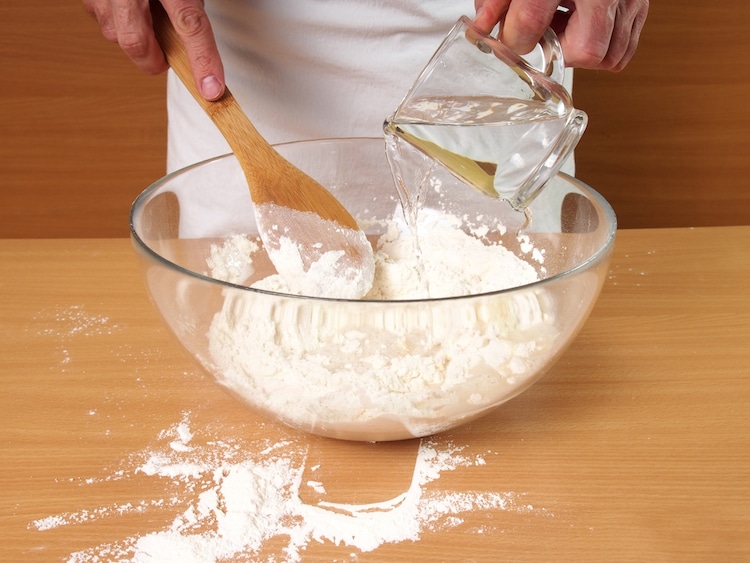
As with any homemade concoction, there are several different ways to create a paper mache paste. The most traditional recipe, however, requires just two ingredients: flour and water.
To make the mixture, simply combine one part (e.g. 1 cup) flour with two parts (e.g. 2 cups) water. Stir the ingredients until the consistency is smooth and similar to that of standard glue (try to tackle any lumps as best as you can). Once your paste has reached this point, you're done—though you may consider adding 1/2 tablespoon of salt for every cup of flour used. This helps prevent mold as your sculpture dries.
Once your paste is complete, you need to gather your paper (newspaper and tissue paper are popular choices, though you can use sheets of any kind) and tear it into strips. Then, depending on the technique, you can combine the paper pieces with your paste.
Popular Sculpting Techniques
With such a simple composition, paper mache is notably versatile; the possibilities are endless! However, there are a few popular methods that are perfect for both experienced sculptors and those looking to hone the craft.
Balloon Mold
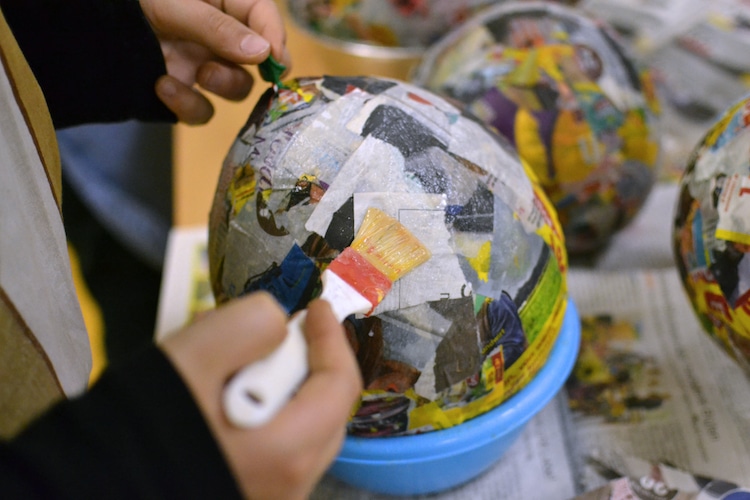
One tried and true method of paper mache sculpting is to employ a standard balloon as a mold. This is a perfect technique to achieve sculptures with a rounded shape, including eggs, animal torsos, and even bowls. To use this method:
- Inflate the balloon to the desired size.
- Dip a strip of paper into the paste, allowing it to soak up the liquid until it is completely saturated.
- Place the paper onto the balloon and smooth out any bumps or lumps using either your hand or a paintbrush.
- Repeat until the balloon is covered in two to three layers of paper.
- Let the sculpture dry for a day or two.
- Use a pin to pop the balloon.
- Paint or decorate the sculpture.
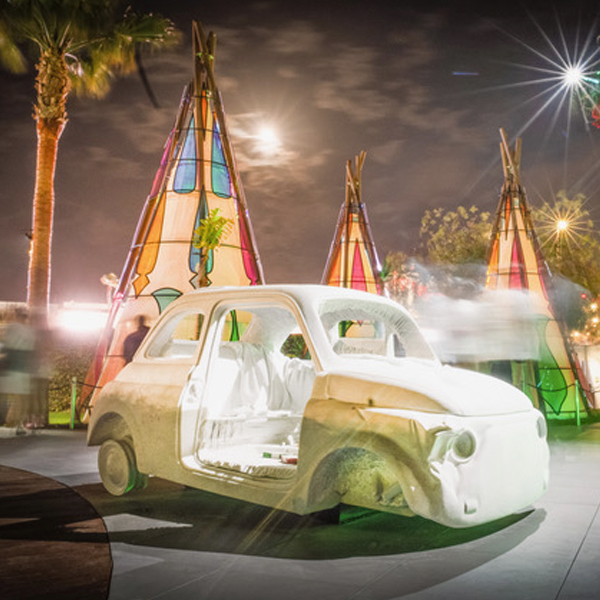
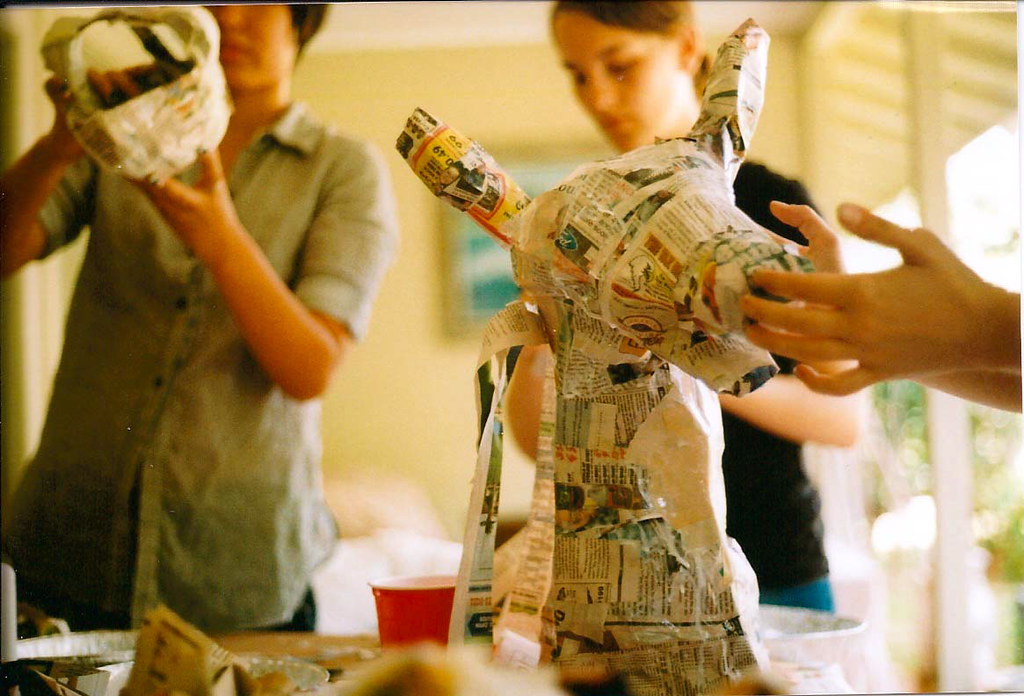
Cardboard or Paper Frame
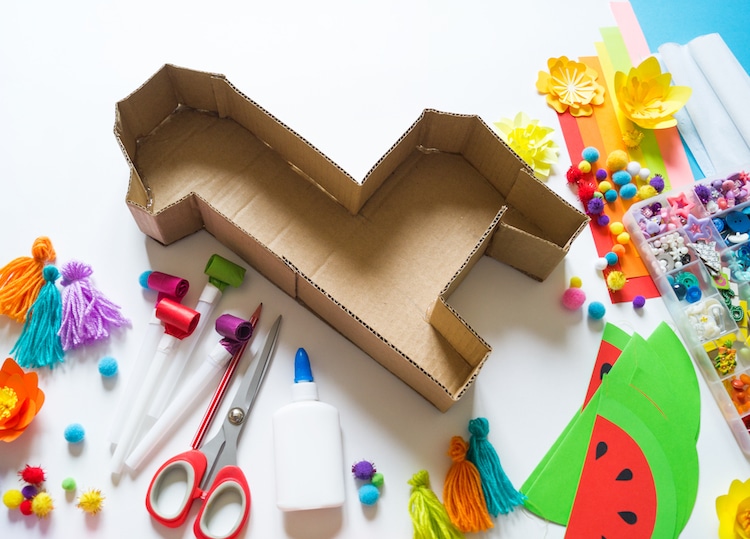
Other materials you can use to craft a makeshift mold are sturdy paper or cardboard. By cutting up the medium and joining the pieces with masking tape, you can create any shape you can imagine, with animals being among the most popular choices—especially donkeys, llamas, and others used for piñatas, which are handcrafted containers traditionally made from paper mache, filled with candy, and broken as a form of celebration.
- Create your cardboard frame.
- Saturate a strip of paper with the paste.
- Place the paper onto the cardboard, making sure to smooth out any wrinkles.
- Repeat until the cardboard is covered in two to three layers of paper.
- Let the sculpture dry for a day or two.
Pulp
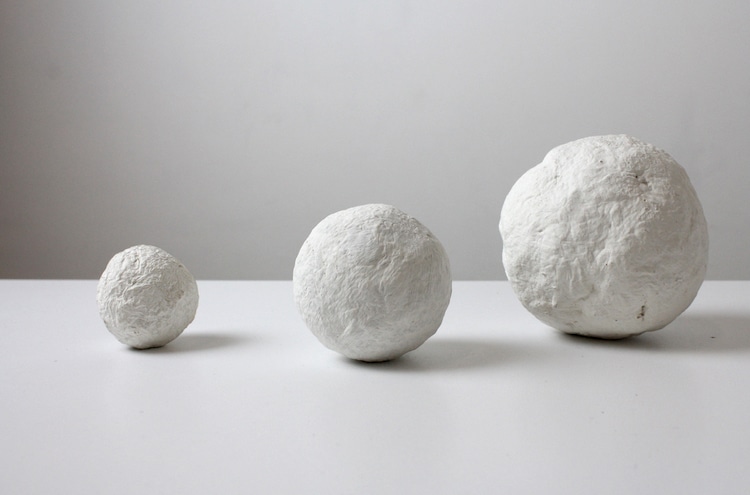
A third popular method of paper mache-making is to create a pulp. Unlike the balloon and cardboard approaches, this technique does not incorporate strips of paper dipped in paste. Rather, it requires you to mix the paper with water (no flour needed). This forms a putty-like substance that can be used to craft a free-standing sculpture without a mold or frame.
- Tear your paper into small (around 1/2 inch is ideal) pieces.
- Place the pieces into a mixing bowl.
- Add two cups of boiling water to the paper, stirring in order to ensure that all the pieces are saturated.
- Let the mixture cool.
- Use a blender to smooth the mixture into a pulp.
- Strain the pulp using a colander, making sure all excess water is removed.
- Create your sculpture.
- Let it dry.
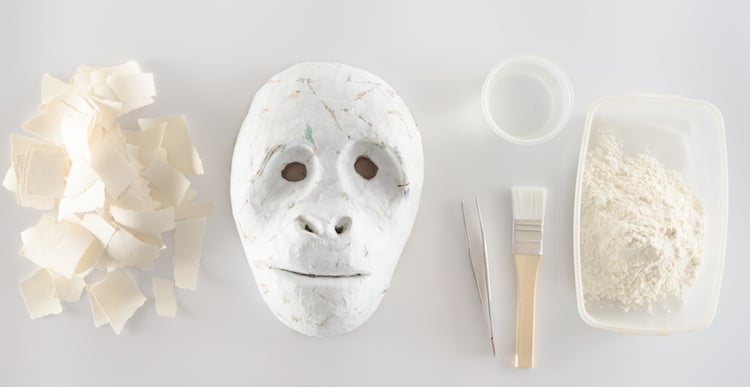
Finishing Touches
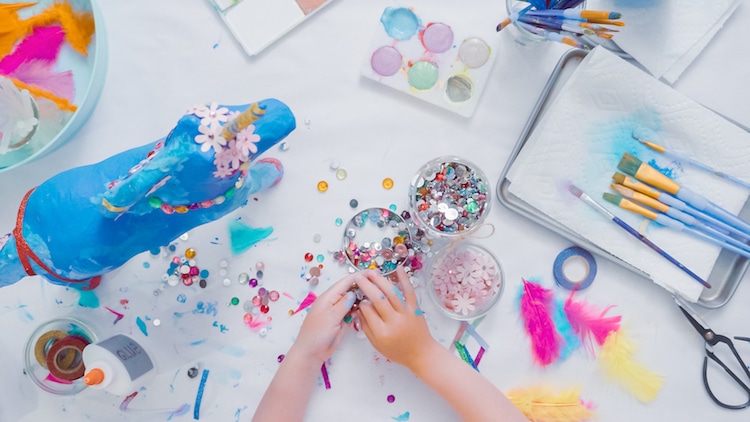
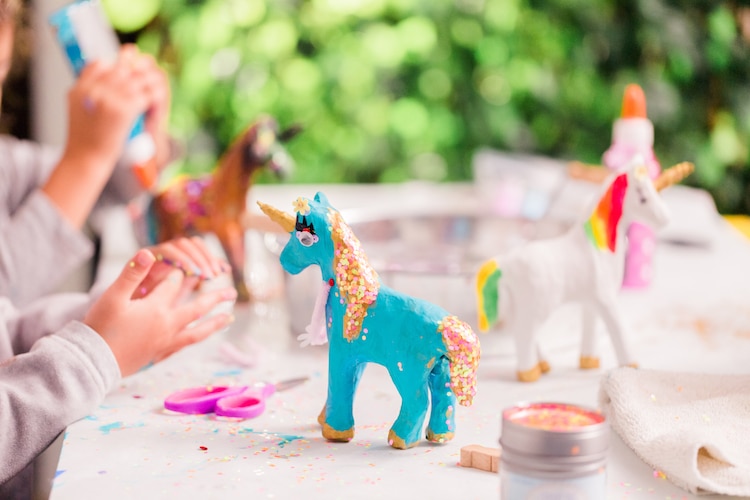
One of the benefits of the paper mache is that, no matter the method, the end result is a lightweight sculpture that can be easily decorated. To add some color to your creation, you can use myriad kinds of paints, including oils, acrylics, gouache, tempera, and even watercolors. You can also add embellishments like feathers, sequins, rhinestones, and buttons. No matter what, you're bound to end up with a one-of-a-kind creation!
Related Articles:
Learn the Ancient History of Mosaics and How to Make Your Own Colorful Creation
Why Artists Use Gold Leaf and How You Can Make Your Own Ethereal Paintings