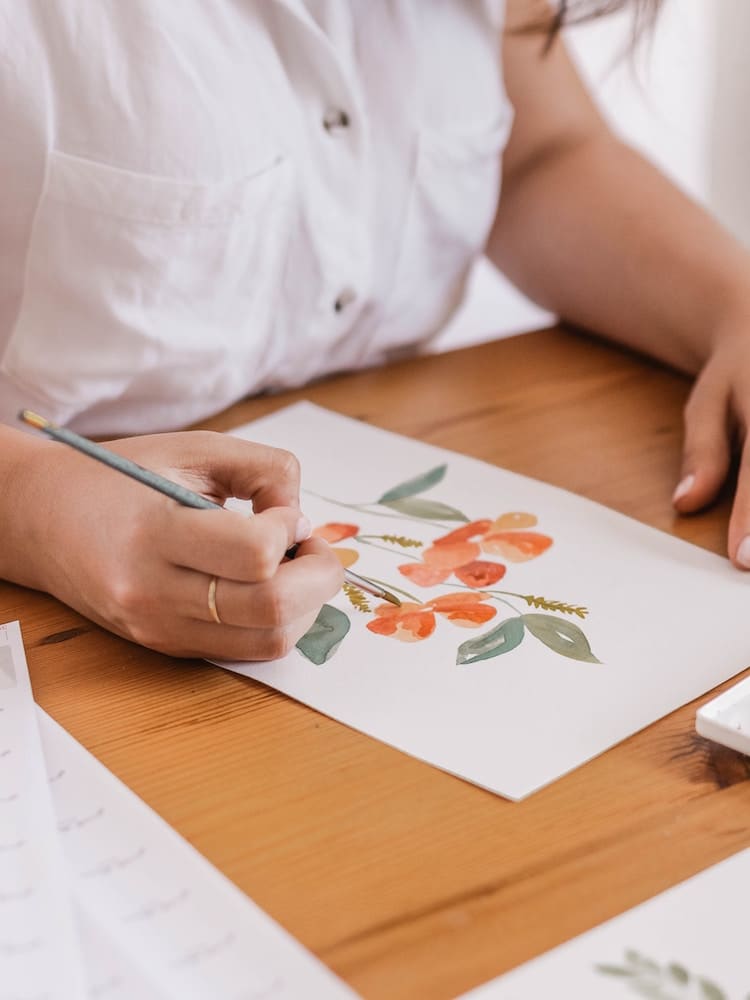
Photo: Nicole Honeywill
This post may contain affiliate links. If you make a purchase, My Modern Met may earn an affiliate commission. Please read our disclosure for more info.
The beauty of blooms have inspired artists for centuries. Flowers are a popular subject for painting, and they transcend media and artistic movements. No matter how they are depicted, image makers are compelled to record their captivating beauty on paper, canvas, and beyond. While you might be thinking that only trained artists should be painting, that’s simply not true. Learning how to paint flowers is available for anyone to learn, no matter their skill level.
Watercolor paint lends itself well to recreating flowers. One reason is that the barrier to entry is low. A set of watercolors is relatively inexpensive—especially when you consider that with acrylic or oil paints, you are typically buying a tube of pigment at a time. Pair your watercolors with a brush or two and wet-media paper and you’re ready to get started.
Another reason to learn how to paint watercolor flowers, specifically, is that these paints can achieve vibrant hues and visual effects that recreate the color mixing that happens on flower petals. Painting techniques such as the graded wash (which shows a transition from light to dark) or the wet-on-wet approach (that diffuses hues to transform them into ethereal colorscapes) are two ways to capture nature’s beauty that’s harder to achieve through acrylic or oils.
Learn how to paint watercolor flowers by following along in our step-by-step tutorial!
Before you begin painting, you’ll want to have the following supplies on hand.
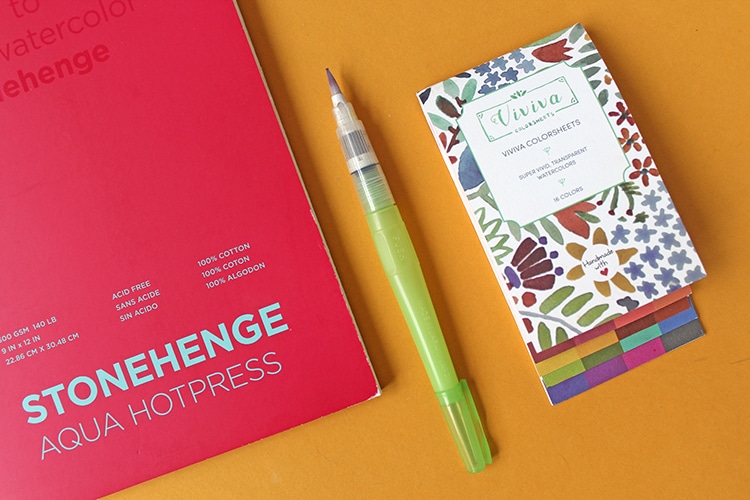
Photo: Sara Barnes / My Modern Met
A watercolor paint set — Look for a set of hues that have a range of colors. Need some advice on what to buy? We have a guide featuring 13 of the best watercolor paint sets that both beginners and professional artists love.
For this tutorial, we’re using a My Modern Met favorite: Viviva Colorsheets. Although this paint palette is about the size of your cell phone, it features 16 vibrant hues and is great for art on the go.
Watercolor paper — When you work with any wet media, you will want to paint on a paper that can handle water. To accommodate this, the paper needs to be thick so that it can withstand the liquid without curling. To learn more about the type of paper you’ll want to use for watercolor—along with other types of media—check out our extensive guide on the subject.
We are using a pad of Legion Aqua Hotpress paper. The pages come in a block format and are partially glued down so they won't curl as you paint.
Wet media brushes — Grab a couple of different sizes of watercolor brushes. You’ll want at least a medium-sized utensil as well as a fine-line brush so you can depict a flower’s tiny details.
Paint palette (optional) — You might need a place to mix your paint—especially if you’re using the Viviva Colorsheets. Some sets, however, include a built-in palette that works just fine for mixing.
Step 1: Select your source photo.
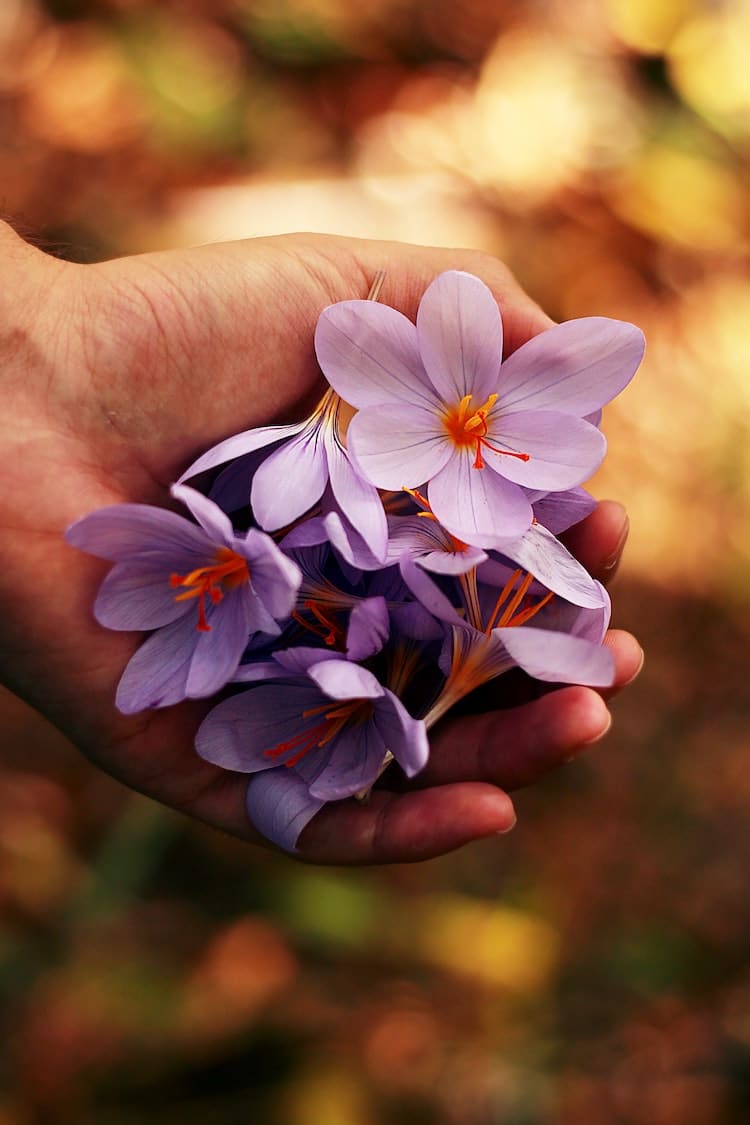
Before you begin, you’ll want to select a source photo from which you’ll base your painting. While it’s always best to paint from life (still lifes can drastically improve your drawing skills), sometimes this just isn’t possible—especially if you plan to paint over the course of a few days. Your flowers might wilt by then! Opt for a photo instead. Select an image that has clarity and great color—one that will allow you to see all of the flower’s exquisite details.
Step 2: Draw what you'll paint.
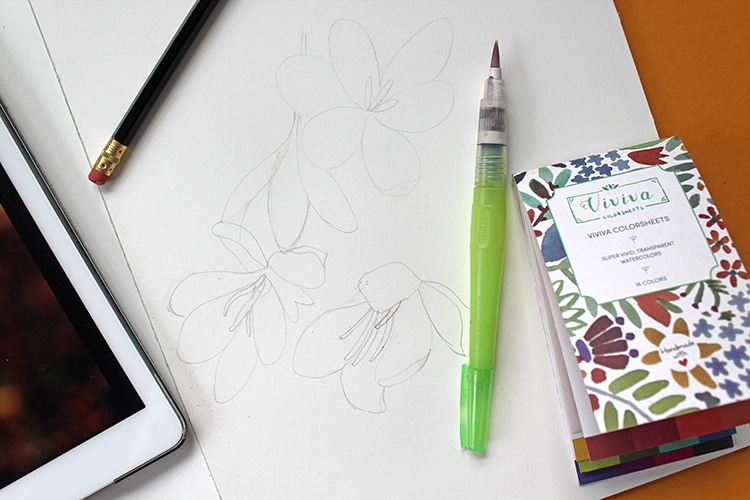
Photo & artwork: Sara Barnes / My Modern Met
Drawing is the foundation of painting. So before you put paint to paper, you'll want to complete a drawing of your flowers. Working from your source photo, lightly record the overall shape and center of the flowers. Make marks where there are any folds in the petals or special attributes, but don't worry too much over the fine details—you'll depict all of these things with your paint. As you draw, make sure that you don't press too hard on your paper. The watercolor pigment isn't opaque, so if your lines are too dark, there's a chance they'll show through your painting.
Take your time with this step. It's important that you have the drawing exactly as you want it because you can't erase watercolor paint! Learn more about flower drawing in our step by step tutorial.
Step 3: Apply your first washes.
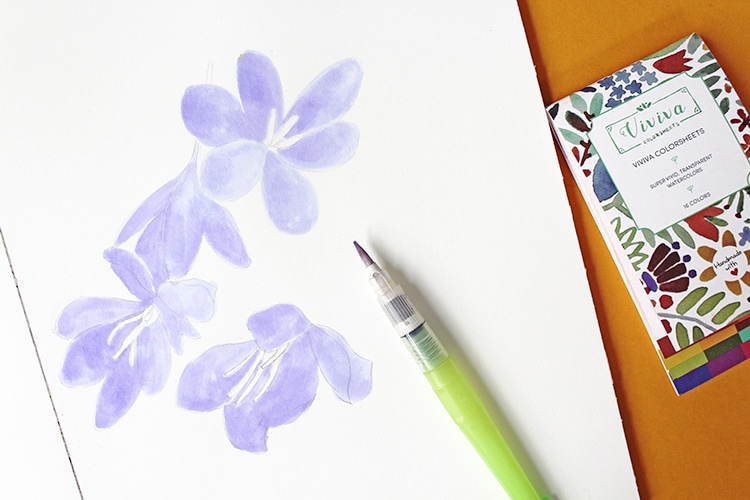
Photo & artwork: Sara Barnes / My Modern Met
A wash is a pigment that has been thinned using water or a medium. The more those elements are mixed in with the paint, the thinner and looser the pigment becomes. To start your flower painting, you'll want to start light in order to build rich colors. Begin by selecting the overall hue of your flowers. For this painting, violet was the overall color, so a thin layer of purple paint was applied to all of the petals. The center of the flowers, which are yellow and orange, are left blank for now.
If some of your petals have white marks on them, make sure you do not paint those areas.
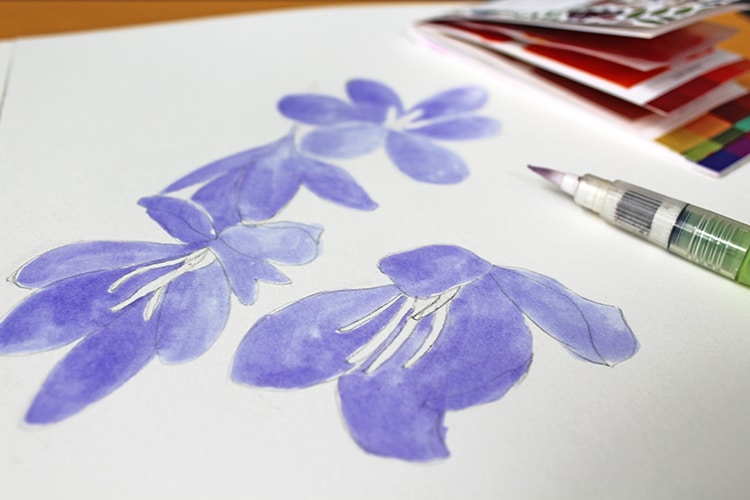
Photo & artwork: Sara Barnes / My Modern Met
Step 4: Continue to build color.
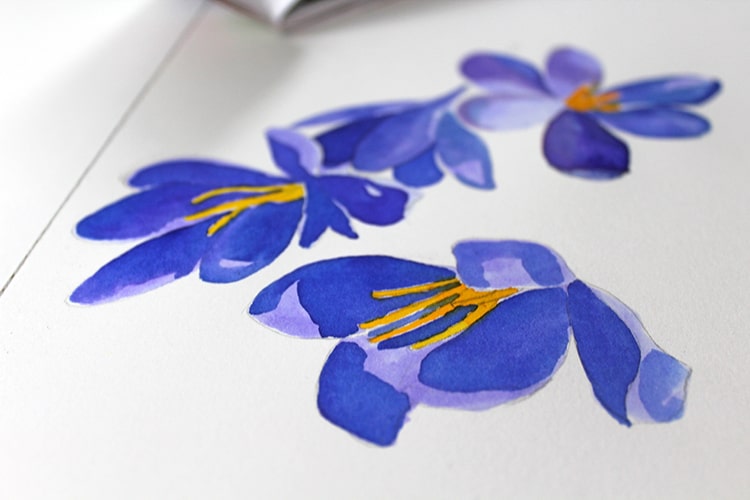
Photo & artwork: Sara Barnes / My Modern Met
Wait for your first layer of paint to dry. (Unless you are using the wet-on-wet approach; in that case, work on the flower before the pigment is set.) Using the wash technique, continue to build your color layer by layer. Allow them to dry in between. Each time you mix a new hue, add a little less water to it. This will make the pigment darker. Coupled with the layers of paint, you'll start to build three-dimensional volume to your painting.
As you work, refer to both your drawing and your source photo. Consider: where are the areas of darkness? What places are in highlight? Are there sections where you can use watercolor techniques to bring out the unique characteristics of the petals? Painting from life is centered around these sort of questions and answering them—so don't be afraid to ask.
Step 5: Add the finer details.
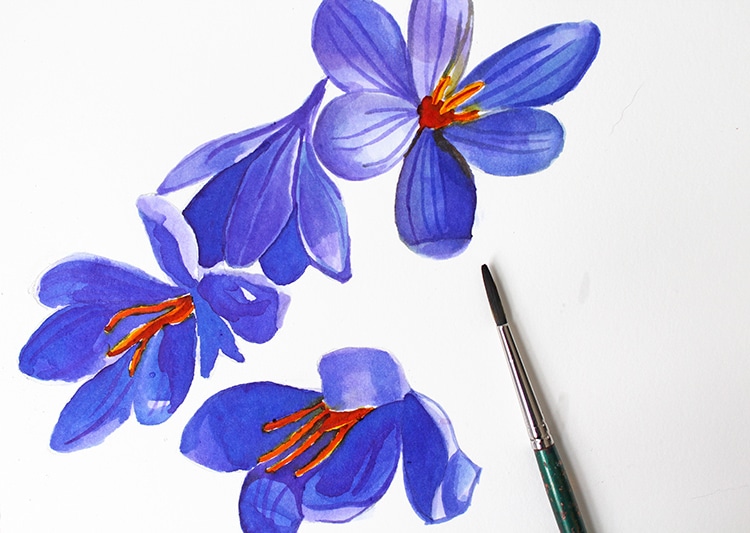
Photo & artwork: Sara Barnes / My Modern Met
Be careful when painting that you don't overwork your piece—know when it's time to stop applying pigment to an area of your painting. Once you feel that you've got the overall highlights, mid-tones, and shading done, begin to add the fine details. This is where a liner brush (pictured) comes in handy. Use it to draw any small accent lines or coloration, but do so sparingly; a few errant marks can mar an otherwise great painting.
When you're done, assess your painting with more questions. Are there areas that need more definition? What about the background? Make those changes if need be.
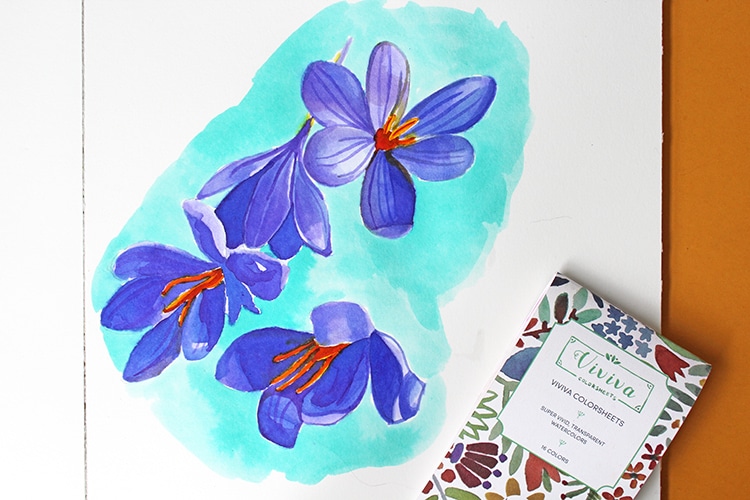
Photo & artwork: Sara Barnes / My Modern Met
Step 6: Incorporate mixed media (optional).
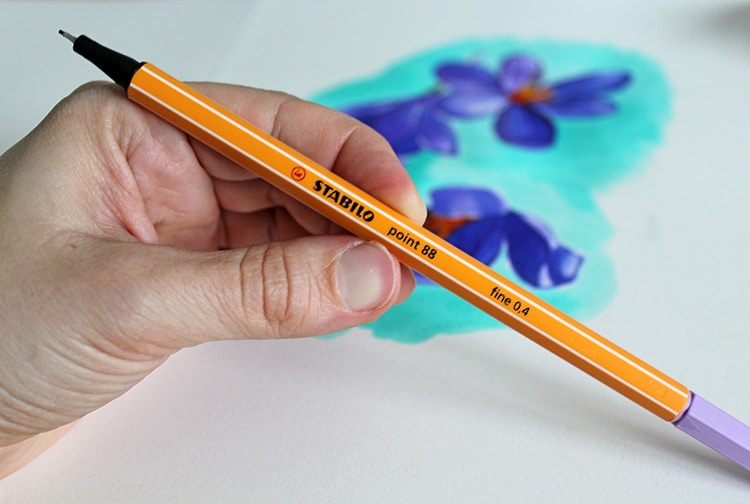
Photo & artwork: Sara Barnes / My Modern Met
Although this is a painting tutorial, there's nothing wrong with mixing media. One option, for even finer lines, is to use a colored pen or marker and define additional areas of your painting. If you're going with this option, however, it's best to select a drawing utensil that is the same color as your flower. That way, it will appear as though you painted those thin lines and won't look out of place.
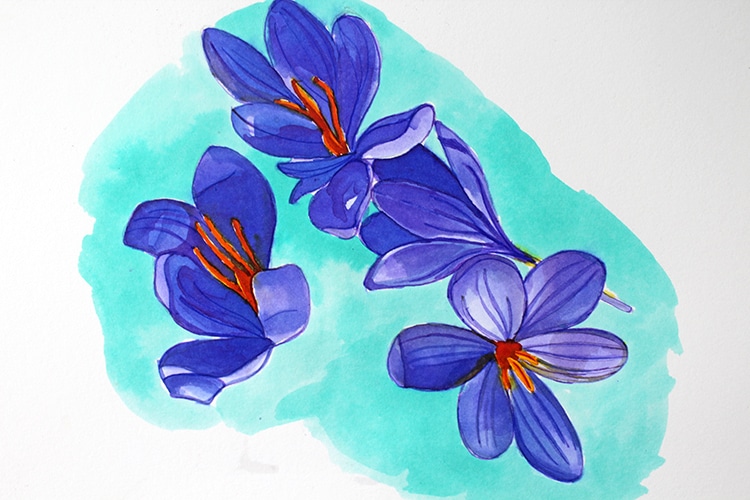
Photo & artwork: Sara Barnes / My Modern Met
Share your watercolor flower painting in our Art, Design, Photography, and Drawing Club on Facebook!
Related Articles:
Color Sheets Booklet Lets You Take a Set of Watercolors With You Everywhere You Go
Gorgeous Watercolor Paintings of the Diverse Landscapes Nature Has to Offer
10+ Famous Watercolor Artists Who Continue to Influence Painting Today
Artist Creates Watercolor Paintings on Location and Aligns Them with Actual Landscape