Photo: Stock Photos from Melnikof /Shutterstock
This post may contain affiliate links. If you make a purchase, My Modern Met may earn an affiliate commission. Please read our disclosure for more info.
Quilts have a long place in our collective history—but you might not realize it. They are so much a part of the fabric of our lives that many people hardly give them a second thought. But for other folks, quilting is a fun way to create something that is both practical and can be passed down from generation to generation.
Within quilting, there are different approaches to their construction. One of the most well-known methods is called patchwork. Read on to find out how this facet of quilting got its name and the general step-by-step process you need to take to make one of your own.
What is a patchwork quilt?
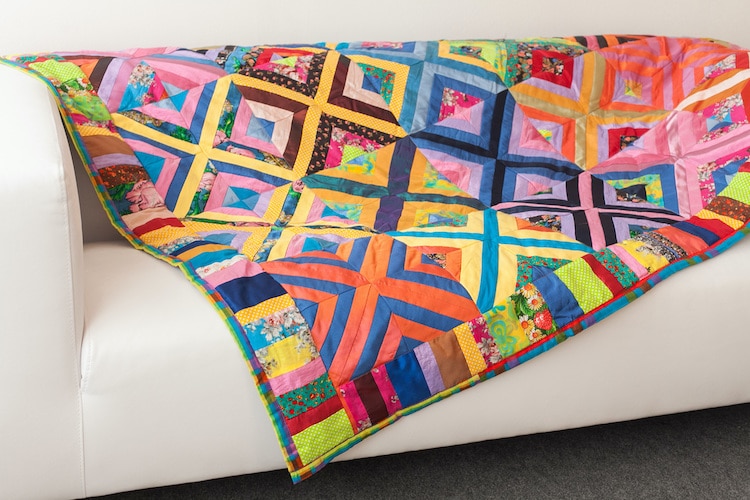
Photo: Stock Photos from Melnikof /Shutterstock
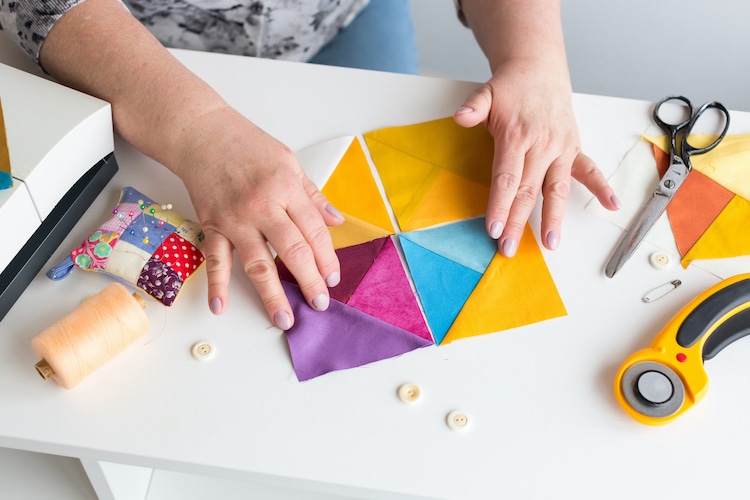
The “patchwork” of a patchwork quilt refers to the first several steps of the quilting process. The name says it all—it is a type of quilt where the top layer is a design formed by sewing pieces of fabric together.
Originally, the patchwork quilt was a way to use extra scraps of fabric, but it has since gone from being made of “leftovers” to something where quilters will buy and design fabric expressly for that purpose.
The Fat Quarter
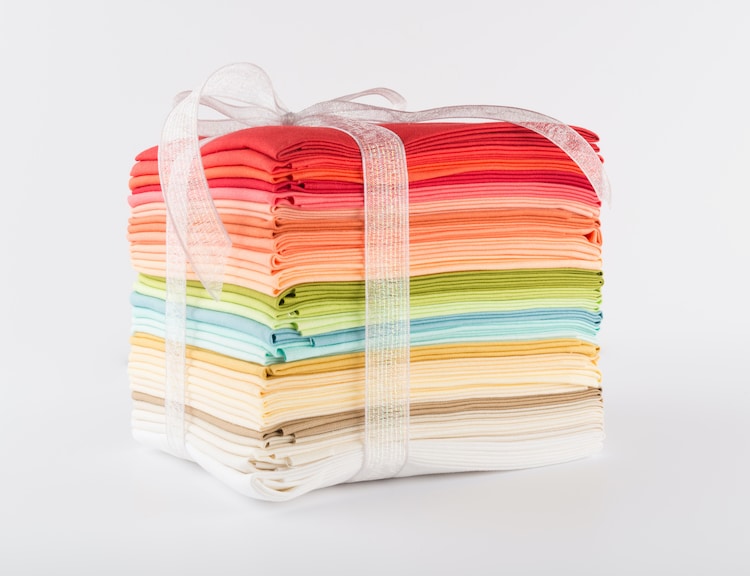
Photo: Stock Photos from PHOTOGRAPHER/Shutterstock
The fat quarter was developed because of patchwork quilting and is popular with crafters who are making their own blankets or wall hangings.
A fat quarter is fabric that is cut to be one-fourth of a yard. Typically, this measures 18 inches by 22 inches and they are sold in stacks of varying colors and surface designs. Fat quarters are convenient because they are often enough to make a sampler quilt (great if you’re just learning), and if you have leftovers, you can always incorporate them into your next project. And perhaps best of all, craft stores (in-person and online) often have curated bundles of fat quarters which saves you a ton of time you'd otherwise be spending picking out all of the various fabric designs and cutting them down to size.
What do you need to make a patchwork quilt?
There are a few supplies you’ll need to start creating your own patchwork quilt. For an entire list of supplies that you should have for this craft, check out our quilt guide.
Rotary cutter — This essential tool has a circular blade and can cut multiple layers of fabric in a uniform way.
Self-healing cutting mat — Don’t ruin your nice table or countertops—make sure you cut your fabric on a cutting mat! Look for a “self-healing” cutting mat so the surface will remain smooth long after use.
Quilting ruler — Try to find an acrylic ruler that is transparent; that way, you can see the fabric below. Although it’s wise to invest in multiple rulers, look for an 18 by 24-inch ruler to start.
4 Beginning Steps of How to Make a Patchwork Quilt
Step 1: Cut the Fabric

Photo: Stock Photos from MaxCab/Shutterstock
Using the rotary cutter and a quilting ruler, put your fabric on the cutting mat. Push the rotary cutter away from you and cut out the pieces you need for the top layer of your quilt. You will want to refer to your pattern (which is broken down into manageable “blocks”) for specific sizes and the amount you will need to cut.
Step 2: Stitch All the Pieces Together

Photo: Stock Photos from MaxCab/Shutterstock
Also called “piecing,” this step requires a sewing machine. You will stitch all of your pieces together according to the pattern you are using.
When piecing, you’ll almost always want to have a ¼ inch seam allowance (the amount of fabric between the raw edge and the stitch). This will ensure that the quilt top, when complete, won’t appear bulky.
Remember, as with most things in sewing, being precise and accurate is important—especially considering that you’ll have to line up all of the pieces. If they aren’t all sewn with the same seam allowance, it can cause the design to look askew.
Step 3: Press the Stitched Seams
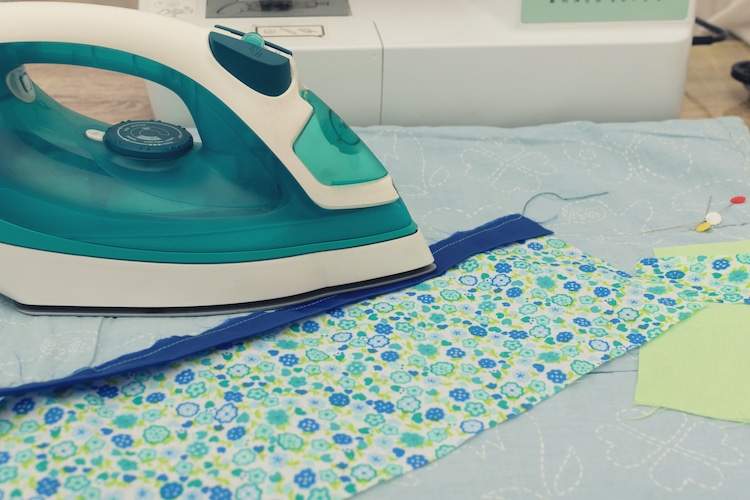
Photo: Stock Photos from siSSen/Shutterstock
In addition to being accurate with your seam allowance, pressing seams is vital to having a beautiful, flat quilt top.
Pressing requires the use of an iron, but it is not ironing in the conventional sense. Ironing has you move back and forth across the fabric, which can stretch the fibers—something you don’t want to do with your quilt fabric.
Begin pressing by opening the seam and then place your iron on it. Don’t move your iron until you’re ready to press a different part of your piecing. When you move to a new section, lift your iron and move—don't run it over your fabric.
Step 4: Square Your Work
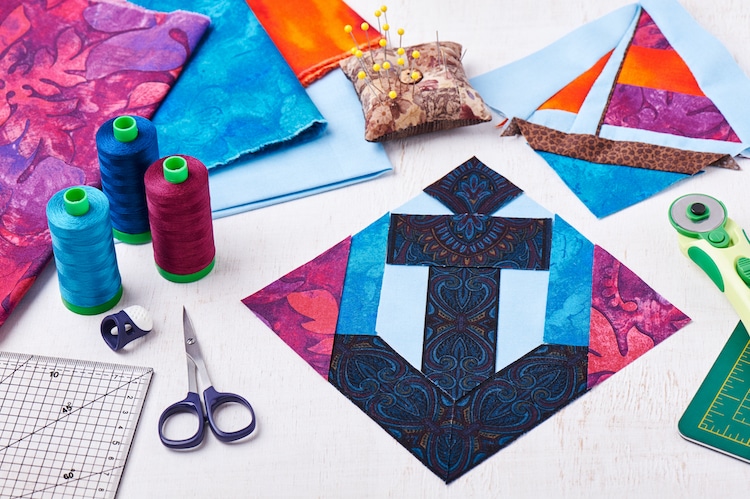
Photo: Stock Photos from MaxCab/Shutterstock
Once you’ve cut, pieced, and pressed, you’ll want to square your quilt top. Essentially, this is trimming any extra fabric that is larger than the size of your block so that your edges are even. Use your quilting ruler to measure and act as a straight edge for if you need to use your rotary cutter for trimming.
To create your own contemporary quilt, check out these patterns.
Related Articles:
Learn How the Cozy Craft of Quilting Endured the Civil War and Thrives Today
How to Make a Quilt: Learn Quilting Basics & Get Creative With Textiles
22 Contemporary Quilt Patterns to Add a Stylish Touch to Your Cozy Home


