Photo: Monstera
This post may contain affiliate links. If you make a purchase, My Modern Met may earn an affiliate commission. Please read our disclosure for more info.
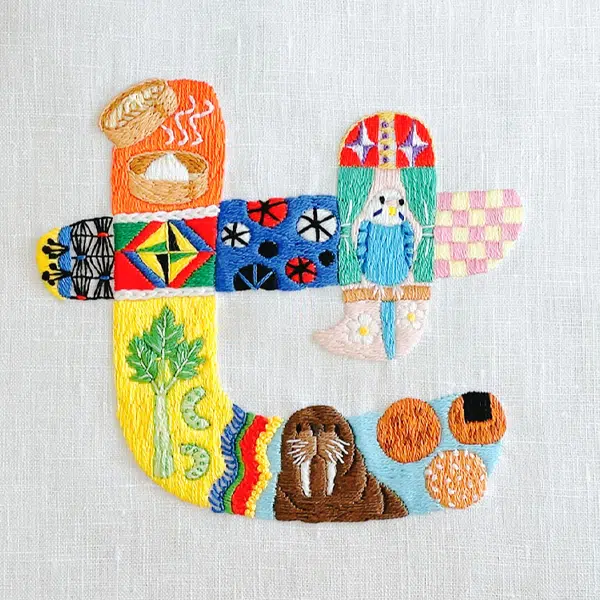
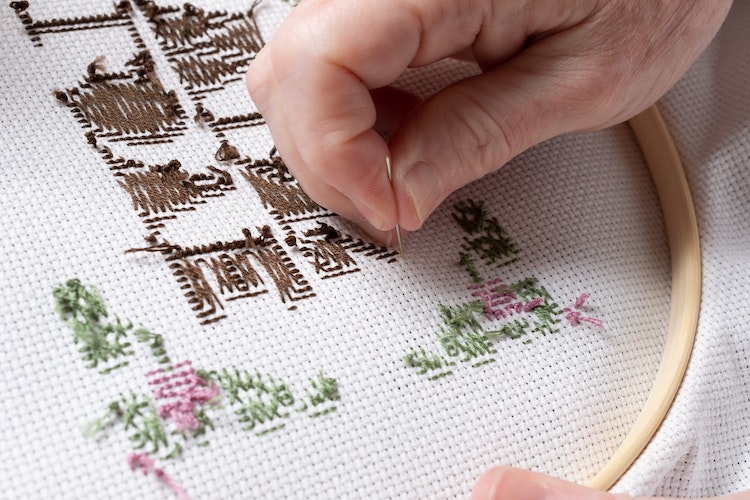
Think of embroidery as a big umbrella. Underneath that umbrella is myriad techniques and types of stitching that each has its own distinct look—all while involving a needle and thread. Cross-stitch is a facet of embroidery that is one of the most popular approaches around. In fact, you’ve probably seen it without even realizing it; a cross-stitch has a pixel-like appearance and resembles a little “x” on fabric.
Because of the inherent structure of cross-stitch, the technique is easy to learn. Essentially, you are simply making small diagonal stitches on an open weave fabric. As you change colors, a stylized design will form that has a bold, graphic appeal. This is best represented in contemporary cross-stitch projects with a modern sense of humor.
Scroll down to learn about the materials you’ll use, essential information and tips, and helpful videos that will show you how to cross-stitch for yourself.
Want to learn how to cross-stitch? Scroll down for essential information and helpful videos.
Materials for Cross-Stitch
If you’ve ever embroidered before, you’re in luck; the supplies used in other types of embroidery are applicable to cross-stitch.
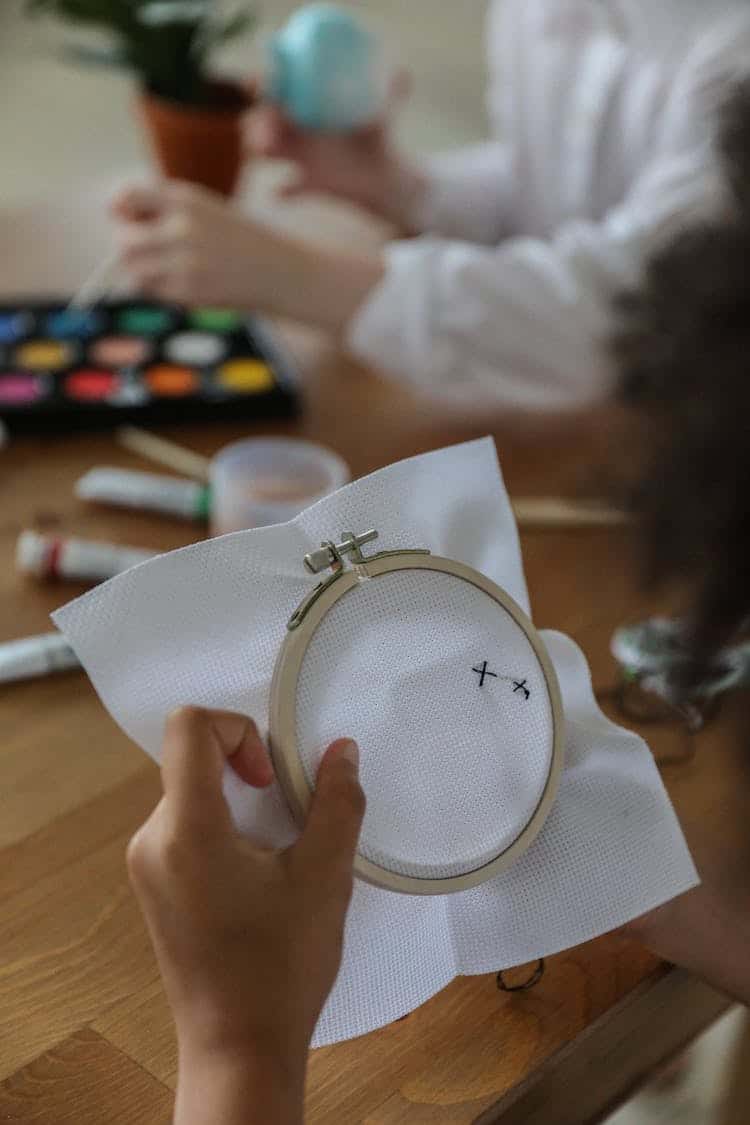
Fabric — The biggest difference you’ll see in cross-stitch versus other embroidery is the type of fabric you’ll use. If you’ve ever really looked at a cross-stitch before, you’ll see that the fabric is highly textured and has a pronounced weave. This is called evenweave fabric, which means that there is an even number of vertical and horizontal threads running per inch. The higher the thread count, the finer (and therefore tighter) the weave will be.
Aida cloth is the most popular for stitching, although other evenweave fabrics are fine, too.
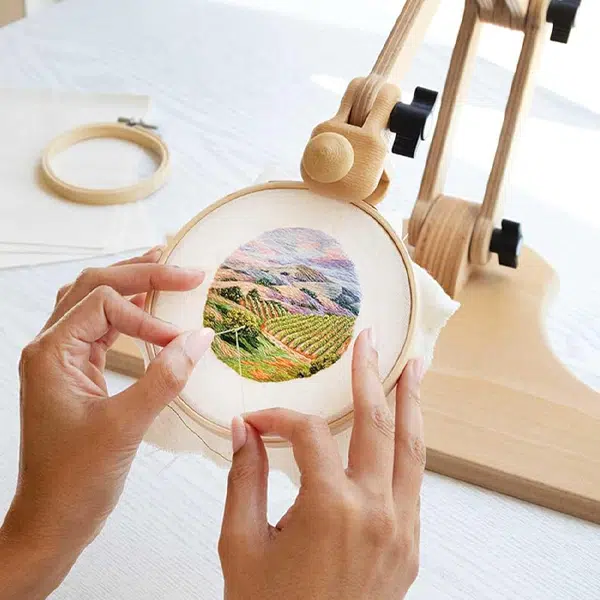
Embroidery hoop — The embroidery hoop makes it possible for you to stitch your design. By stretching the fabric over a circular or rectangular hoop, it will remain taut and you’ll be able to embroider without discomfort. To find the embroidery hoop that is right for you, check out our guide.
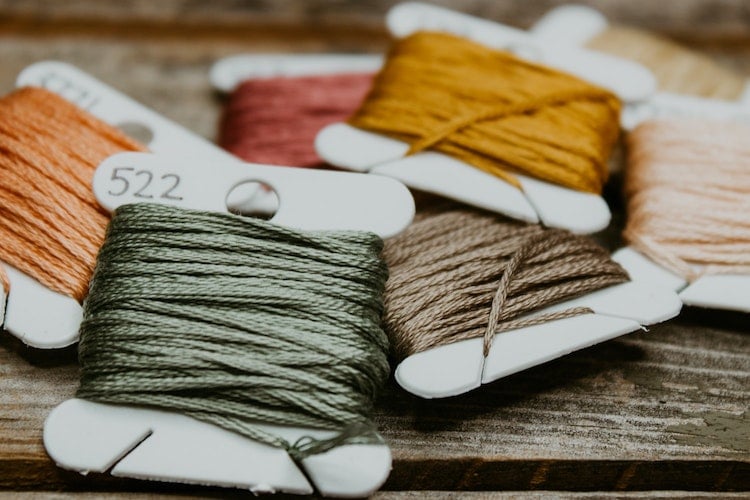
Thread — Embroidery thread, also called embroidery floss, is another essential material. After all, you can’t stitch without it! DMC six-strand thread is the most popular type of floss and comes in over 400 colors. This offers a lot of variety if you’re working on a design you created. If you’re following a pattern, most likely the designer will have a set of thread recommendations for you.
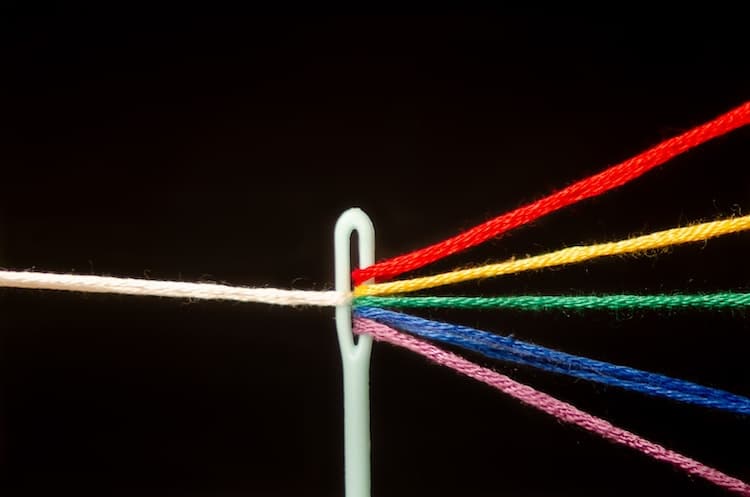
Needle — Cross-stitch typically uses a blunt-edge tapestry needle. (That’s great news for your fingers!) Your needle size will vary based on the fabric you’re stitching onto. Again, if you’re following a pattern, the instructions will tell you what you need to use.
Scissors — Scissors might seem like an afterthought, but having a small, sharp pair of scissors can make a big difference as you’re trimming thread. You don’t have to break the bank on a pair to get something that’s great quality. See what we recommend as the best embroidery scissors.
How to Complete the Essential Stitches of Cross-Stitch
Although cross-stitch is known for its diagonal marks, there are a few types of stitches you'll see in patterns. Using them will give your work visual variety and help bring your subject to life.
Stitch a Cross-Stitch
Cross-Stitch Techniques: English vs. Danish Method
Creating Fractional Stitches
How to Stitch a Backstitch
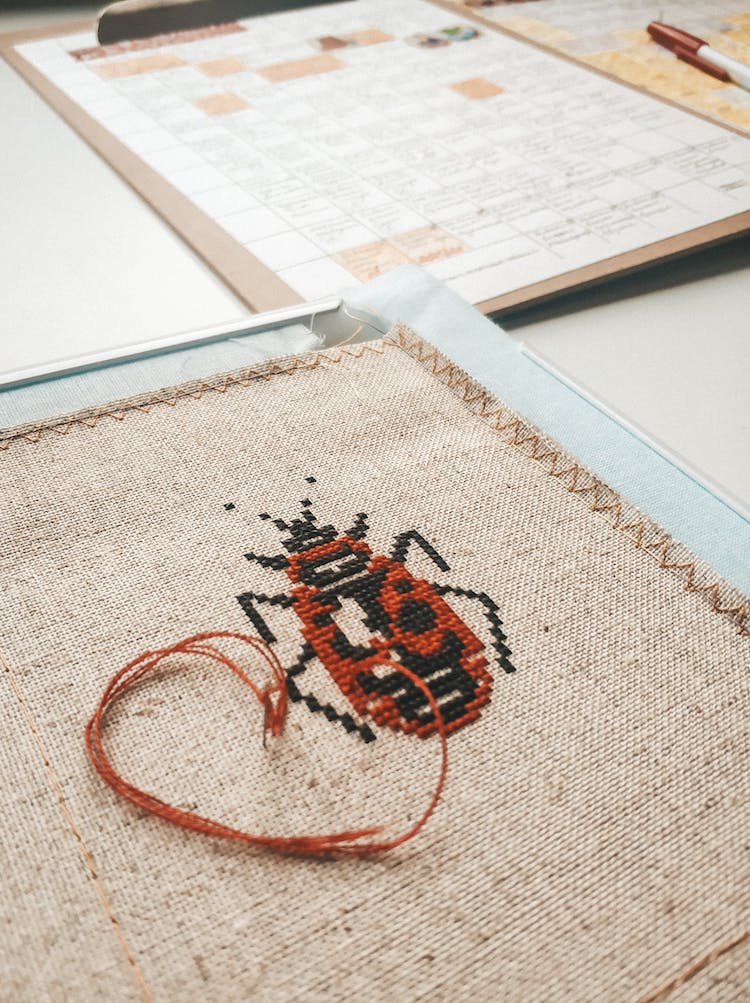
How to Read a Cross-Stitch Pattern
Unlike other forms of embroidery, a cross stitch design comes with its own detailed chart that shows you when and where you'll use a certain color or stitch. It can seem confusing at first, but once you learn to decipher a pattern, you'll find its instructions a breeze.
Tips for Successful Cross-Stitching

Now that you know the supplies, stitches, and how to read a pattern, here are the things you need to know before starting a cross-stitch.
Prep your fabric before you begin. Before beginning any project, you’ll want to set yourself up for success by properly preparing your fabric. This isn’t difficult and comprises just a couple of steps. The first is to ensure that it won’t fray. You’ll notice, especially with the woven cloth, that the edges are coming undone the more you handle it. To stop this, sew a zigzag stitch around the edges, either by a machine or by hand. This will stop the fraying. (Alternatively, folding masking tape over the edges will work, too.) Once you’re done with that, iron your fabric so that it lies flat.
Start in the middle of your fabric. Ensure that you’ll have enough space to complete your pattern by starting in the middle of your fabric. You can find the center by folding the fabric once and then again in the opposite way. Make a small stitch or place a needle or pin in the folded corner. When you open the fabric, that should be the center.
Find the center of your pattern. Once you have determined the middle of your fabric, look for the center of your pattern. Luckily, this is easy to find. On cross-stitch charts, it’s delineated with an arrow, “0,” or triangles.
Keep an even tension with your thread. As you work, make sure that you don’t pull too hard on your stitches as you are bringing them through the fabric. Doing this will warp the material and cause it to pucker. If the thread is too loose, it will create gaps in your design. Aim for an evenness so that your stitches lie flat against the cloth.
Follow the pattern. The nice thing about cross-stitching is that it has a straightforward technique; follow the instructions exactly and you should have a beautiful design once you’re done. So, sit back and enjoy the time you’re spending away from the screen and on a handicraft.
Related Articles:
How to Make Your Own Free Embroidery Pattern (and Download Others for Free)
What Is Needlepoint? Learn the Basics to Begin the Craft
Everything You Need to Start Stitching Your Own Embroidery
Embroidery Artists Are Using a Needle and Thread to “Paint” Gorgeous Stitched Art