Ink is one of art history’s most popular and enduring mediums. Today, artists and illustrators use it in myriad ways—in fact, there’s a whole drawing challenge centered around ink! Although there is immense freedom that comes with the medium, there are tips that will standardize your experience, making it easier for you to experiment and hone your craft.
Because ink is a water-based medium, it can be a challenge to master. The same carefree fluidity that makes it so fun is also what makes it hard to control; you never quite know what it will do. Luckily, there are ways to mitigate this quality. All it takes is knowing some of the essential techniques and basic ink drawing tips.
Scroll down for a list of our favorite ink drawing tips. If you’ve never worked with ink before or are just getting started, let these suggestions guide you towards your own style of drawing. Because remember: art is best experienced when you are creating the type of work you love—not what others think you should be making.
New to ink drawing? Here are 10 tips to help you get started.
Be prepared with water. Because ink is a water-based medium, it’s a given that you’ll want to have water handy as you begin to work. But it’s important to have more than one cup of water at your side. One will be for dirty water (to initially clean your brush) while the other will be kept with clean water. Once your brush is clean, give it a quick dip in the clean water before adding more ink to it again.
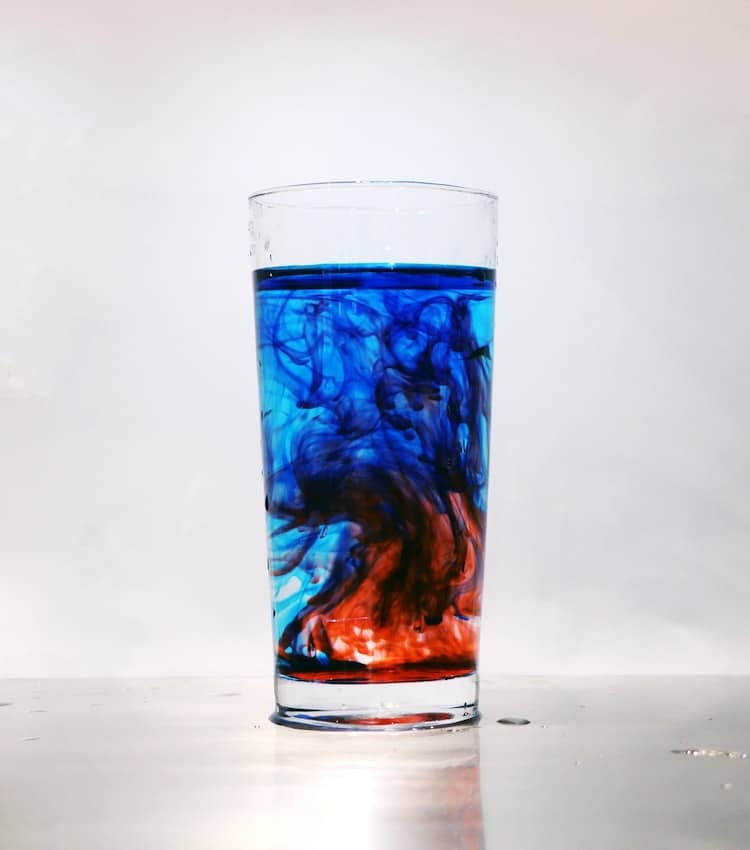
Challenge your color-mixing. Sometimes, you’ll want to use ink straight from the bottle. But if you really want to take your drawing to the next level, you’ll want to make sure your palette is more customized than that. Learn about color theory and color mixing and try it in your favorite palette. To try new colors, grab a scrap sheet of paper and test the hues there.
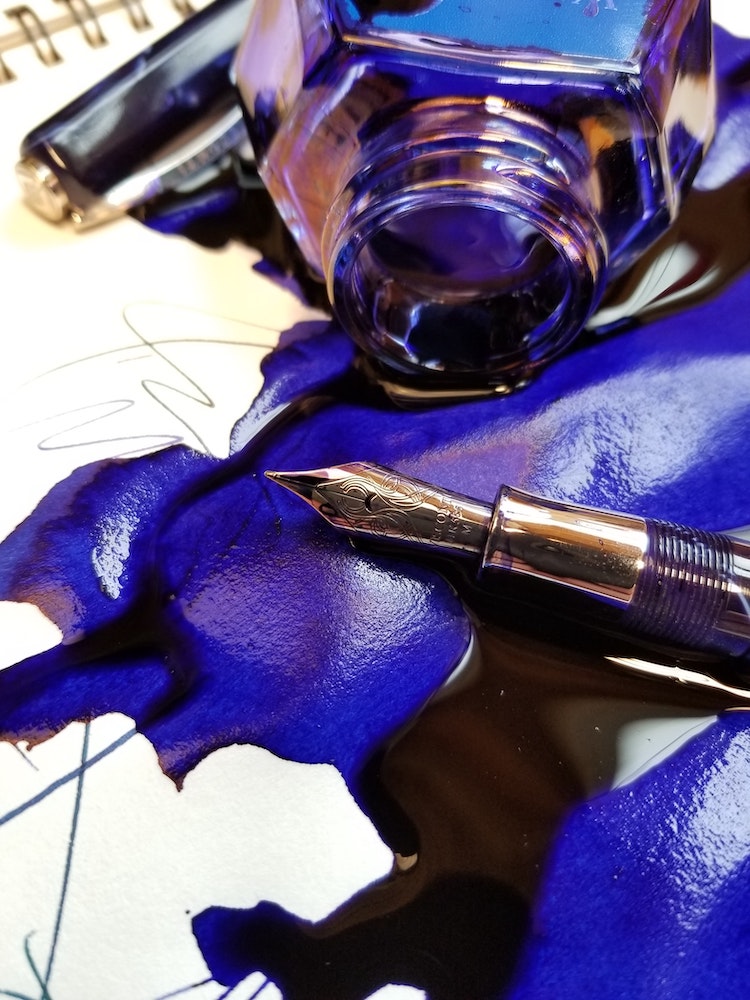
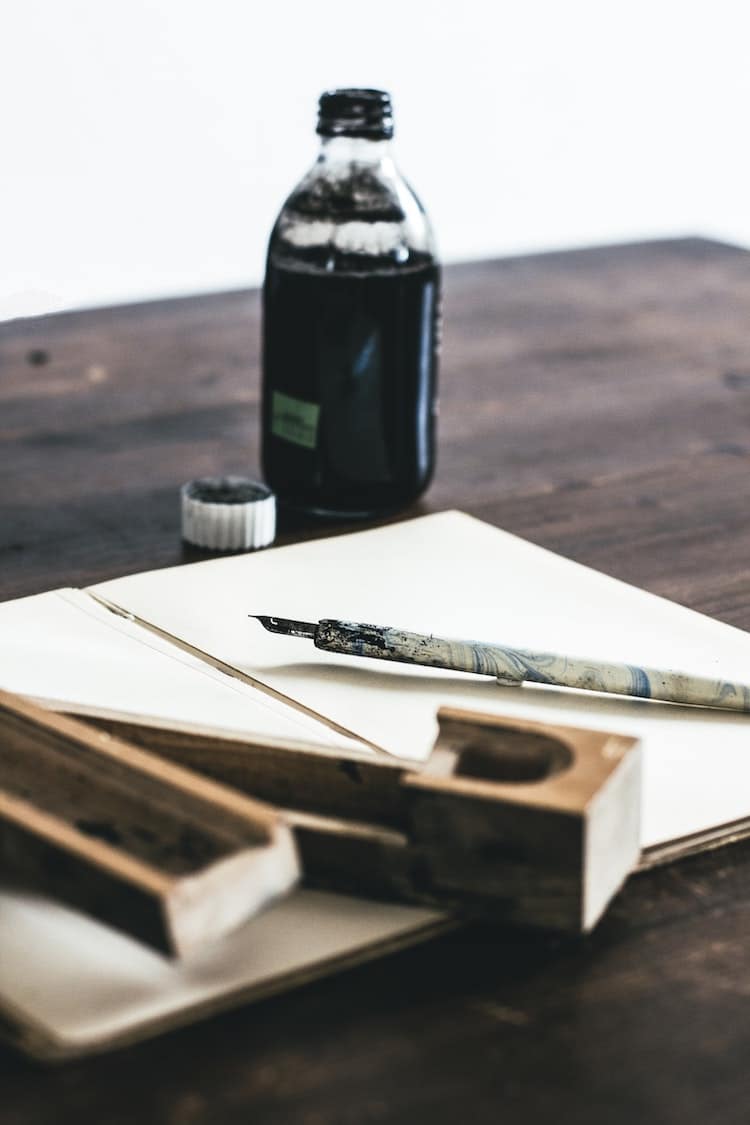
Experiment with application tools. Ink lends itself to all sorts of applications. A nib (and nib holder) are popular, and so is a paintbrush. Don’t let that stop you, though. Try unconventional materials such as a wooden stick and see what kind of marks you make.
Embrace the flow. You are likely using ink for a reason; maybe you appreciate how it flows across the page. Embrace that flow and see it as an asset, not a hindrance. Consider: how can diffused edges and bursts of color enhance your image-making?
Try different types of paper. Watercolor painting is known for its multiple types of paper to use, and the same goes for ink. In fact, watercolor papers can be used in your inking practice. There are three main types: hot press, which has a smooth, hard surface (great for detail work); cold-press, a semi-rough surfaced paper with some texture showing through; and rough paper, which has a rigid texture best for washes. (For more information on paper, check out our paper types guide.)
Work from light to dark. You can’t erase ink, nor can you conceal mistakes the same way you can in acrylic or gouache painting. Because of this, you don’t want to make your values too dark too soon. Build color, tone, and form by working from light to dark in multiple layers. Make sure that you allow them to dry in between.
Look at watercolor techniques. A lot of the techniques that are used in ink drawing are the same you’ll find with watercolor paints. From flat washes to wet on wet to dry brushing, ink will generally react in a similar way. Learn more about watercolor techniques.

Dilute your colors. Remember working from light to dark? To do that, you’re going to have to dilute your ink. To make the pigment appear lighter, add a lot of water. For darker tones, add little to no water to your palette.
Don’t forget the drawing essentials. Ink is a fascinating medium because you can draw or paint with it. (Or both.) Just like you’ll want to consider watercolor techniques, the same goes for drawing approaches, too. Consider how hatching, cross-hatching, stippling, and more can enhance your drawing. A nib, for instance, can be used to etch the fine lines of a piece of fruit from a still life.
Draw in pencil first. Before putting ink to paper, you can give yourself guiding lines with a pencil drawing. Make sure you keep your lines light—that way your pigment will cover your marks as you work.
Practice brings comfort. It can be totally terrifying when you first put ink to paper—after all, the marks are permanent. But don’t let that fact intimidate you. Continue to practice and experiment with your techniques and you’ll be amazed at how quickly you become comfortable with ink drawing.
Want to share your love of drawing? Join our Art, Design, Photography, and Drawing Club on Facebook!
Related Articles:
Artist Uses Her Own Thigh as a Canvas for Stunning Ink Drawings
Artist Celebrates ‘Year of the Dog’ With Expressive Pencil and Ink Drawings