This post may contain affiliate links. If you make a purchase, My Modern Met may earn an affiliate commission. Please read our disclosure for more info.
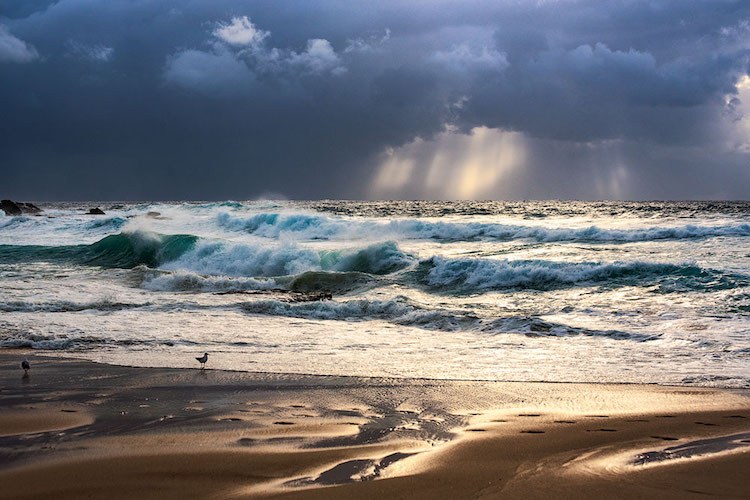
Crashing ocean waves and scenic visual landscapes make seascapes an irresistible subject for many photographers. But, getting the final results that you'd like isn't always easy. Often the sky will appear overexposed or it's impossible to snap just at the moment the waves crash. Luckily, Australia-based landscape photographer Anton Gorlin has offered his expertise in a comprehensive guide on how to master seascape photography.
From defining what is seascape photography and tips for being successful with your images to the best lenses and what to carry in your backpack, Gorlin shares his secrets on how you can sharpen your photography skills and make the most of your time photographing the sea.
You can read the full guide to seascape photography on Gorlin's blog, and even download a PDF version. Let's take a look at some of what he covers, then get ready to pack your equipment and hit the beach to experiment with different ways to photograph the ocean.
How to Plan for Seascape Photography
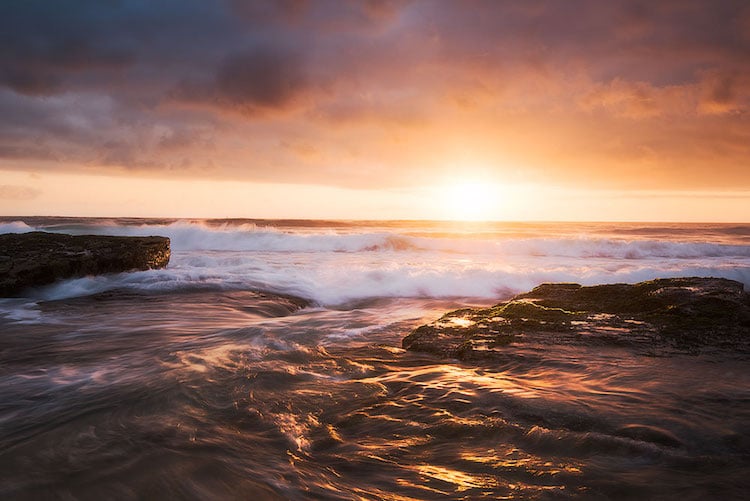
As with any type of landscape photography, planning and organization is key to having a successful photo shoot. Gorlin uses a few technique to ensure that he's as prepared as possible before heading out for the day, including checking the weather and using Google maps to virtually survey the area.
In order to understand if there are any key vantage points or areas not to be missed, he also advises a Google image search of the location, as well as a search of Flickr and 500px to see what's already been shot at the scene. This can help you determine if there's a “must see” area at the location and help you avoid duplicating the same compositions that other seascape photographers have shot.
In terms of weather, Gorlin prefers at least 30% cloud cover and pays special attention to swell and tide information. Not only will this help you understand if you'll arrive on site with the water levels you'd like, but will also help you stay safe and prepared in the case of rogue waves.
Here's his suggested toolkit of websites and apps to help you plan your seascape photography.
- AccuWeather
- SkippySky
- Planit! For Photographers Pro (Android | iTunes)
Best Camera Settings for the Ocean
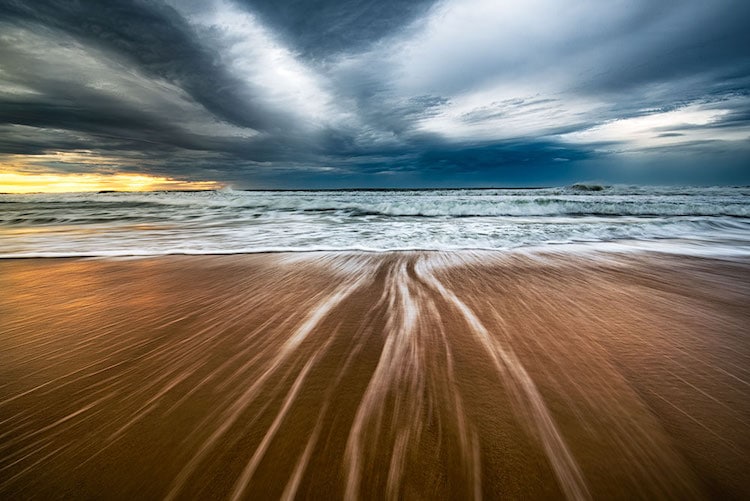
In order to produce photographs with a deep depth of field—preferable for seascapes—you'll want to work with an aperture of at least f/8, even going up to f/11 or f/16 if you can. Of course, in order to keep the proper depth of field, you'll need to work with your ISO and aperture settings to make sure the photo will be exposed correctly depending on the light available.
To make things easy, Gorlin breaks the environment into six types of light:
- Total darkness – “No light at all. Good for astrophotography.”
- Pre-dawn or post-dusk skylight – “The best for long exposures and dreamy effects.”
- Dawn or dusk – “Warm and bright and still has color in the clouds.”
- Post-dawn (almost the same as pre-dusk) – “Warm and strong, casting long shadows and revealing all textures.”
- Daylight – “Too strong and harsh. Limited use for shooting seascapes.”
- Bad light – “Dull and flat, coming through the thick clouds with no clearing.”
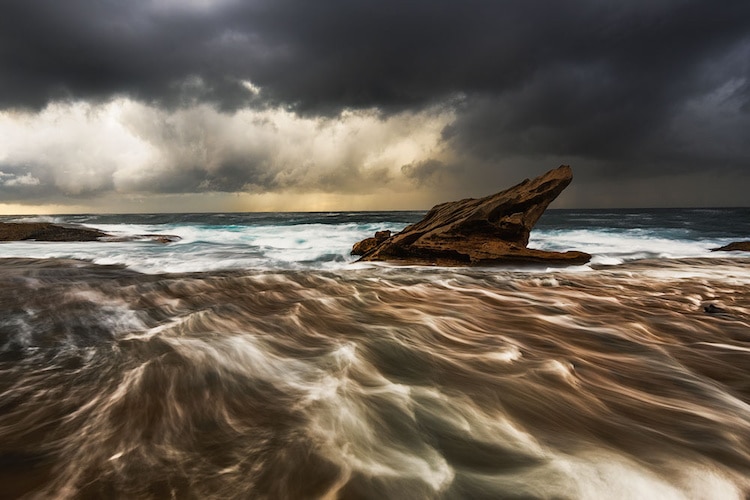
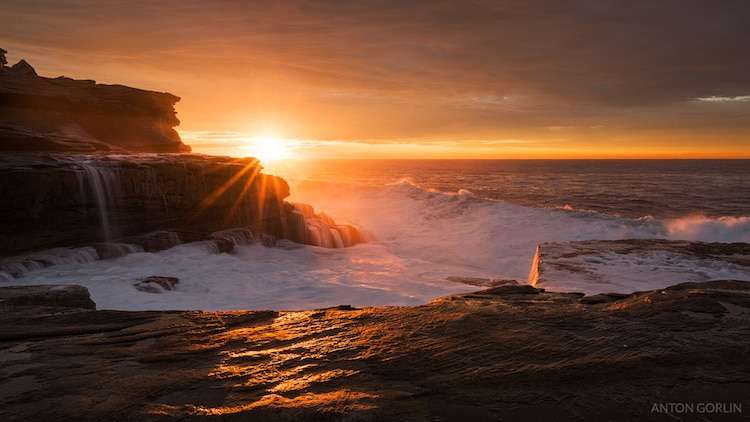
Using his guidelines, it's easy to see what's the best time to head into the field depending on the type of photograph you are looking to capture. And, of course, each type of light requires different camera settings in order to pull out the best of the ocean, as explained in detail in the full guide. For instance, want to capture that spectacular sunrise or sunset? For maximum impact, the settings recommended are f/16, ISO 100 (0r 50 if your camera allows), and a shutter speed of 1/20-1/10 if you want the water to appear as though it's flowing.
How to Photograph Waves
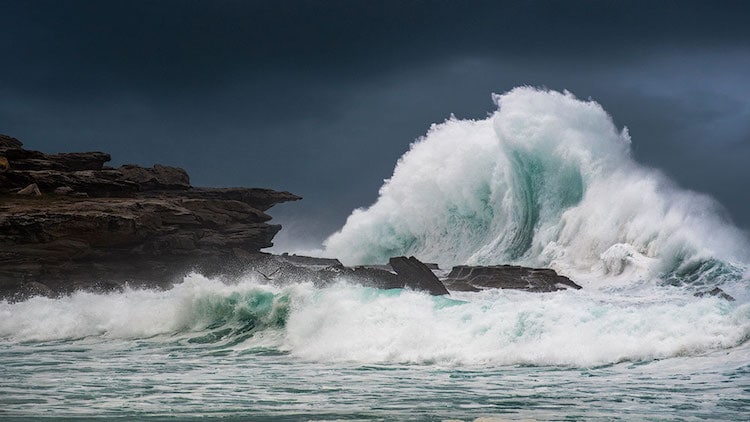
Ever wondered how photographers manage to get perfectly timed images of ocean waves as they come crashing down? This genre of seascape photography can result in spectacular photographs that demonstrate the power of the ocean, if done correctly. So what does Gorlin suggest to make sure you get the perfect shot?
First and foremost, safety is always a consideration. “With the crashing waves, I recommend to shoot them from a distance using a tele lens zoomed in. There are some pros out there, who take all the risks and photograph any waves close up, but I don’t recommend doing that until you gain a lot of experience,” Gorlin writes. “For the crashing wave, you need to choose your position so that you are 100% safe. Take a look around, are the rocks/sand around you dry? If they are not, maybe some waves reach here. You should be standing at the lowest point you can near the sea level. When you do so, the waves tower over the horizon bringing in more power and menace.”
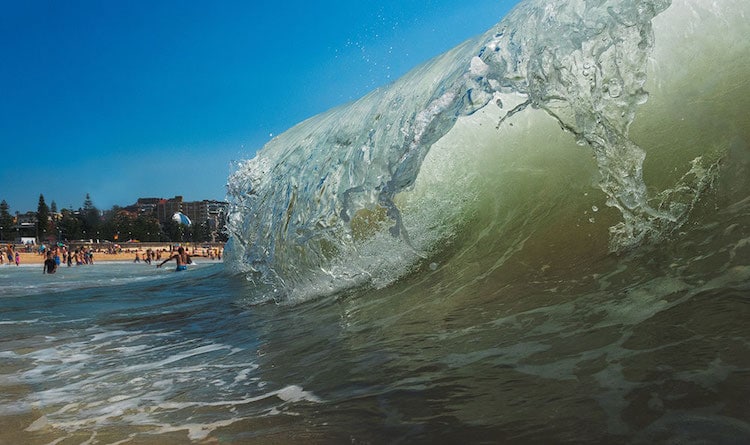
If you want to get up-close with the waves, you'll need camera housing to keep your equipment safe. While professional equipment can cost thousands of dollars, there are budget waterproof camera cases available that should do the trick. And if you are going to attempt this, just remember, “you need to dive under the wave split second before it crashes. Otherwise, it’s dangerous and will likely knock you over.”
Expert tips for photographing waves:
- “In general, the larger is the wave in the photo, the faster shutter speed you need.”
- “If the wave is a part of a landscape, you’ll need to go f/16 to get a more significant depth of field.”
- “If you have a camera housing and get into water, you’ll need f/16 to get the whole wave in focus.”
- “Set your camera to the continuous focus instead of a fixed one.”
How to Correctly Expose Seascapes
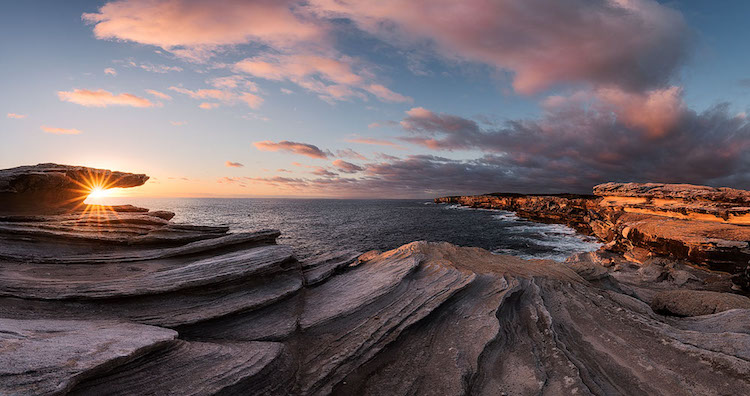
There's nothing worse than planning out your seascape carefully, making sure that the weather looks good and carefully working out the composition, only to have the sky overexposed. Luckily, there are a few ways around the issue.

Before and after using a polarizing filter
Lens Filters
Using the proper filter can help balance exposure in your photograph. Gorlin recommends neutral density filters, which preserve hues while changing the light for all colors in the frame. These filters come in different exposure stops and are either hard edge or soft edge. What's the difference? “When your photo has a hard edge, like the horizon, the best choice is some hard edge filter. For the mountains, instead, you need to use soft edge filter.”
Polarizing filters are another popular choice for seascape photography, as they will darken the sky and boost saturation. As an added bonus, polarizing filters also cut glare allowing you to see through bodies of still water.
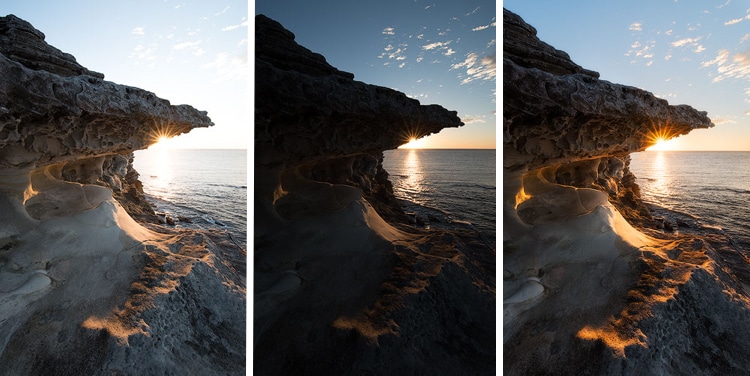
Example of bracketing
Bracketing
This common technique—where photographers create images of different exposures in quick succession—is easily accomplished, as all DSLRs will allow bracketing. Through the camera settings, you can decide how many stops should be between each image and the next time you trigger the camera, you will fire off three images with these different exposures. Looking at them, one should be underexposed, one overexposed, and the last right in the middle. By combining the images in Photoshop or any other application of your choice, you should arrive at a final photograph with even exposure throughout.
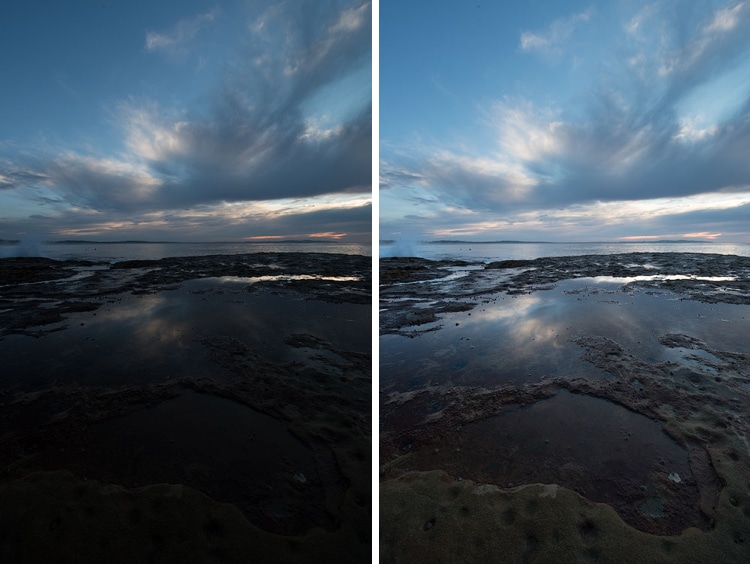
Underexposed RAW image before and after editing
Underexpose
Make sure you are shooting in RAW—this won't work with JPGs—and purposely underexpose your image. In post-production you should be able to expose the highlights and remove the shadows of the RAW images, recapturing the detail. Gorlin notes that with this technique, “the quality is a tad worse than a correctly exposed image. The colors and the contrast suffer the most. But it is still an option, and I often do it if the lighting allows.”
Curious to learn more secrets of seascape photography? Read Anton Gorlin's blog for the full guide.
Anton Gorlin: Website | Instagram | Blog
My Modern Met granted permission to use photos by Anton Gorlin.
Related Articles:
Setting Shutter Speed to Capture the Essence of Motion with Long Exposures
Stunning Seascape Photos Capture the Fluid Grace of Waves on an Australian Beach
Colorblind Coal Miner Captures Breathtaking Seascapes in Australia
Ocean Waves and Sand Collide Together in Beautiful Seascape Photos
Endlessly Mesmerizing Wave Cinemagraphs Bring the Powerful Ocean to Life


