Benzie Design
This post may contain affiliate links. If you make a purchase, My Modern Met may earn an affiliate commission. Please read our disclosure for more info.
In the world of crafting, needle felting is one of the cutest activities around. It’s simple in concept but looks complex in execution, and the results are elaborate sculptures made completely out of wool. Essentially, the activity uses a special needle to fuse fibers together in a stiff form. Animals are a popular subject for needle felting as their real-life fuzziness is ideal for the fuzziness of the fibers.
What is Needle Felting?
To understand needle felting, you’ve first got to be familiar with the general felting process. During felting, the fibers of wool are agitated—essentially moved back and forth—until they lock together in a tight bond. When creating sheets of wool felt (like the kind you’d typically see in a craft store), this process is done using hot water. Needle felting, while it mimics the process, is agitated with a needle instead of liquid.
The type of needle used for this craft is very important. A felting needle has tiny barbs on the end of it that are pointed in one direction. When the needle is stabbed into the wool, the barbs pull the fibers in, but not out, thus creating the bond. Because you’re stabbing the fibers over and over again, you’ll want to use a “cushion,” or a dense foam pad that protects the needles from breaking while also giving you a firm work surface.
“Stabbing” Wool, a Basic Needle Felting Approach
Needle felting is consistently referred to as “stabbing,” which is the motion that you make when pushing the needle into the wool and pulling it out again. To begin the entire process, you will roll a small amount of wool roving and begin puncturing it with the needle. Continue this motion over and over again; this will agitate the wool fibers so that they’ll lock together and produce a firm, round shape.
Here's a beginner tutorial on a needle felting:
To build felt sculptures, you’ll use the same stabbing technique to construct a basic, solid form. You'll then add the wool to it, stabbing the joints so that they're fused to one another. Depending on the sculpture, you might want to incorporate armatures (like wire) to make it more stable. To decorate the surface of the felt—such as putting spots on a leopard—you'll again stab a piece of roving into the wool exterior.
Needle Felting Supplies
If you’d like to try needle felting, it’s easier than you think to get started. Here's what you'll need.
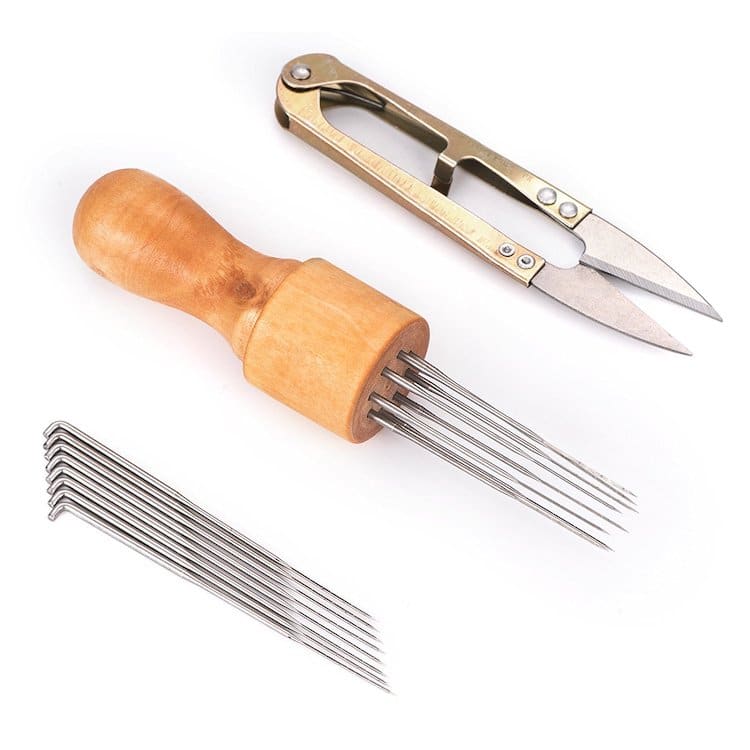
Needles and scissors
Kecuco | $12.99
Needles, handle, and scissors. Bundled as a pack, this kit has felting needles and a wood handle to secure them. It lets you work faster without losing the quality of your work. There is also a pair of scissors included.
60 colors of wool roving. Get the colors of the rainbow—and then some—with this set of 60 wool roving.
Foam needle felting pad. This will give you a firm work surface that protects your needles from breaking.
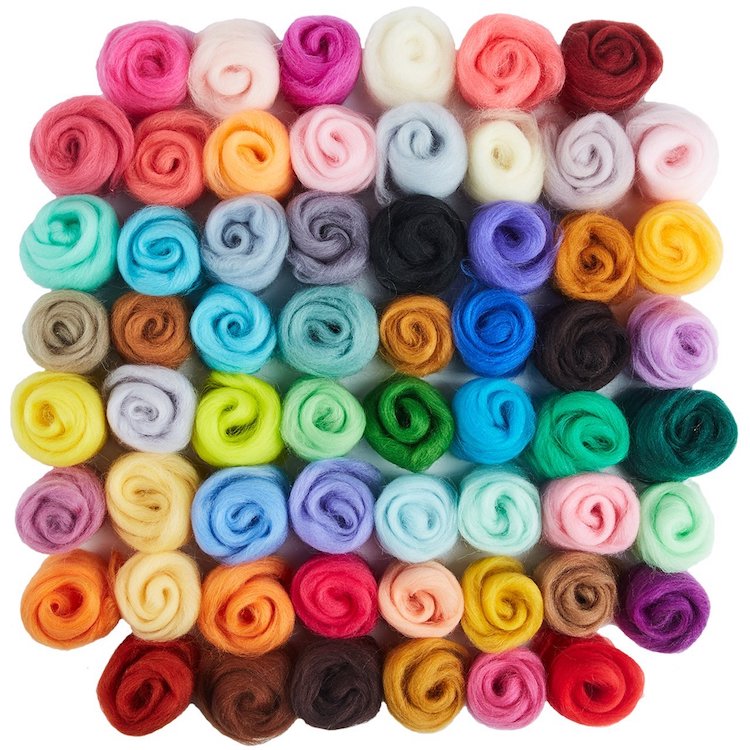
Wool roving
Discovering DIY | $16.95


