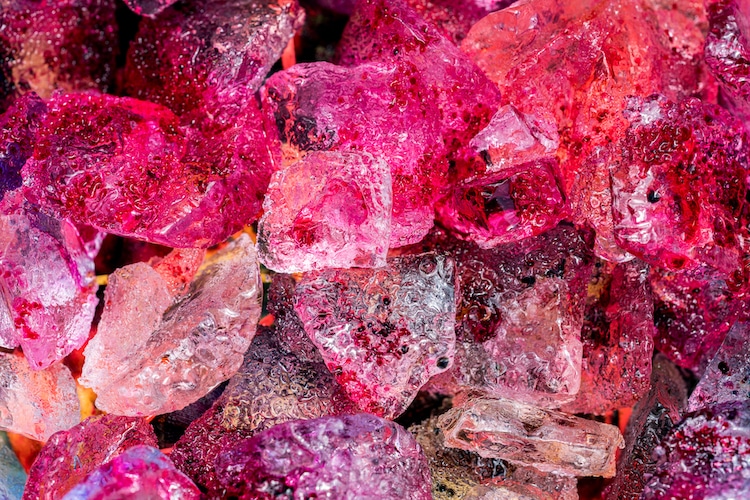
Photo: Stock Photos from Imageinit/Shutterstock
This post may contain affiliate links. If you make a purchase, My Modern Met may earn an affiliate commission. Please read our disclosure for more info.
When crafting, it's always a good goal to make your work as original as possible. That way, you're not just creating but expressing yourself, too. For fibers, it doesn’t get much more customized than when you dye your own fabric. Tie-dye is one of the most popular methods of coloring fabric, but there’s another approach that is beloved among dedicated DIYers: ice dyeing. This type of dyeing results in a similar look and feel to tie-dye, but it incorporates ice into the process.
The ice dye approach is great for beginners. It's easy to create swirling surface designs without fancy twisting or folding of your fabric. Instead, you’ll just place ice on top of the fabric and sprinkle dye on the ice. Then, you just have to let nature work its magic and you’ll have a colorful, one-of-a-kind piece of fabric when all is said and done.
In this article, we’ll introduce you to ice dyeing, an essential supplies list, and general instructions on how to do it.
What is ice dyeing?
View this post on Instagram
Ice dyeing is an approach to fabric dyeing in which you place ice cubes on top of fabric and then sprinkle dye powder on top of the ice. The melting process will alter how the dye bleeds onto the fabric, as the dye is made up of multiple color pigments. We normally don’t notice it when using conventional methods, as the water unifies the powder into one color. But not with ice dyeing; all of those pigments separate to create interesting hues that come to life on fabric.
If you don’t like a little surprise in your crafting, ice dyeing might not be for you. The patterns and surface design that appear will be dictated by the ice melt—not by you.
Ice Dye Supplies List
View this post on Instagram
Here’s an essential list that covers everything you need to get started on your next ice dye project.
- Fabric — For dyeing, a fabric made from 100% natural fibers is going to give you the best outcome as these fibers will accept the pigment the best.
- Ice — You don’t need anything fancy here; ice from your freezer will do.
- Soda ash fixer— Soda ash changes the PH balance of fiber-reactive dye and ensures that it will permanently adhere to the fabric. You'll use this before applying your dye.
- Fiber-reactive dye powder — You can use a variety of dyes in ice dyeing, but fiber reactive dye powder is colorfast and works well with cold water. Avoid liquid dyes.
View this post on Instagram
- Plastic spoon — You don’t want to touch the dye with your hands! So, you’ll want to use a plastic spoon to spread it on the ice.
- Rubber gloves — Soda ash and dye aren’t great for your skin. Make sure you have a pair of rubber gloves to protect yourself as you work.
- Dishpan — A dishpan will be used to catch the melted water.
- Metal rack — The metal rack will be placed over the dishpan; you’ll place the fabric and ice on top of it.
How to Ice Dye
View this post on Instagram
Tutorials may vary, but here are the essential steps of ice dyeing. You’ll find that there is a good bit of passive time involved, but the nice thing about this method is that you’ll know when you need to rinse your fabric.
Step 1 — Pre-wash any fabric on the hot water setting to remove any chemicals that were added to it during the production process.
Step 2 — Soak items in a mixture of water and soda ash in your dishpan. (Make sure you are wearing gloves.) This will create a “permanent connection” to hold the dye to the fiber. Read manufacturer instructions for proper mixing ratios and soaking times.
Step 3 — Venture outdoors with your dishpan, metal rack, fabric, and ice. Put the dishpan on the ground, the metal rack on top of it, then the wet fabric, and finally the ice on top.
View this post on Instagram
Step 4 — With a spoon, start sprinkling the dye on it in sections. Here’s where you can get creative and combine multiple colors and quantities of the pigment. Try using two to three colors and sprinkle them around the areas of the ice for color variation.
Step 5 — Allow your project to sit for several hours for the ice to melt. (The warmer the day, the faster this will happen.)
Step 6 — Once the ice has melted, rinse the fabric under water until the water runs clear. Then, place the fabric into a washing machine and tumble to dry.
For more ice dyeing instruction, check out this extensive tutorial taught by Anna Joyce.
Related Articles:
Shibori Dyeing: How a Centuries-Old Japanese Art Is Still Used to Customize Cloth
Adidas Releases Groovy Tie-Dye Sneaker in Celebration of Woodstock’s 50th Anniversary
10 Quick and Easy Spring Crafts for the Whole Family To Get Creative