This post may contain affiliate links. If you make a purchase, My Modern Met may earn an affiliate commission. Please read our disclosure for more info.
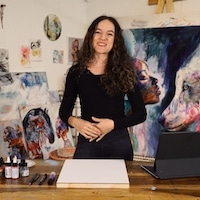
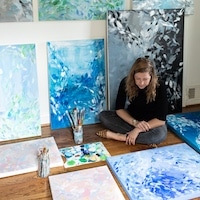
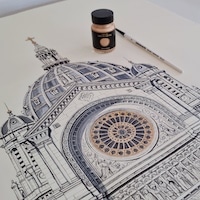
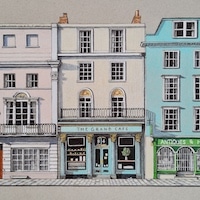
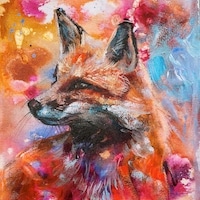
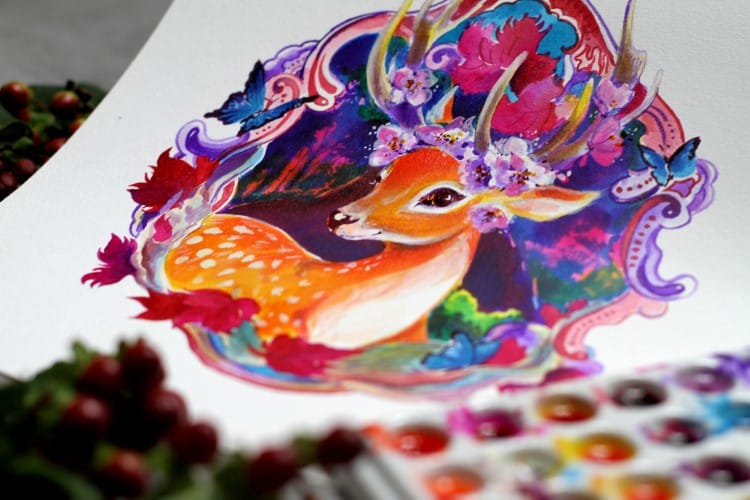
When we think of illustrations, using a pen, pencil, or even an iPad often comes to mind. But have you ever considered using colored ink? It's the medium of choice for illustrator Anna Sokolova, who has written a book about the topic and teaches My Modern Met Academy's online course about colored inks.
While they can seem intimidating at first, once you get a handle on how to work with them, colored inks open up incredible creative possibilities. We asked Sokolova to share some of her dos and don'ts for working with colored inks. Following her lead, you'll be able to use these inks to breathe life into any illustration that comes to mind.
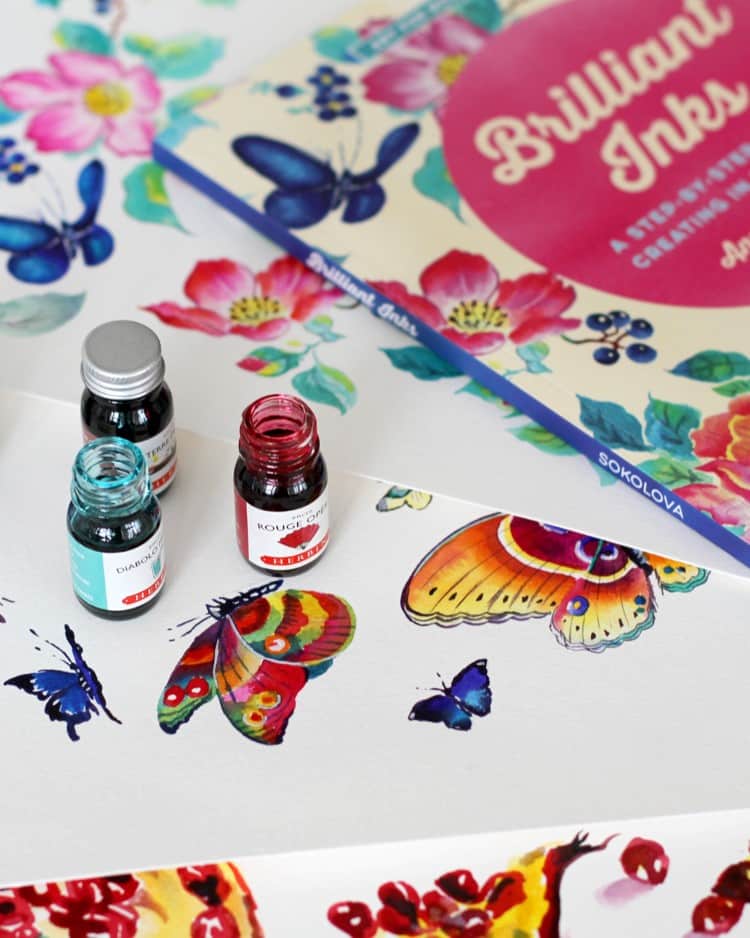
Read on to see what she suggests, and if you want even more details, pick up a copy of her book Brilliant Inks: A Step-By-Step Guide to Creating in Vivid Color. You can also join Sokolova in her course Animal Portraits in Colored Inks: Tell a Visual Story That Conveys Emotion, where she'll break down how you can use colored inks, and you'll work together to create a stunning animal portrait. The course is available on-demand, and you can watch as many times as you'd like, making it a lasting resource for artists of all skill levels.
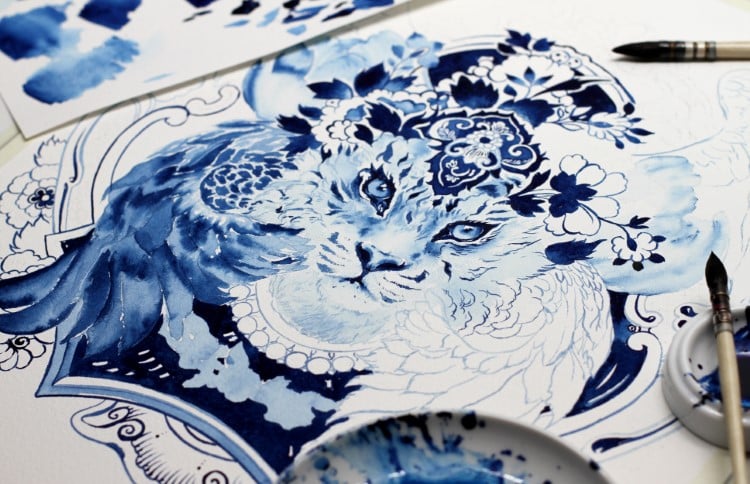
Interested in using colored inks in your artwork? Take this advice from a professional illustrator.
Do choose the right paper
“I love to experiment but not with paper. Opt for Bristol or heavy watercolor paper (rough, cold press, or hot press) when working with colored inks. This combination allows you to explore the medium and achieve fantastic results. The paper won't buckle, and you'll be able to create fine lines on smooth paper and textures on heavy tooth paper.”
Don't use ink straight from the bottle
“Pour the ink into the inkwell, palette, or a tiny jar using the pipette. If you use nibs, the ink should be high enough to cover three-quarters of the nib. This way, you can see the amount and intensity of the mix better and dilute it with water if needed. It gives you better control over the whole process.”
Do use separate brushes
“As simple as it sounds, this tip makes a huge difference. You have a favorite brush, and it's tempting to use it with watercolor, gouache, and then with ink. If you use Chinese or Acrylic inks, it damages both synthetic and natural hair brushes (especially ‘mop brushes’), so it's better to keep a separate jar with inky brushes.”
How to draw with colored inks INKredible beginners guide
Don't put your arm on the work area
“Beware of smudging. Inks can quickly leave unwanted marks, bringing permanent splashes to your artwork. If you don't want such experiments, always put a sheet of paper underneath your drawing hand to avoid smudging and protect the paper from oils. You can use tape to hold the paper in place.”
Do master layering
“One of the unique qualities of colored inks is their transparency. You can achieve amazing and unexpected results by combining a variety of hues in one artwork. Each new layer adds depth and luminosity. Try to experiment and test the effects—some colors blend in harmony while others have grungy, dull, or textured effects.”
Don't mix too many colors together
“Inks are so vibrant and luminous that it can be tempting to try and create your own shades. Though it can work great with some brands and experiments, more often, the result looks muddy and dull. Use a limited color palette instead and add bright hues as accents. This will add interest and vibrancy to your inky artwork and can be a wonderful storytelling effect.”
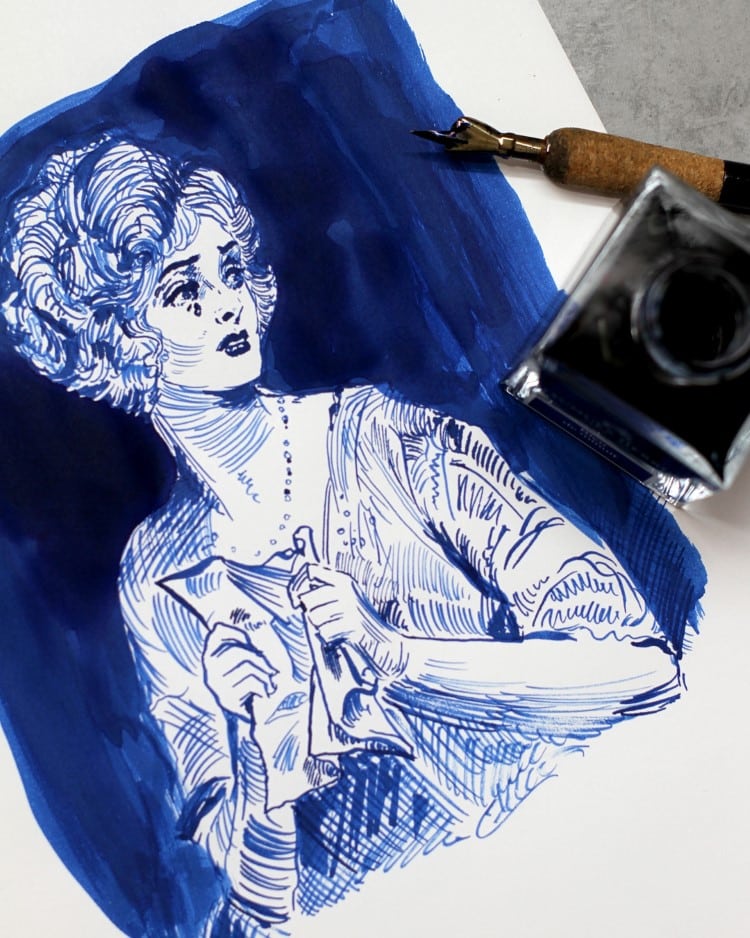
Do embrace linework
“Even if linework is not your style, I encourage you to try a variety of mark-making and outlines. Try using what is called the lost-and-found line technique, where parts of the outline are intentionally missing. This approach can transform even a simple image into something more intriguing and exciting.”
Don't rush the drying process
“Most inks are permanent and waterproof, so you can efficiently work on top of them without affecting the first layer. The smooth and harmonious effects are achieved when the inks are completely dry and not rushed. If you want to erase the pencil marks, make sure the inks are completely dry. You can use a hairdryer at low speed.”
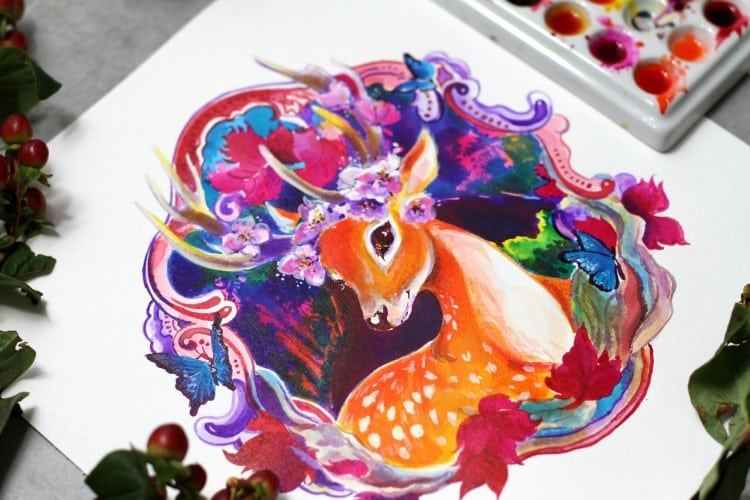
Do use alternative art tools
“Though the most popular style is pen and ink or brush and ink, try as many art supplies as possible to add a special touch to your work. Bamboo pens, calligraphy nibs, toothpicks, and especially Monotype techniques are fantastic ways to explore your creativity even without drawing skills.”
Don't overfill the white space
“You see a lot of white space and want to fill it with washes and brushstrokes. This might look good, but leaving the white of the paper can look impressive too. The white or negative areas in your composition help to lead the viewer's eye to the focal point of your artwork. Leaving areas of the paper untouched creates both striking impact and interest.”
Watch this preview of Anna Sokolova's online course about colored inks with My Modern Met Academy.
Anna Sokolova: Website | Instagram
My Modern Met Academy: Website | Facebook | Instagram | Pinterest | TikTok
Related Articles:
11 Different Types of Painting That Every Artist Should Know
How To Create Your Own Color Mixing Chart in Just 3 Easy Steps
Learn the Basics of Charcoal Drawing to Capture the Intensity of Life with Art
Explore the Creative Possibilities of Alcohol Ink in This How-to Guide for Beginners

