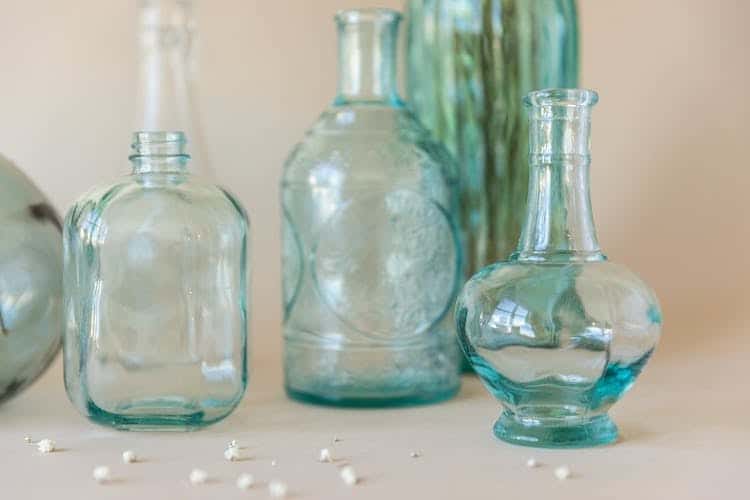
Photo: AmeKamura/Depositphotos
This post may contain affiliate links. If you make a purchase, My Modern Met may earn an affiliate commission. Please read our disclosure for more info.
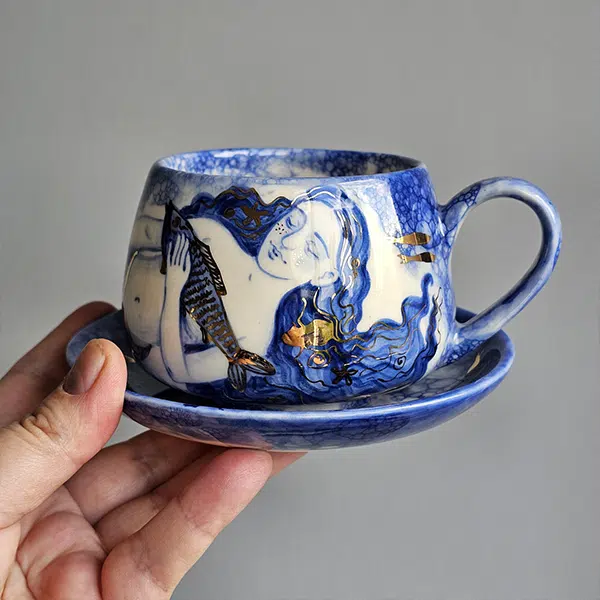
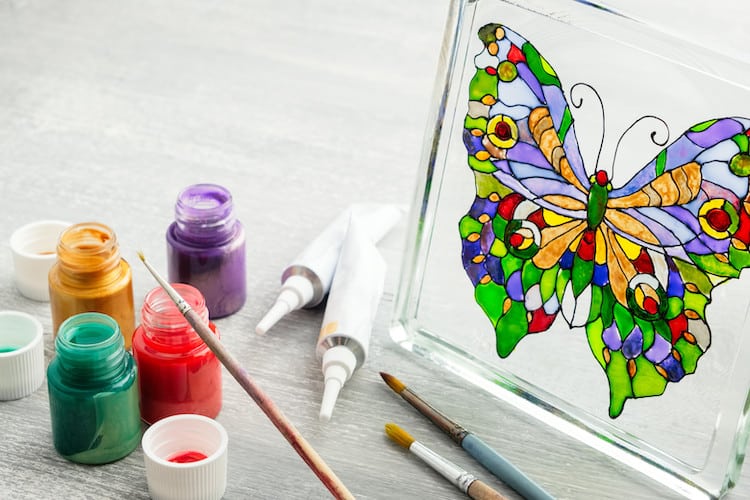
Is your glassware looking a little stale? Don’t replace it; breathe new life into it with glass painting! It's a fun and easy DIY project in which you add original artwork to a drinking glass, mason jar, vase, window pane, and more. When you’re done, you’ll have a piece that is totally unique.
Like other forms of art and crafts, glass painting requires some special tools to get started. This mostly includes specially formulated pigment made for glass that will allow you to clean it and even put it in the dishwasher without the design chipping and cracking.
In this article, we’ll cover the supplies you’ll need, how to prepare the glass you’re going to use, and the steps to take for this fun craft. Once you get the hang of this painting, you can start decorating all sorts of items—for yourself, for others, or both.
What is glass painting?
View this post on Instagram
Glass painting is adding decoration to glass by using a brush, sponge, or similar tool. With the right type of paint, you can create a design on a variety of objects. The results can add a bespoke touch to the things we use every day. In this way, it’s a great upcycling opportunity. Instead of tossing your old drinking glasses or jars, you can make them feel new to you.
What do you need for glass painting?
To make your glass painting a success, you’ll want to have these supplies on hand.
Glassware. This is the glassware you are intending to use. It doesn’t need to be cleaned (at this point) but make sure it’s free from any labels or permanent marks.
Mild soap and water. Your everyday dish soap is fine.
Rubbing alcohol or white vinegar. This will help remove soap residue from the surface.
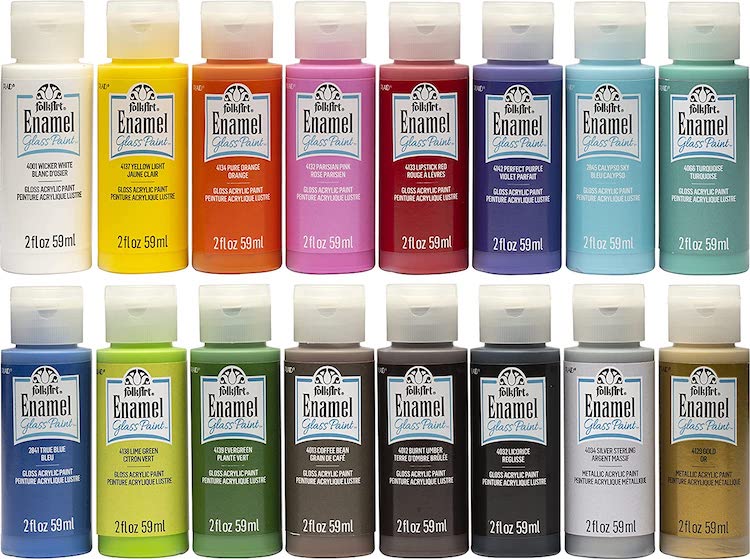
FolkArt | $30.41
Glass paint. Look for paint that is specially formulated to be painted on glass. To give yourself the most color options, opt for a set. This collection from FolkArt, for instance, has 16 hues in a gloss enamel finish while the Pebeo brand has a brilliant set of eight paints.
Paint markers. Another option for glass art is paint markers. These offer the same type of vibrant hues but in the form of a pen. If you’re looking to write text or do any outlining, these utensils are a good choice.
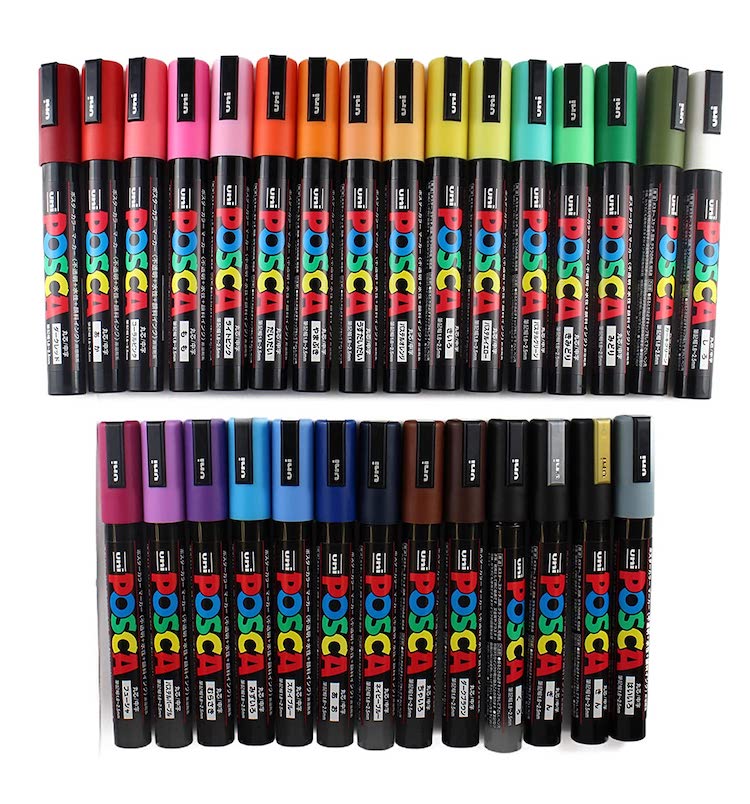
Uni Posca | $79.88
Soft bristle brushes. Get a pack of brushes in various sizes, but opt for something on the smaller side. You’ll likely be painting fine details, so having a brush that can handle the smaller areas is vital.
Foam brushes. Foam daubers are another way to apply paint. If you’d like to cover a large area, you can sponge on the pigment. They also work great for laying on thin, even layers.
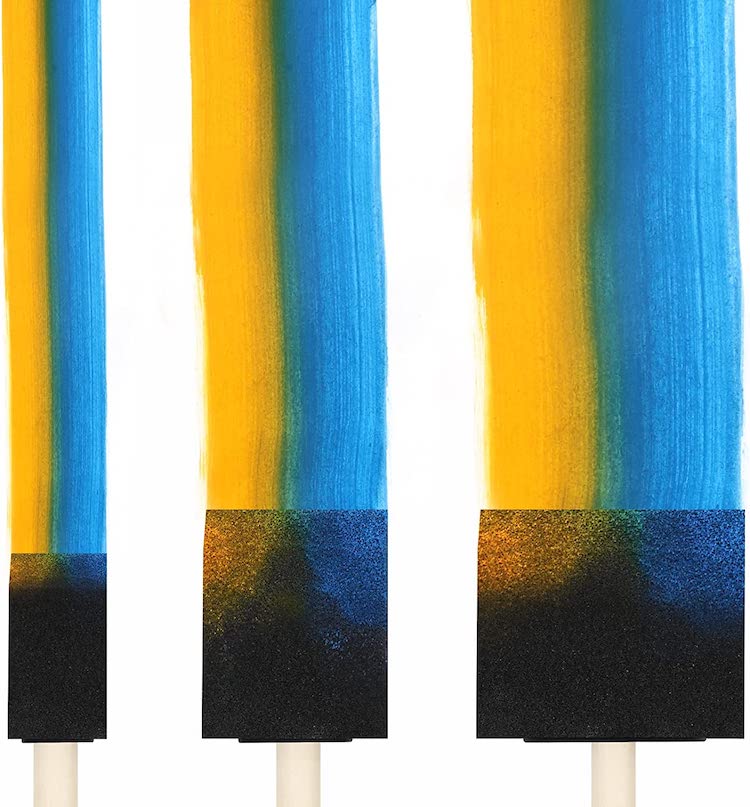
Phinus Store | $7.49
Painter’s tape or washi tape. Tape is a must-have; use it to hold down your stencil or printed design or mark off the areas where you don’t want the paint to be.
How to Do Glass Painting
Glass painting is a very freeform art. While there are general steps you’ll want to take, don’t let that limit your creativity. Have fun experimenting with imagery and the composition on your glass like you would a conventional canvas.

Step 1: Prepare the surface.
Wash your chosen glassware in warm, soapy water to remove any dust or grime. Once dry, use rubbing alcohol or white vinegar to remove any soap film and degrease the surface. If you don’t have either of those things, glass cleaner will work, too.
Let the cleaner dry for 10 to 15 minutes. In the meantime, move on to the next step.
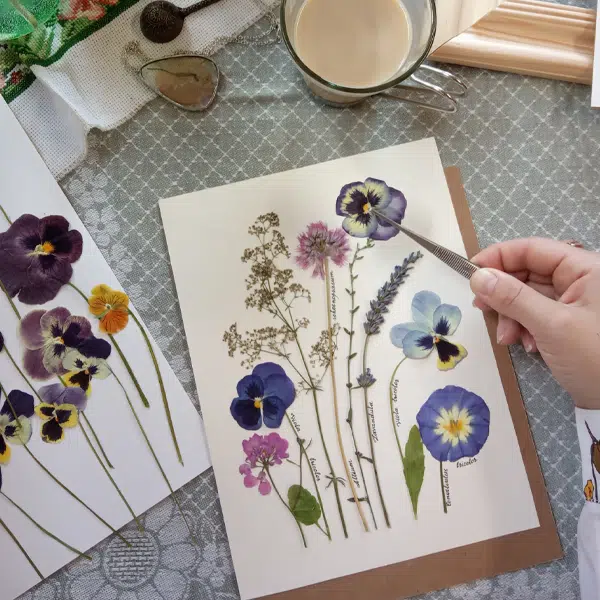
Step 2: Decide on your design.
You’ll likely have this step done before you begin. But if you’re still deciding on what you’d like to paint, now is the time. You can always freehand an illustration or print one that you download online. Alternatively, you can use a stencil and paint on the design that way.
Step 3: Prepare your design.
If you opted to go the printed design route, prepare your design by placing it behind the glass surface you intend to paint. In a drinking glass, for example, you’ll curl your paper so that it fits inside of the glass with the design facing the outside. Tape it in place. That way, once you start painting, you’ll simply place the paint over the top of the design. Once complete, remove the paper.
If you’re working with a stencil, determine where you’ll place it and secure it with tape.
For freehanding a design, there’s little you need to do to prepare, but consider taping off the areas where you don’t want the paint to go.
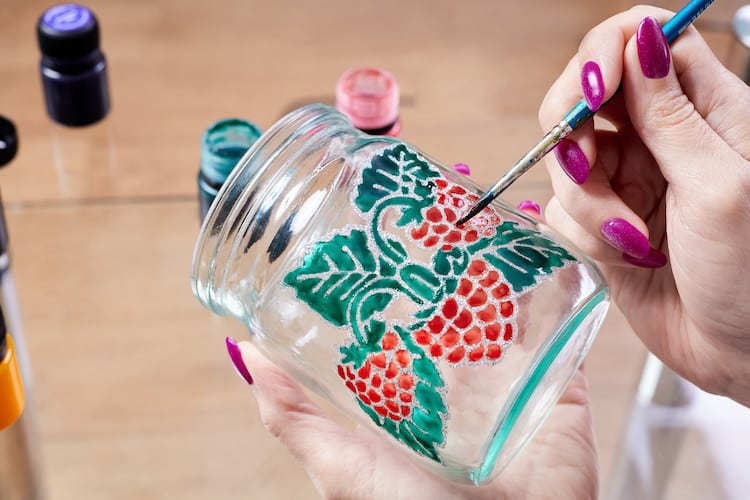
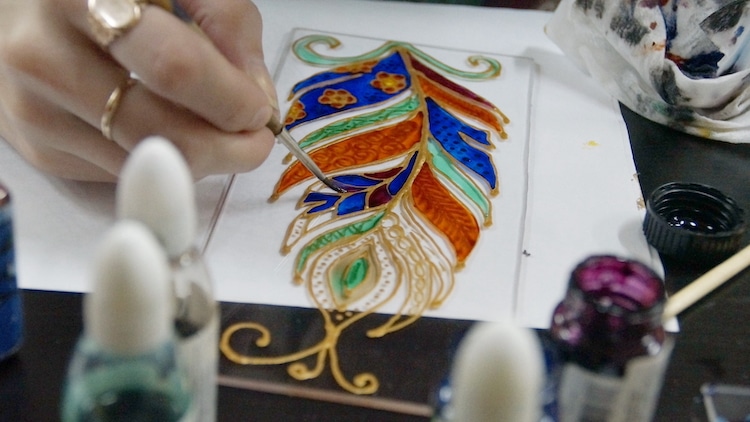
Step 4: Start painting.
Here’s where the fun begins. Using your bristle or foam brush, start applying the paint to the surface and follow your design. Glass paint is enamel and has a hard, glass-like shell and dries quickly. Avoid putting too much on your palette; otherwise, you might waste some precious paint.
Something else to know about glass paint is that it’s viscous and can be hard to spread. Start with making a dot on your surface and then move your brush outward to spread the paint from there. This means your painting will likely be slower than with other types of pigments. Be patient as the design comes together.
Don’t worry if you make a mistake. Use a q-tip and nail polish remover to wipe it away.
Step 5: Leave your design to dry overnight.
Once you’re happy with your painting, leave your design to dry overnight.
Step 6: Finalize your design.
Remove the template or stencil from your glass (if you're using any). To make sure that your design is fully cured and will stand the test of time, follow the manufacturer's instructions to finalize the process and make it dishwasher safe. Often, this will involve baking your glass in the oven.
Related Articles:
Vintage Uranium Glassware Under a Blacklight Casts an Eerie Green Glow
Hand-Painted Glass Mugs Colorfully Celebrate the Beauty of Insects and Flowers
You Can Craft Beautiful Stained Glass at Home With These Colorful Kits