Photo: Stock Photos from HELEN HOTSON/Shutterstock
This post may contain affiliate links. If you make a purchase, My Modern Met may earn an affiliate commission. Please read our disclosure for more info.
You have probably seen stained glass in the magnificent windows of churches or in the hanging lamps of cozy restaurants. Stained glass is an ancient art form dating back thousands of years to the earliest innovations in glass working. Today, contemporary artists and craftspeople push the boundaries of stained glass.
So, what is stained glass and how is it formed? Stained glass is colored glass created by adding metallic salts to clear molten glass which then creates color by a chemical reaction. The colored glass can then be cut and recombined to create patterns and images. The process of recombining is typically done through soldering metal edges together. Cames are pieces of metal—often lead or another softer metal—which wrap around the edges of the glass and can be soldered to other pieces. Foil strips can also be used similarly. Stained glass combined in this way is known as came glasswork. It is the method seen in the medieval church windows such as the Rose Window in Notre Dame Cathedral. (You can visit the website of the Stained Glass Association of America to learn more about other less common varieties of stained glass.)
With some startup supplies, you too can make magnificent came glasswork pieces at home or in a communal studio space. If you are brand new to stained glass and the tools involved, it may be advisable to search for stained glass making classes in your area. A class will teach you the tricks of the trade before you invest in your own soldering iron and other tools. As stained glass crafting requires the use of some potentially hazardous materials for cutting class and soldering metal, be sure to use your best judgment. Always wear protective glasses, gloves, and make sure tools are kept away from the reach of children.
Read on for a brief introduction to some tools and kits which will have you obsessed with crafting stained glass.
Supplies You Will Need
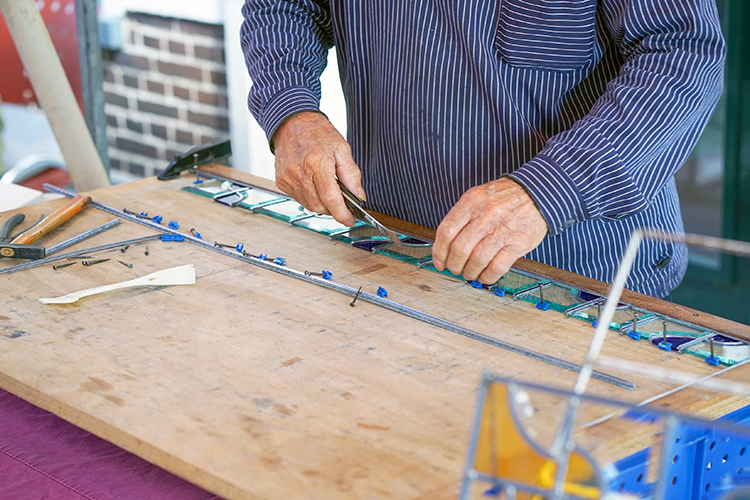
Photo: Stock Photos from LUNOPARK/Shutterstock
If you plan on making your stained glass “from scratch” (so to speak) you will need to begin with a plan. Like an architect, sketch out your plan in detail first—with life-sized pieces. An easy trick is to cut out the pieces of your paper design and trace them directly onto the glass. If you are looking for a ready-to-go beginner project idea, you can also check out this book.
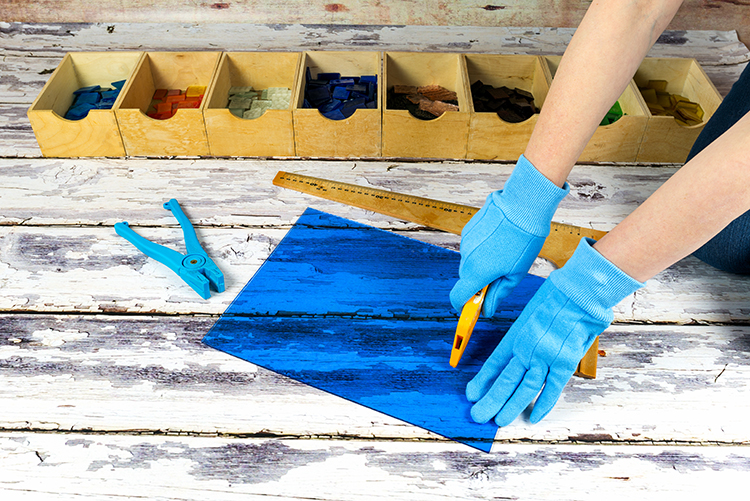
Glass sheets come in a variety of sizes and beautiful colors. Be sure to follow the instructions of your pattern with regard to size and thickness. To cut the glass into pieces, you will need a glass cutter and cutting oil. The oil keeps the wheel of the glass cutter in good shape—some cutters have a built-in reservoir to fill with oil. Many crafters say if you want to spend a little more money, you'll get the best score on your glass with the Toyo cutter. Further tools are also required to cut the glass properly. Grozzier pliers and running pliers are both used to create clean breaks.
Is all this sounding a bit pricey and intimidating? If so, there are two options to make getting started cheaper. First, you can purchase a beginner's kit, which groups together many of these necessary tools in one easy purchase. However, you will still need a glass grinder to smooth the edges of your new glass pieces before you can begin to combine them. By far the easiest way to get started is to purchase pre-cut glass kits. In a variety of designs, the pieces are already ready for you to put together.
Kits To Get You Started

Diamond Tech | $20.49
You can buy pre-cut kits in cute designs that will save you a bunch of steps in your stained glass journey. This sea turtle, for instance, is adorable, and it comes with all the glass you'll use—but you'll additional supplies to put it together. The list includes copper foil, solder, and a soldering gun. To bind lead with lead cames is more advanced, so beginners should probably stick to the foil method. The foil wraps around the edges of each piece of glass—be sure to choose a foil with a reverse color you want to see. Try this black-backed or this silver-backed copper foil for the style you want. The foil also comes in different sizes, so refer back to your pattern. This process can be daunting, so check out these instructions from Everything Stained Glass to make sure you're foiling right.
Once each piece is lined in foil along the edges, it is time to solder the pieces together using a soldering iron. The Hakko FX601 comes highly recommended by stained glass crafters as it reaches the ideal temperatures for stained glass work. Solder is a soft metal alloy containing lead that is typically sold in coils. The iron melts the alloy which then binds the foiled edges of the glass together. Before you solder, tack your final piece together on a heat resistant surface and clean your glass pieces with a brush. Then you will need to apply flux, a liquid or balm solution, to the copper. The flux allows for the molten metal to flow over the seams. You will then apply solder to cover all seams and hold your piece together. For more detailed steps on soldering, see this article and this video from Glass Crafters. Do your research, be prepared, and be careful of the hot tip and liquid metal. It may seem intimidating, but you can get the hang of it.

Pattern only. KristinaGlassStudio | $5.90
Your end result will be a beautiful panel of stained glass. If you are up to it, you can shape lead or zinc U-shaped came around external edges for a polished look with less sharp edges. As you get more advanced, you will find an endless repertoire of possible stained-glass art awaits. On Etsy, experienced crafters have created stained glass patterns for sale. With experience under your belt, you can try a gorgeous whale or adorable black lab pup.
For the Kids, or the Adults

Melissa & Doug | $14.99
Soldering can be intimidating. There are several cheaper, fun alternatives to came and foil glasswork. For youngsters, try these classic MakIt and BakIt kits. You may remember them from your childhood; they are still available in a variety of fun shapes. Your kid will love pouring the colorful crystals into the frame and baking it (with adult help). The result is a cute (less-breakable) sun catcher they can proudly display in their window. For an oven-free craft, “stained glass” kits with paint or translucent stickers are the perfect low-maintenance craft that yields stunning results.
Painting glass for a stained-glass effect is not just for kids. Adults can try the same acrylic paints and paint pens that their kids use. Just be sure to check labels, as many non-toxic paints are still not food safe for kitchen items.
Boring windows can become colorful kaleidoscopes, dull mirrors can be surrounded by flowers, and glass vases can be spiced up. The magic of stained glass is that it lights up a room no matter how you create it.
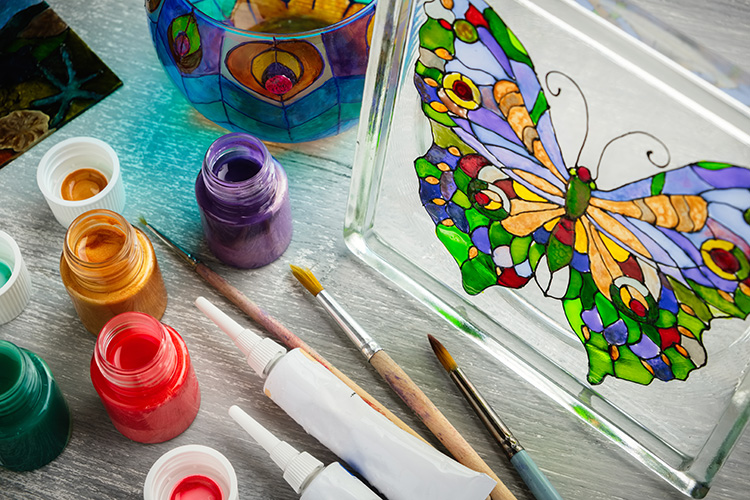
Photo: Stock Photos from CHAMILLE WHITE/Shutterstock
Related Articles:
Tracing the Glistening History of Glass Making From Ancient Beads to Contemporary Art
Artist Reconstructs Stone Sculptures With Stunning Strips of Glass Slicing Through Them
Corning Museum of Glass: Explore the World of Glassmaking at This Museum
20 Cool Craft Supplies to Take Your Creativity to New Heights


